Getting started(入门指南)
Build a new use case
In this tutorial, we will use the Use Cases application to create a new use case with a variety of application and Ontology resources. We can then navigate to applications like Workshop and Ontology Manager directly from the use case overview page, as well as add additional applications.
Part 1: Create a use case
First, we need to access the Use Cases application.
When logged into Foundry, access the Use Cases app from the left-side navigation bar under Platform Apps. If the application is not visible, select View all and find Use Cases under the Operational applications section of the Platform apps search window that appears.
You will now be on the home page of the Use Cases app. This page will be empty if you have not yet created a use case.
In the right side of the All use cases section, click + Create new. This will open the Create use case modal. Add the use case name and description. In our example, the use case name is “Flight alert use case”, and the description is “Use case for managing flight alerts and updating schedules."
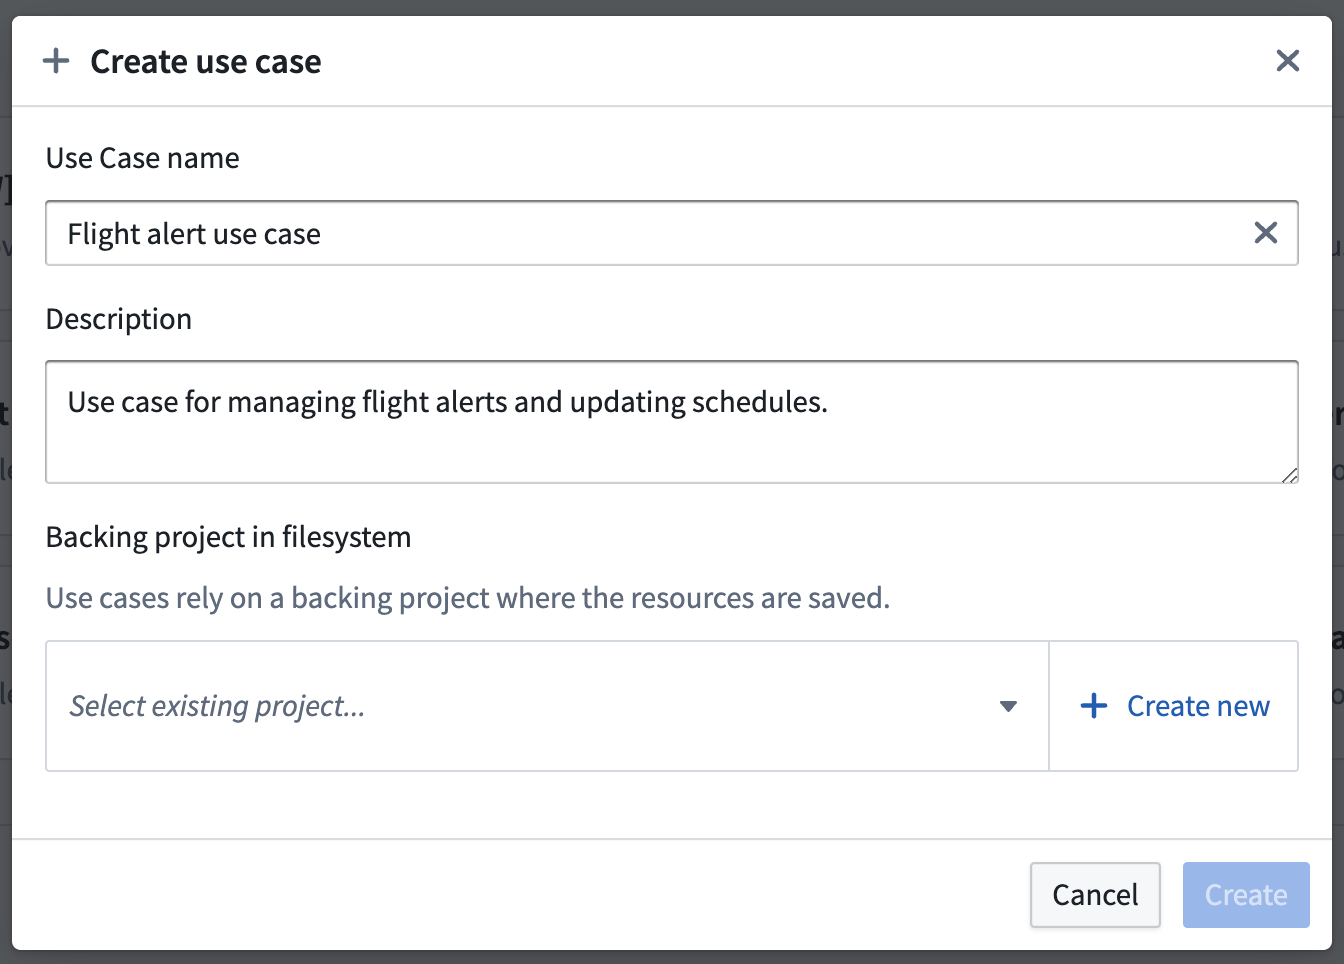
In this tutorial, we will create a new backing Project in the filesystem. Click + Create new in the bottom right corner to open the Create new project modal that will allow you to add a new Project to your Foundry filesystem. Add a name, optional description, and space for your Project.
Your space will determine the default Organization and role for users in your Organization. In our example, our Project is named “Flight Alert Project” with the description “Backing Project for Flight Alert use case”. Our space is Palantir, our Organization is Palantir, and the default role is Viewer.
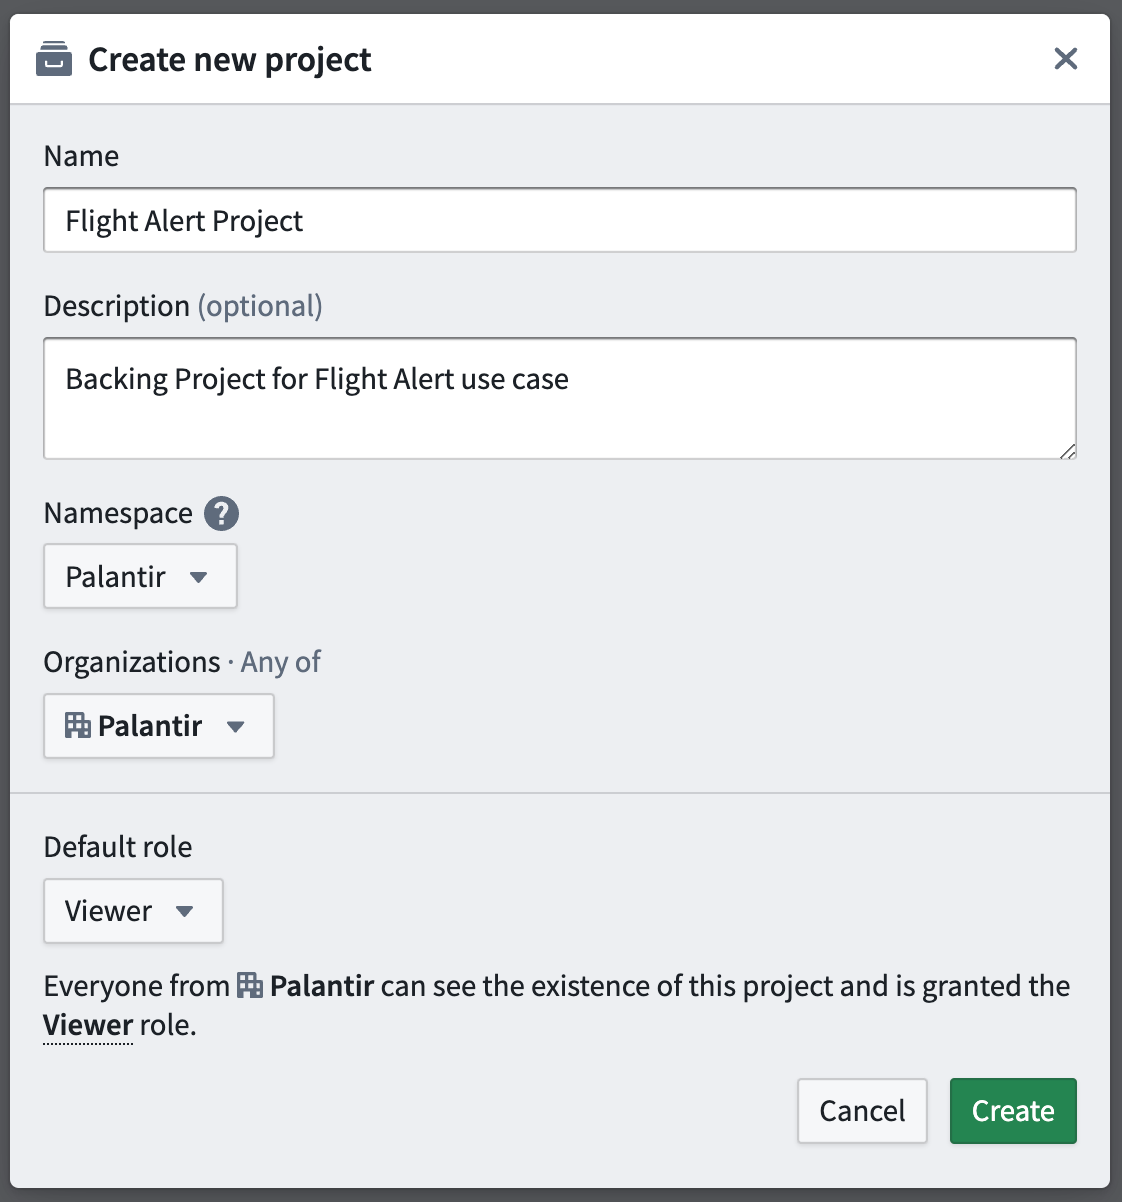
Select Create to create the new Project and return to the Create use case modal. Select Create again to create your use case and enter the use case overview page.
Learn more about Organizations, roles, and other platform security concepts.
Part 2: Edit metadata
After creating your use case and backing Project, you can modify the metadata that helps define your use case. This metadata includes the use case name, description, owners, and status.
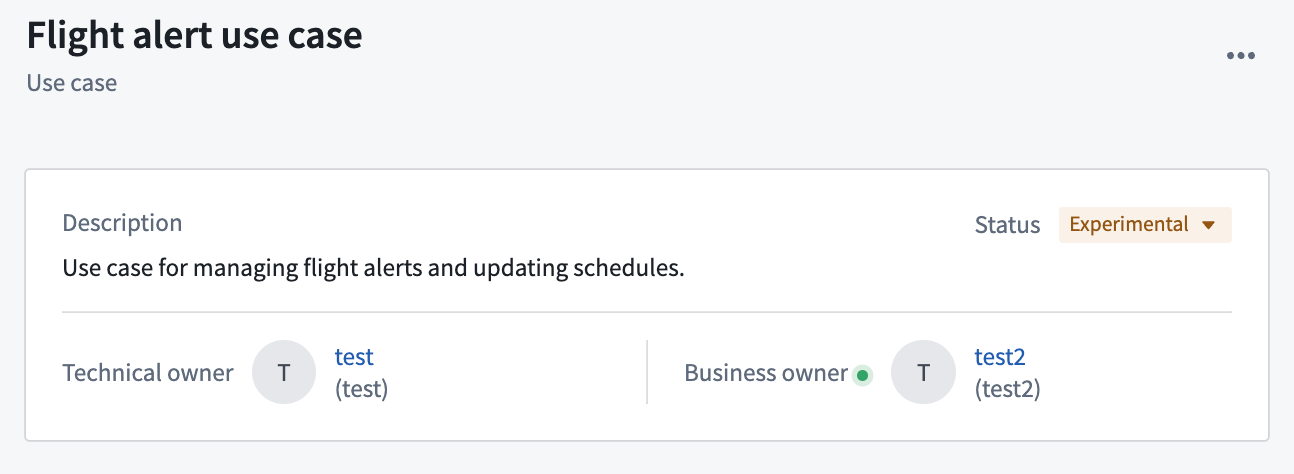
At this point, your use case overview should look like this:
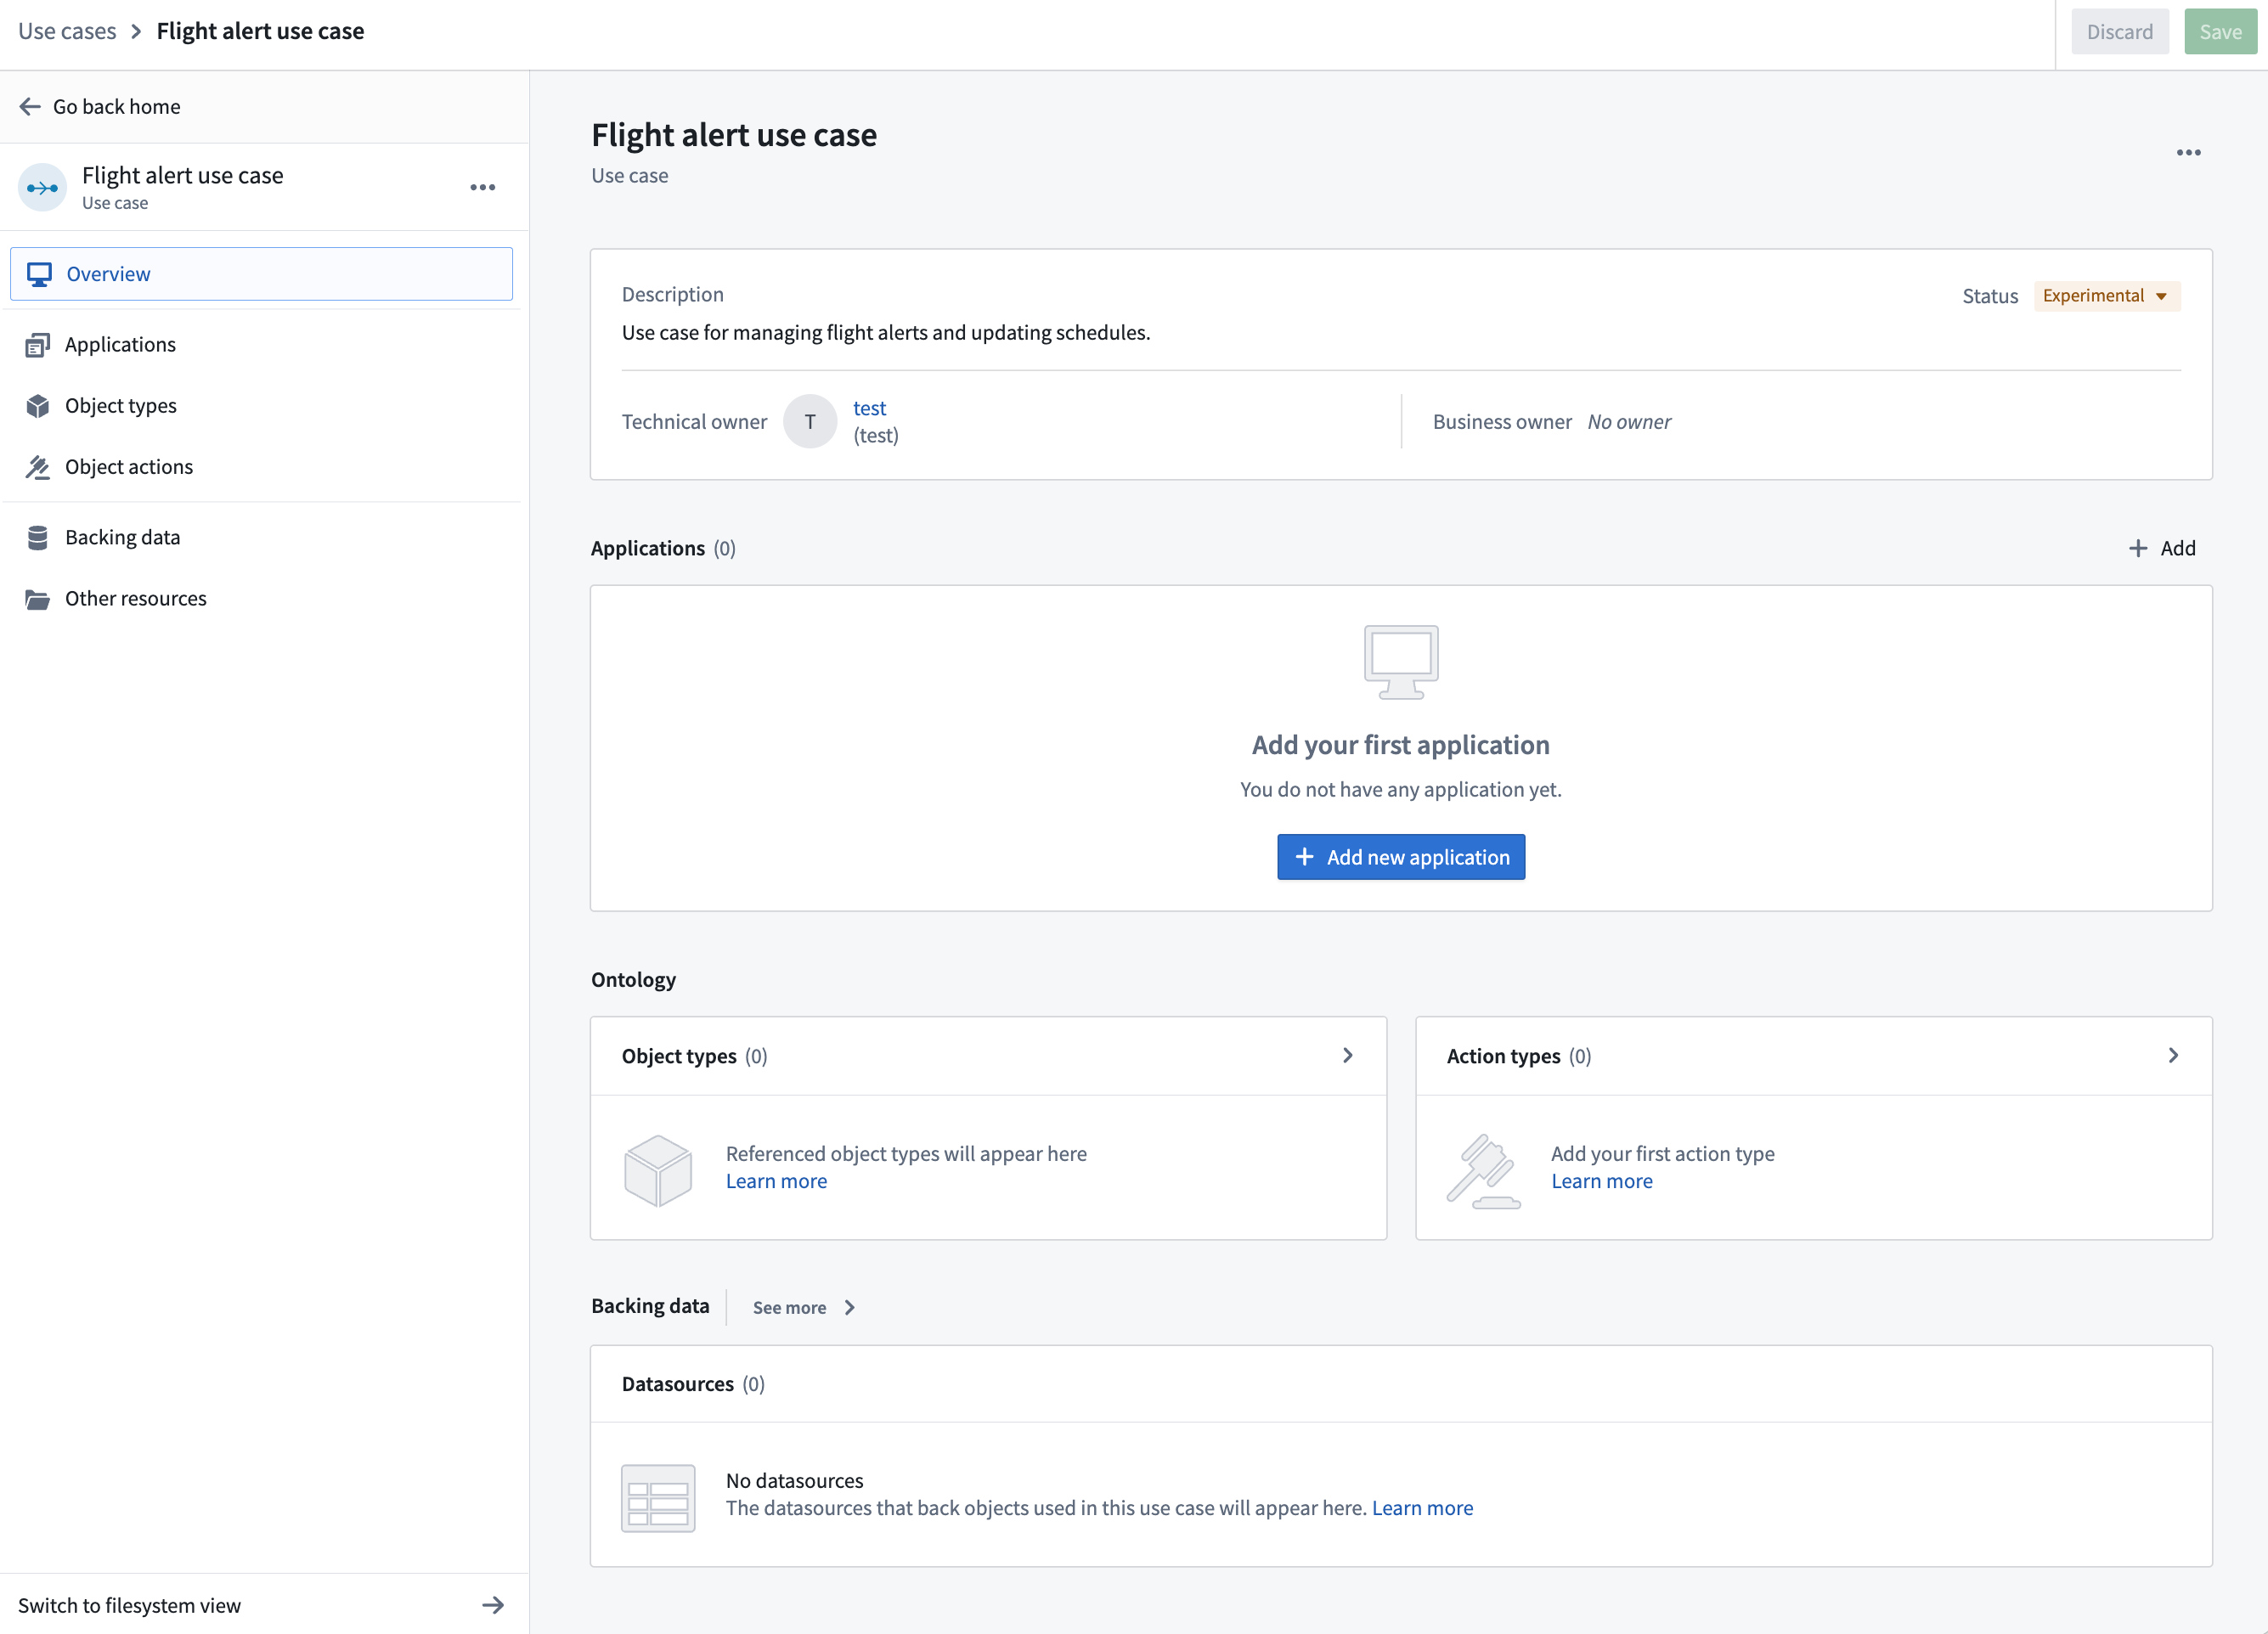
Note that you will be the technical owner of the use case by default. In our example, we are using a test user.
Name
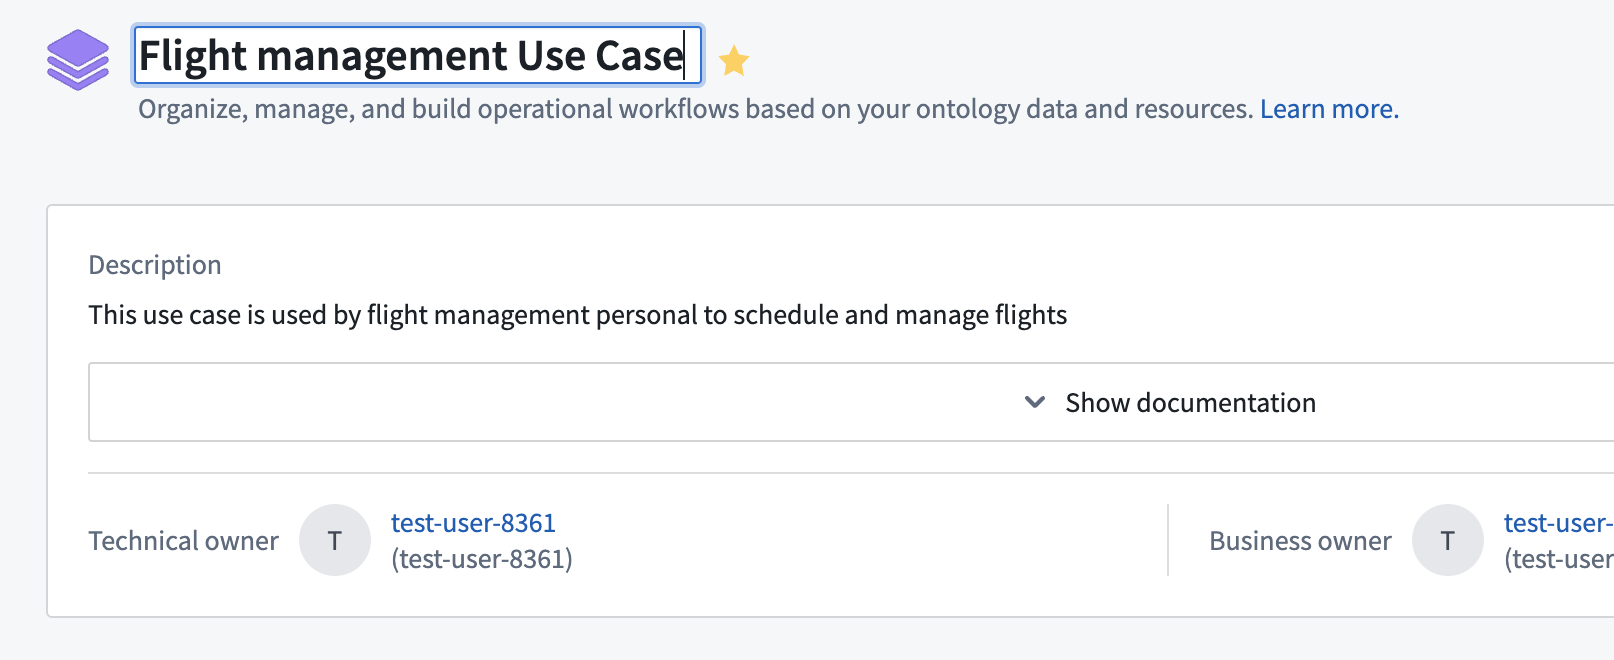
If you want to change the name of your use case, you can do so from the use case overview page. Click on the use case name at the top of the page and edit within the text field.
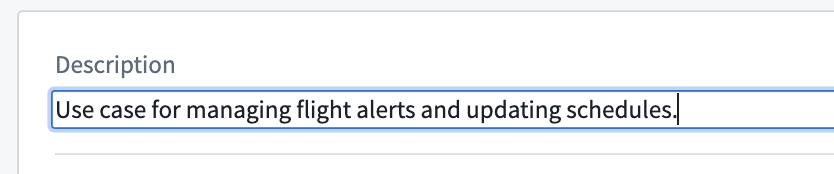
Description
You can easily change the description of your use case by clicking on the description and editing within the text field.
Owners
There are two types of owners that you can assign to your use case: Technical and Business.
- Technical owner: The technical owner is generally the application builder who is responsible for using Foundry resources to create application outputs for the use case.
- You are the default technical owner of your use case.
- Business owner: The business owner is typically a user who tracks workflow progress and financial details of a use case.
- There is no default user assigned as a business owner to your use case.
To change the owners of your use case, hover over the name or empty field and click on the pencil icon. This will open a search dropdown where you can scroll through or search for available users. As we do not yet have a business owner for our use case, we will assign one now.
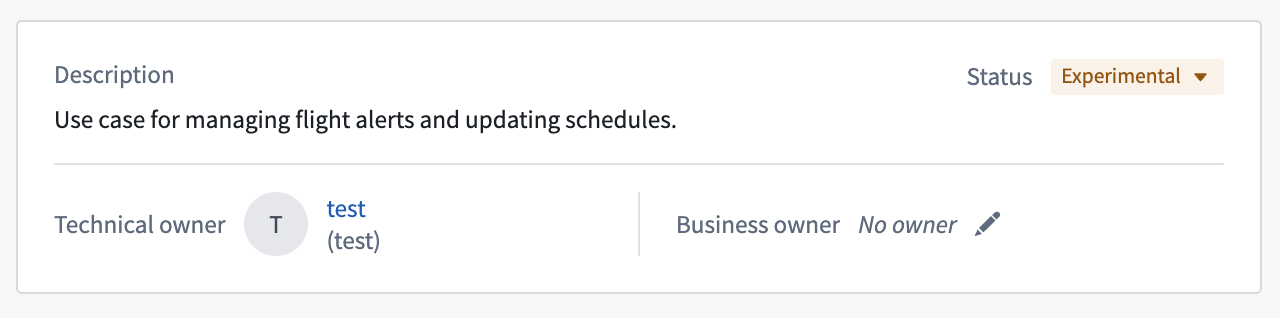
We added user test2 to be the business owner of our use case.
Status
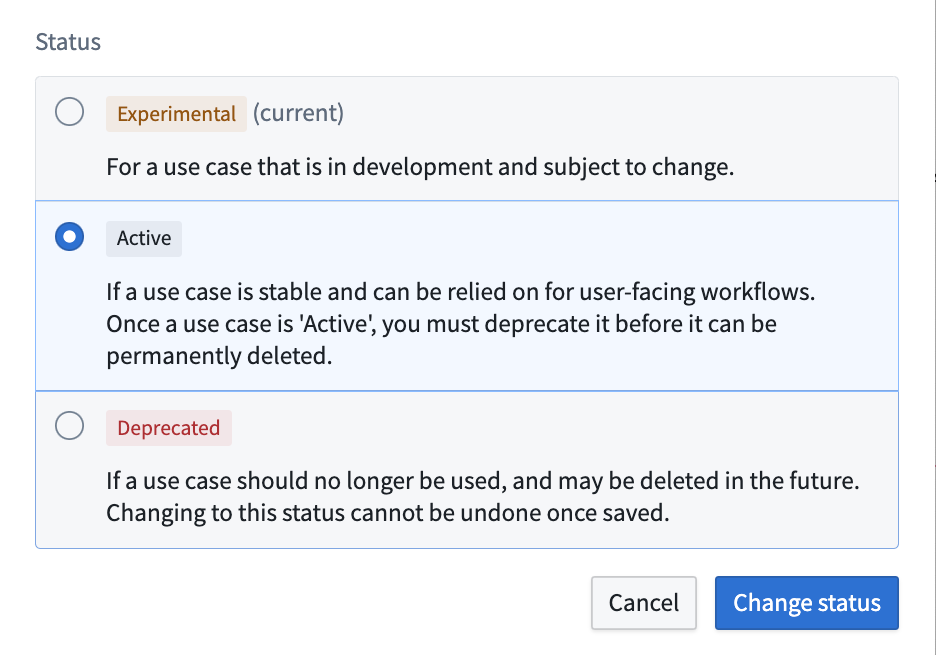
You can assign your use case a status relevant to its operation status:
- Active: Published and operating within your Foundry instance.
- Experimental: In-progress and not actively published.
- Deprecated: No longer in operation.
Let’s change the status of our use case from Experimental to Active. Click on the status dropdown, choose Active, then click Change status.
Part 3: Add resources
Now that we have created a new use case with a backing Project, we can begin adding application resources. Let’s start by creating a new Workshop module.
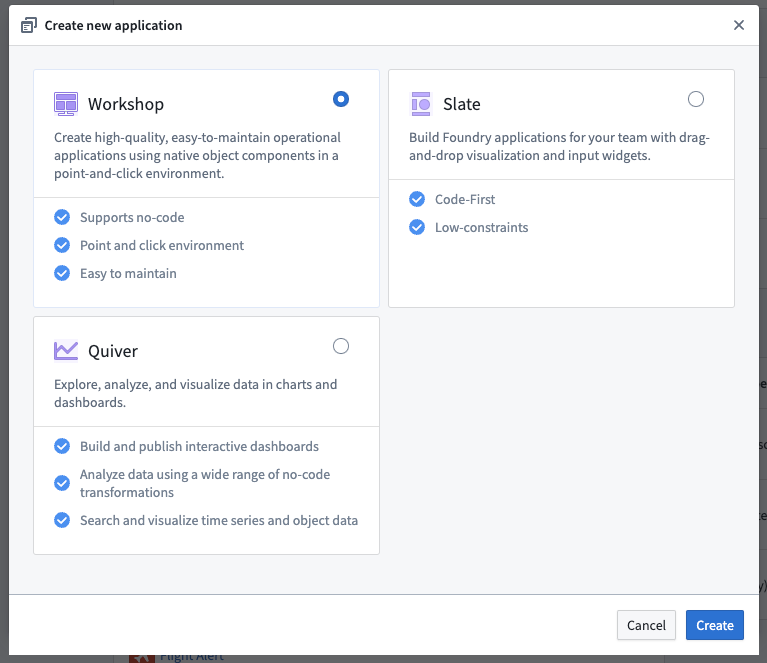
From your use case overview page, find the Applications section in the middle and click + Add new application. Choose the Workshop option, then click Create.
The new workshop module will be created and opened. From here, you can name the module and choose from various widgets to configure and use. Learn more about creating interactive modules in Workshop.
You can navigate back to the use case by clicking the top left header of the Workshop module name.
中文翻译
入门指南
构建新用例
在本教程中,我们将使用用例(Use Cases)应用程序创建一个包含多种应用和本体(Ontology)资源的新用例。随后,我们可以直接从用例概览页面导航到 Workshop 和 Ontology Manager 等应用,并添加更多应用。
第一部分:创建用例
首先,我们需要访问用例(Use Cases)应用程序。
登录 Foundry 后,从左侧导航栏的 平台应用(Platform Apps) 下访问 Use Cases 应用。如果该应用不可见,请选择 查看全部(View all),然后在弹出的 平台应用(Platform apps) 搜索窗口中的 运营应用(Operational applications) 部分找到 Use Cases。
现在您将进入 Use Cases 应用的主页。如果您尚未创建用例,此页面将显示为空。
在 所有用例(All use cases) 部分的右侧,点击 + 新建(+ Create new)。这将打开 创建用例(Create use case) 弹窗。添加用例名称和描述。在我们的示例中,用例名称为“航班警报用例”,描述为“用于管理航班警报和更新排期的用例”。
在本教程中,我们将在文件系统中创建一个新的支持项目(Project)。点击右下角的 + 新建(+ Create new),打开 创建新项目(Create new project) 弹窗,您可以在其中向 Foundry 文件系统添加一个新项目。为您的项目添加名称、可选描述和空间(space)。
您的空间将决定您组织中用户的默认组织(Organization)和角色。在我们的示例中,项目名称为“航班警报项目”,描述为“航班警报用例的支持项目”。我们的空间是 Palantir,组织是 Palantir,默认角色是 查看者(Viewer)。
选择 创建(Create) 以创建新项目并返回 创建用例(Create use case) 弹窗。再次选择 创建(Create) 以创建您的用例并进入用例概览(use case overview)页面。
了解更多关于组织(Organizations)、角色(roles)以及其他平台安全(platform security)概念的信息。
第二部分:编辑元数据
创建用例和支持项目后,您可以修改有助于定义用例的元数据。这些元数据包括用例名称、描述、所有者和状态。
此时,您的用例概览页面应如下所示:
请注意,您默认将成为用例的技术所有者。在我们的示例中,我们使用了一个 test 用户。
名称
如果您想更改用例的名称,可以从用例概览页面进行操作。点击页面顶部的用例名称,然后在文本字段中进行编辑。
描述
您可以通过点击描述并在文本字段中编辑,轻松更改用例的描述。
所有者
您可以为您分配两种类型的所有者:技术所有者(Technical) 和 业务所有者(Business)。
- 技术所有者: 技术所有者通常是负责使用 Foundry 资源为用例创建应用输出的应用构建者。
- 您是您用例的默认技术所有者。
- 业务所有者: 业务所有者通常是跟踪用例工作流进度和财务细节的用户。
- 您的用例没有默认分配的业务所有者。
要更改用例的所有者,请将鼠标悬停在名称或空字段上,然后点击铅笔图标。这将打开一个搜索下拉菜单,您可以在其中滚动或搜索可用用户。由于我们的用例还没有业务所有者,我们现在将分配一个。
我们添加了用户 test2 作为我们用例的业务所有者。
状态
您可以为用例分配与其运营状态相关的状态:
- 活跃(Active): 已发布并在您的 Foundry 实例中运行。
- 实验性(Experimental): 正在进行中且未主动发布。
- 已弃用(Deprecated): 不再运行。
让我们将用例的状态从 实验性(Experimental) 更改为 活跃(Active)。点击状态下拉菜单,选择 活跃(Active),然后点击 更改状态(Change status)。
第三部分:添加资源
现在我们已经创建了一个带有支持项目的新用例,可以开始添加应用资源了。让我们先创建一个新的 Workshop 模块。
从您的用例概览页面,找到中间的 应用(Applications) 部分,点击 + 添加新应用(+ Add new application)。选择 Workshop 选项,然后点击 创建(Create)。
新的 Workshop 模块将被创建并打开。在这里,您可以命名模块,并从各种小部件(widgets)中选择进行配置和使用。了解更多关于在 Workshop 中创建交互式模块(creating interactive modules)的信息。
您可以通过点击 Workshop 模块名称左上角的标题,导航回用例。