Create a media set batch pipeline with Code Repositories(使用代码仓库创建媒体集批次管道)
This guide will walk you through a simple transformation example using the Code Repositories application. You will learn how to write and edit Python code with media sets.
1. Create a repository
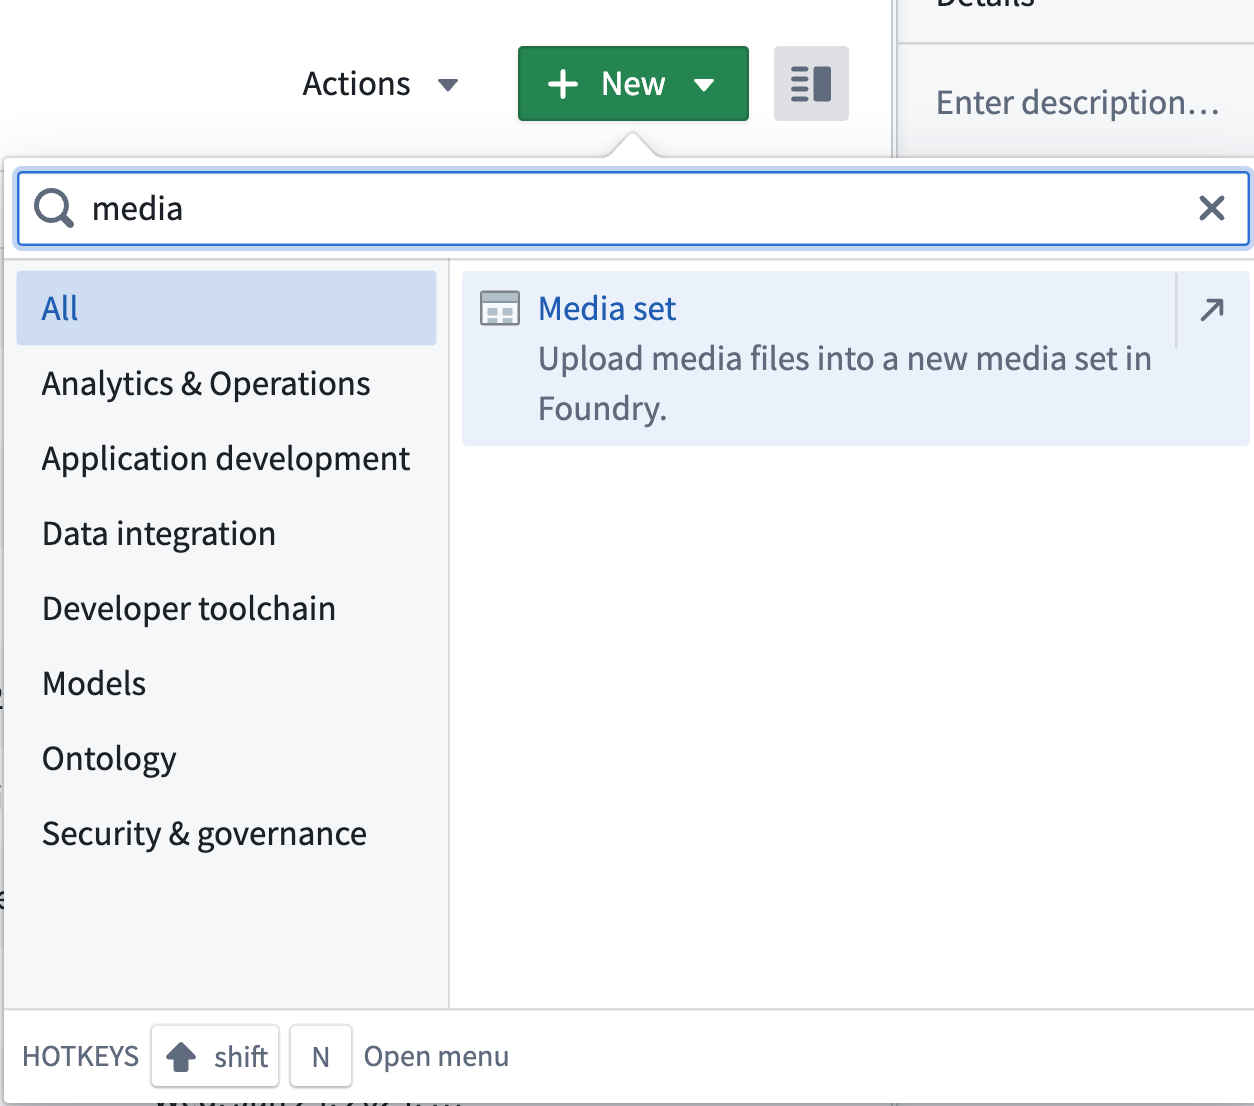
Get started by creating a new repository. To do so, navigate to a Project in Foundry, select + New in the upper right, then select Code repository.
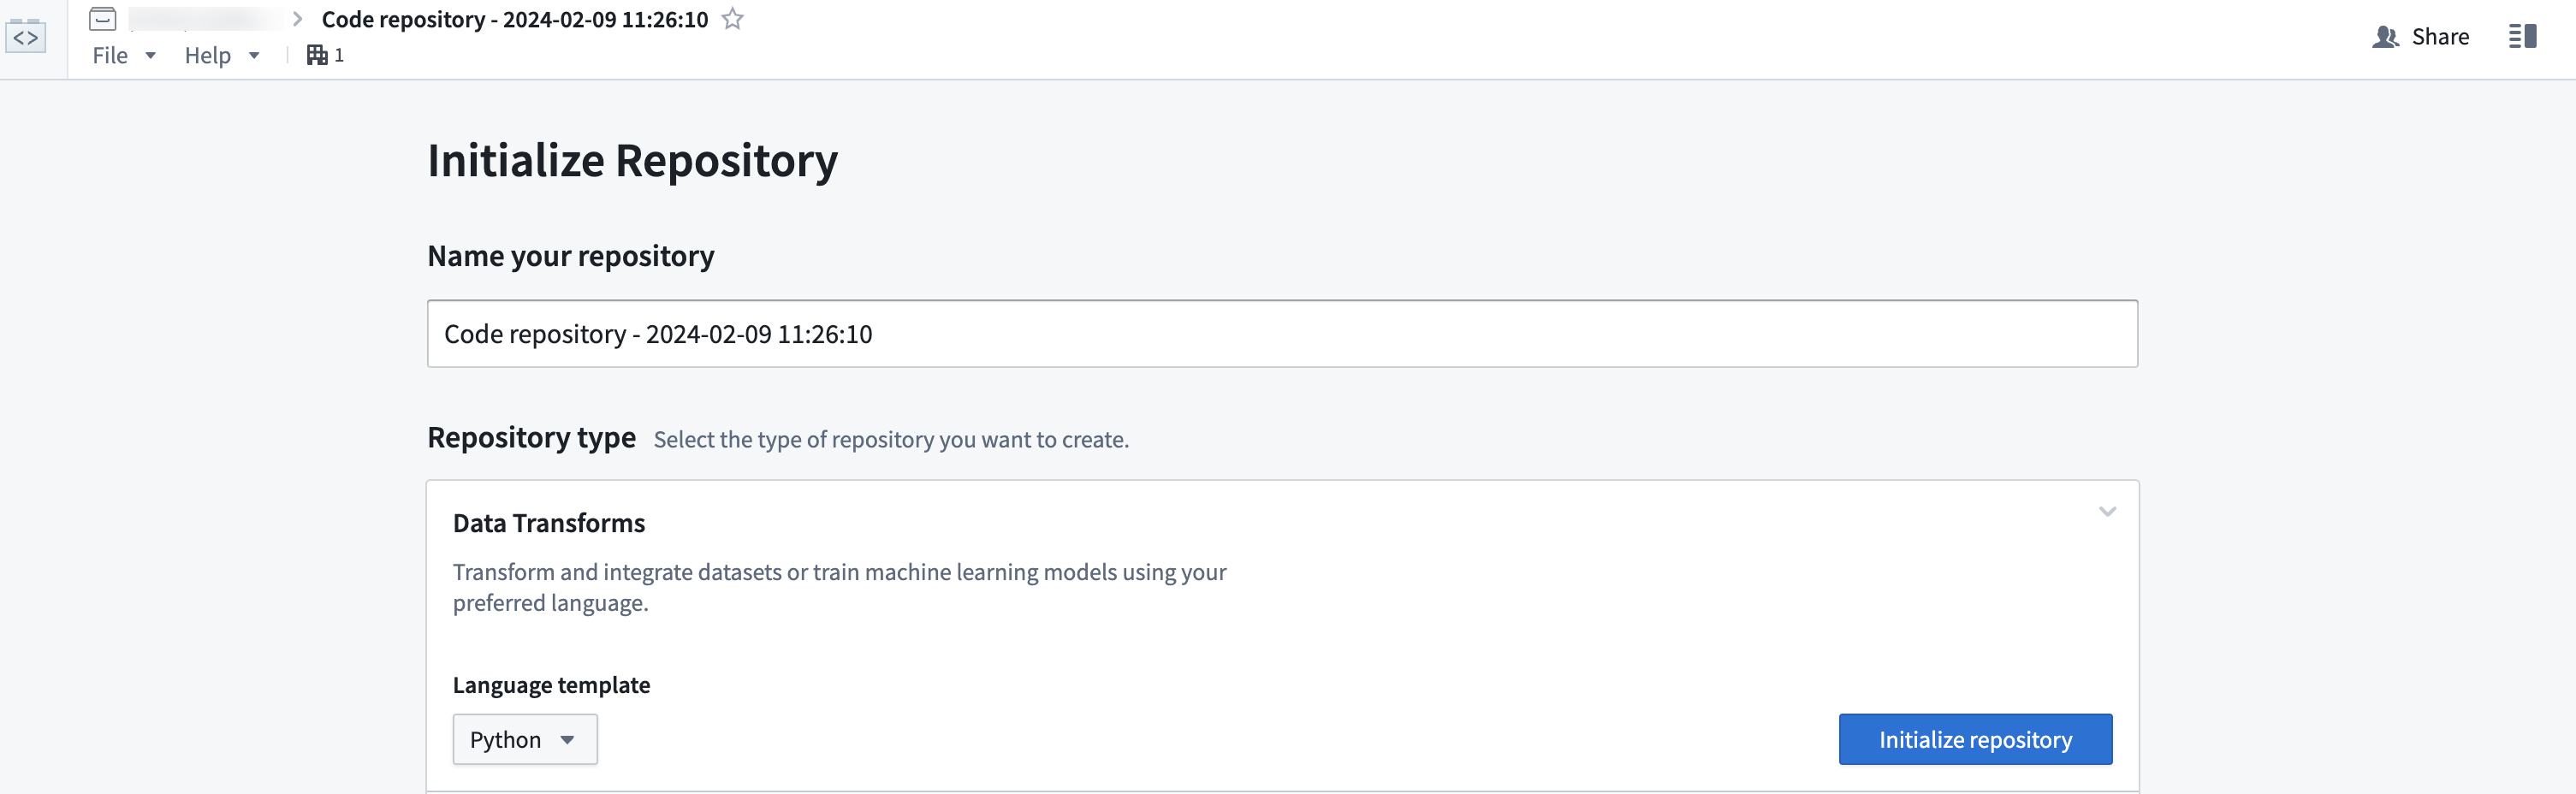
For this guide, we will write a Python transform. Give your repository a name and select Python in the dropdown menu under Language template. Then, select Initialize repository.
2. Import your data
If you already imported a raw media set to work with, you can move on to the next step. Otherwise, refer to the media sets guide on how to import media into Foundry.
3. Import the transforms-media library
To use media set transformations, you must import the transforms-media library.
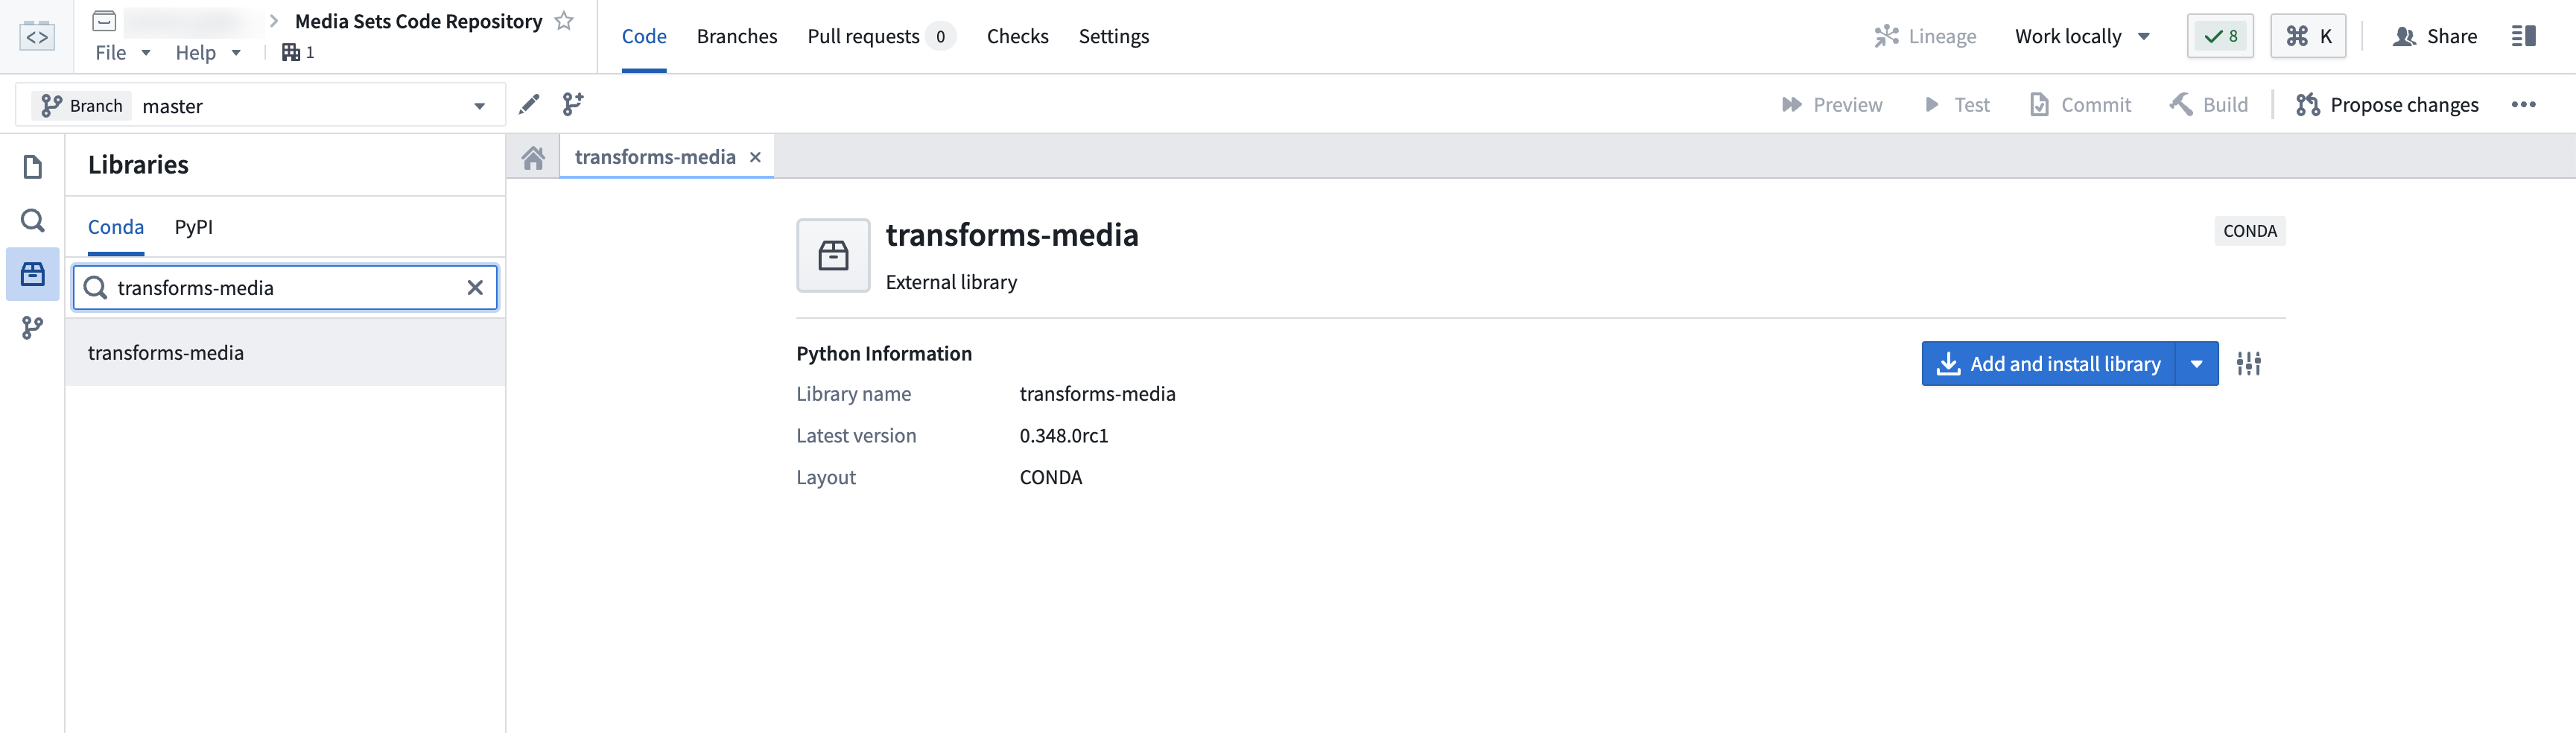
Navigate to the Libraries option from the left sidebar, then search for and select the transforms-media library. Then, choose to Add and install library.
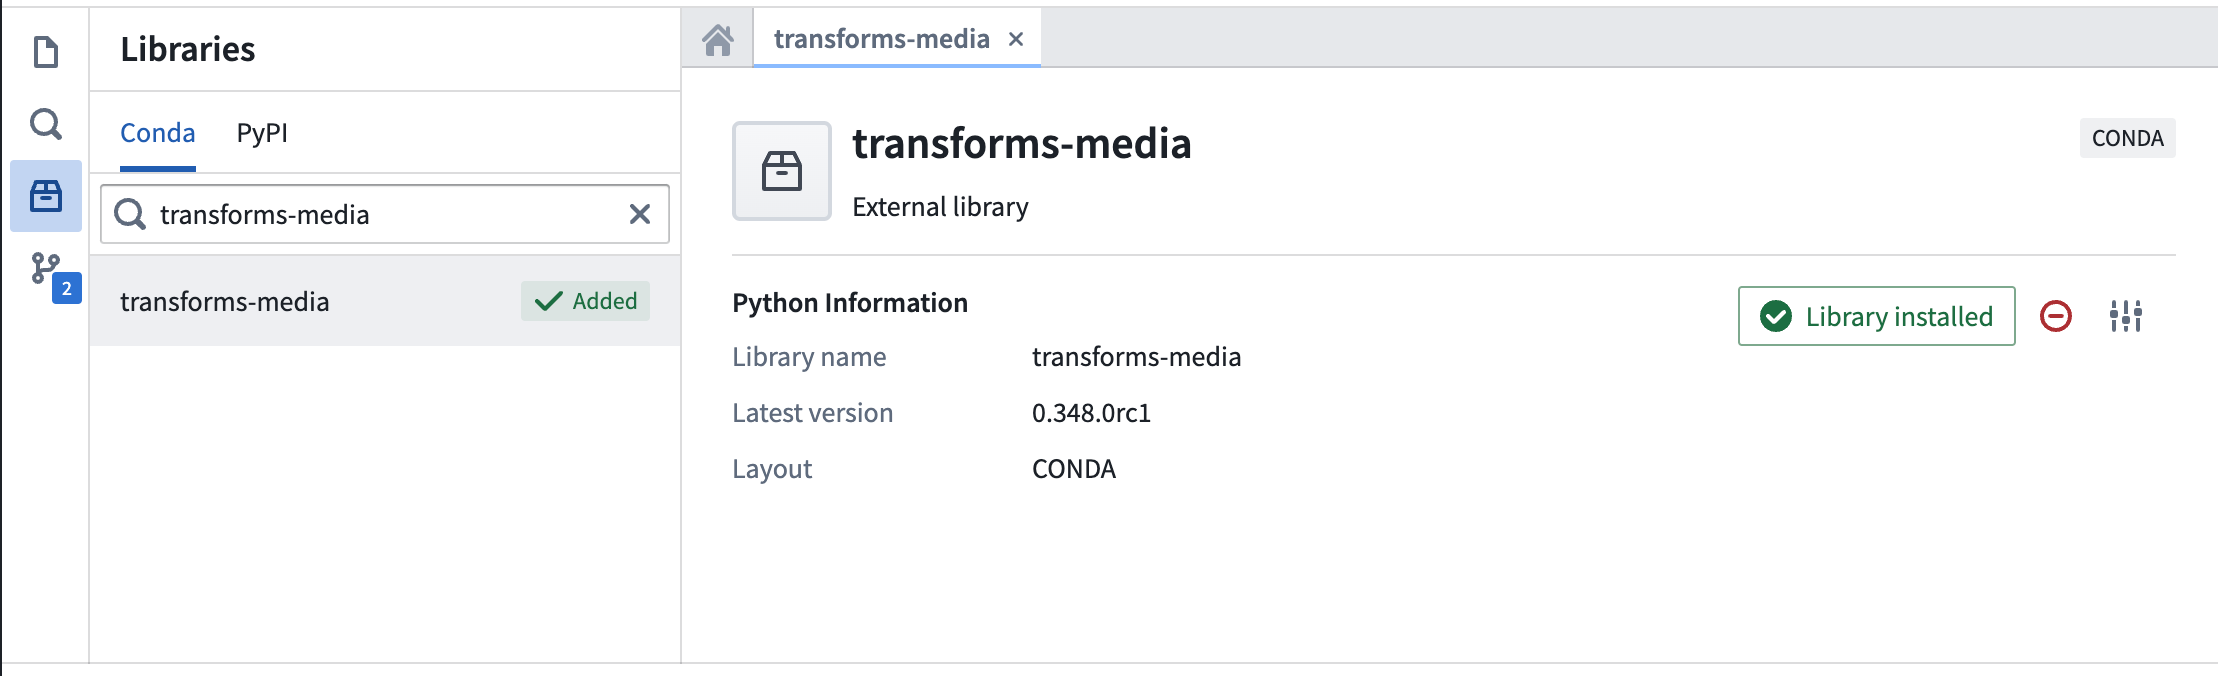
The status should show as Library installed once the install is complete.
4. Edit code
Create a new file
Creating a Python transforms repository should auto-generate an examples.py file which you can use as your base. You can rename the file by selecting the ellipses icon, choosing Rename, and naming your file accordingly.
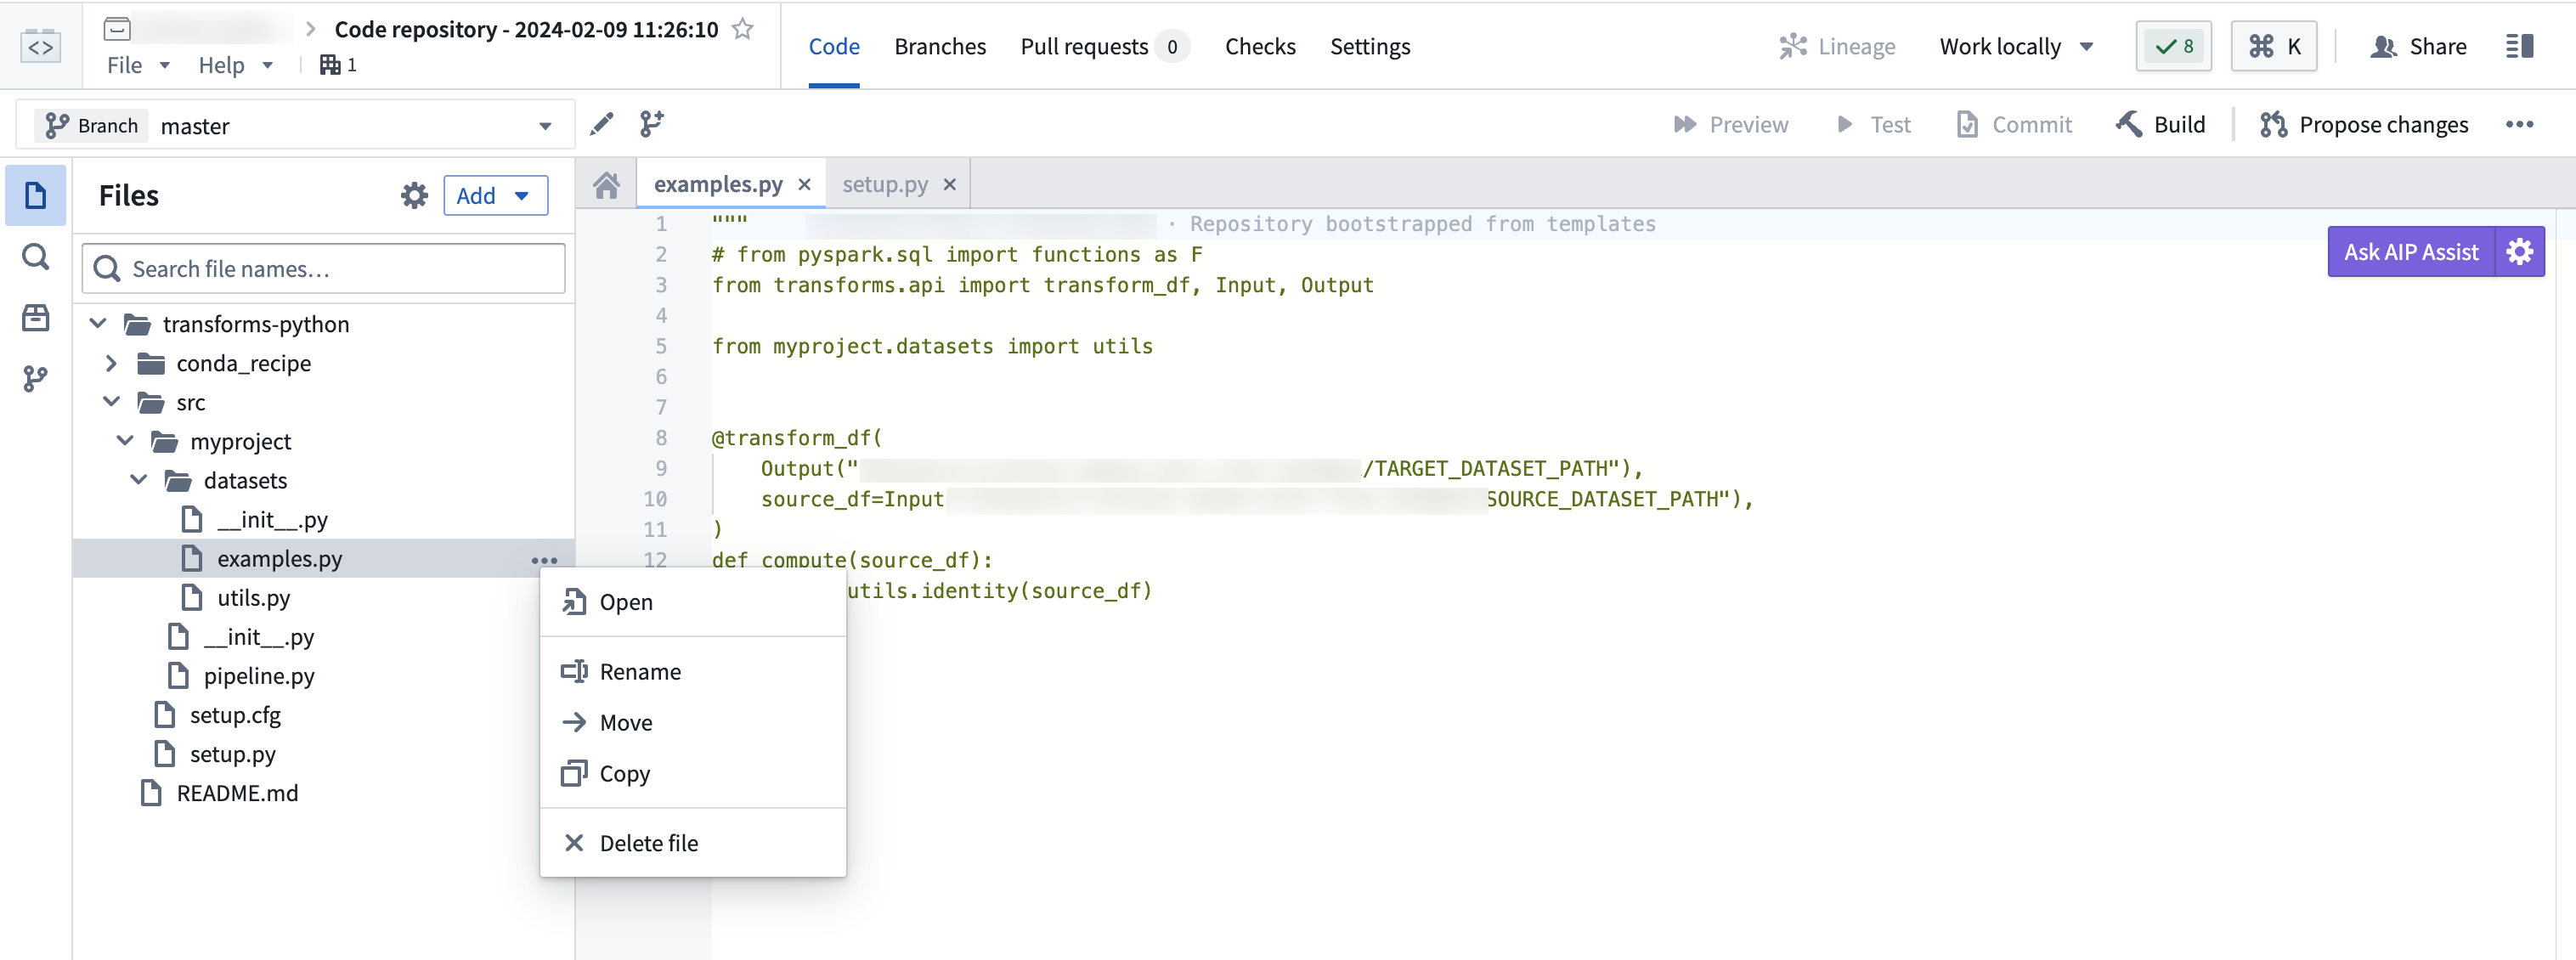
If you want to create a new file, select the ellipses icon and choose New file under the Datasets directory. Ensure you are creating a Python file for the purposes of this workflow.
Import the correct libraries into your file
When working with media sets, you must use the @transform decorator. Media set inputs and outputs must be passed in using transforms.mediasets.MediaSetInput and transforms.mediasets.MediaSetOutput specifications:
from transforms.api import transform
from transforms.mediasets import MediaSetInput, MediaSetOutput
@transform(
    images=MediaSetInput('/examples/images'),
    ...
)
Ensure output file exists
If you are creating a media set output file, be sure to create it before referencing it in the transform decorator.
You can create this file by navigating to your Project folder (where you first created the Python transforms code repository), and selecting New > Media set from the dropdown menu.
Use get_media_item(), get_media_item_by_path(), or list_media_items_by_path_with_media_reference()
To transform each media item in your media set, you must reference these media items in your transformations with get_media_item() or get_media_item_by_path().
Note that calls to get_media_item(), get_media_item_by_path(), return a Python file-like stream object. All options accepted by io.open() ↗ are also supported. Items are read as streams, meaning that random access is not supported.
You can reference single media items as follows:
from transforms.api import transform
from transforms.mediasets import MediaSetInput, MediaSetOutput
@transform(
    images=MediaSetInput('/examples/images'),
    output_images=MediaSetOutput('/examples/output_images')
)
def translate_images(images, output_images):
    image1 = images.get_media_item_by_path("image1") # using path
    image2 = images.get_media_item("ri.mio.main.media-item.123") # using RID
However, you will likely want to list all media items in your media set by putting them into a dataframe. You must list the media items with list_media_items_by_path_with_media_reference():
from transforms.api import transform, Output
from transforms.mediasets import MediaSetInput
@transform(
    images=MediaSetInput('/examples/images'),
    listing_output=Output('/examples/listed_images')
)
def translate_images(ctx, images, listing_output):
    media_items_listing = images.list_media_items_by_path_with_media_reference(ctx)

    # You can perform any PySpark function with the listed output
The listing will have the following schema:
+--------------------------+-----------+-------------------+
|        mediaItemRid      |    path   |  mediaReference  |
+--------------------------+-----------+-------------------+
| ri.mio.main.media-item.1 | item1.jpg |  {{reference1}}   |
| ri.mio.main.media-item.2 | item2.jpg |  {{reference2}}   |
| ri.mio.main.media-item.3 | item3.jpg |  {{reference3}}   |
+--------------------------+-----------+-------------------+
Example: Turn a PDF media set into a new PNG media set
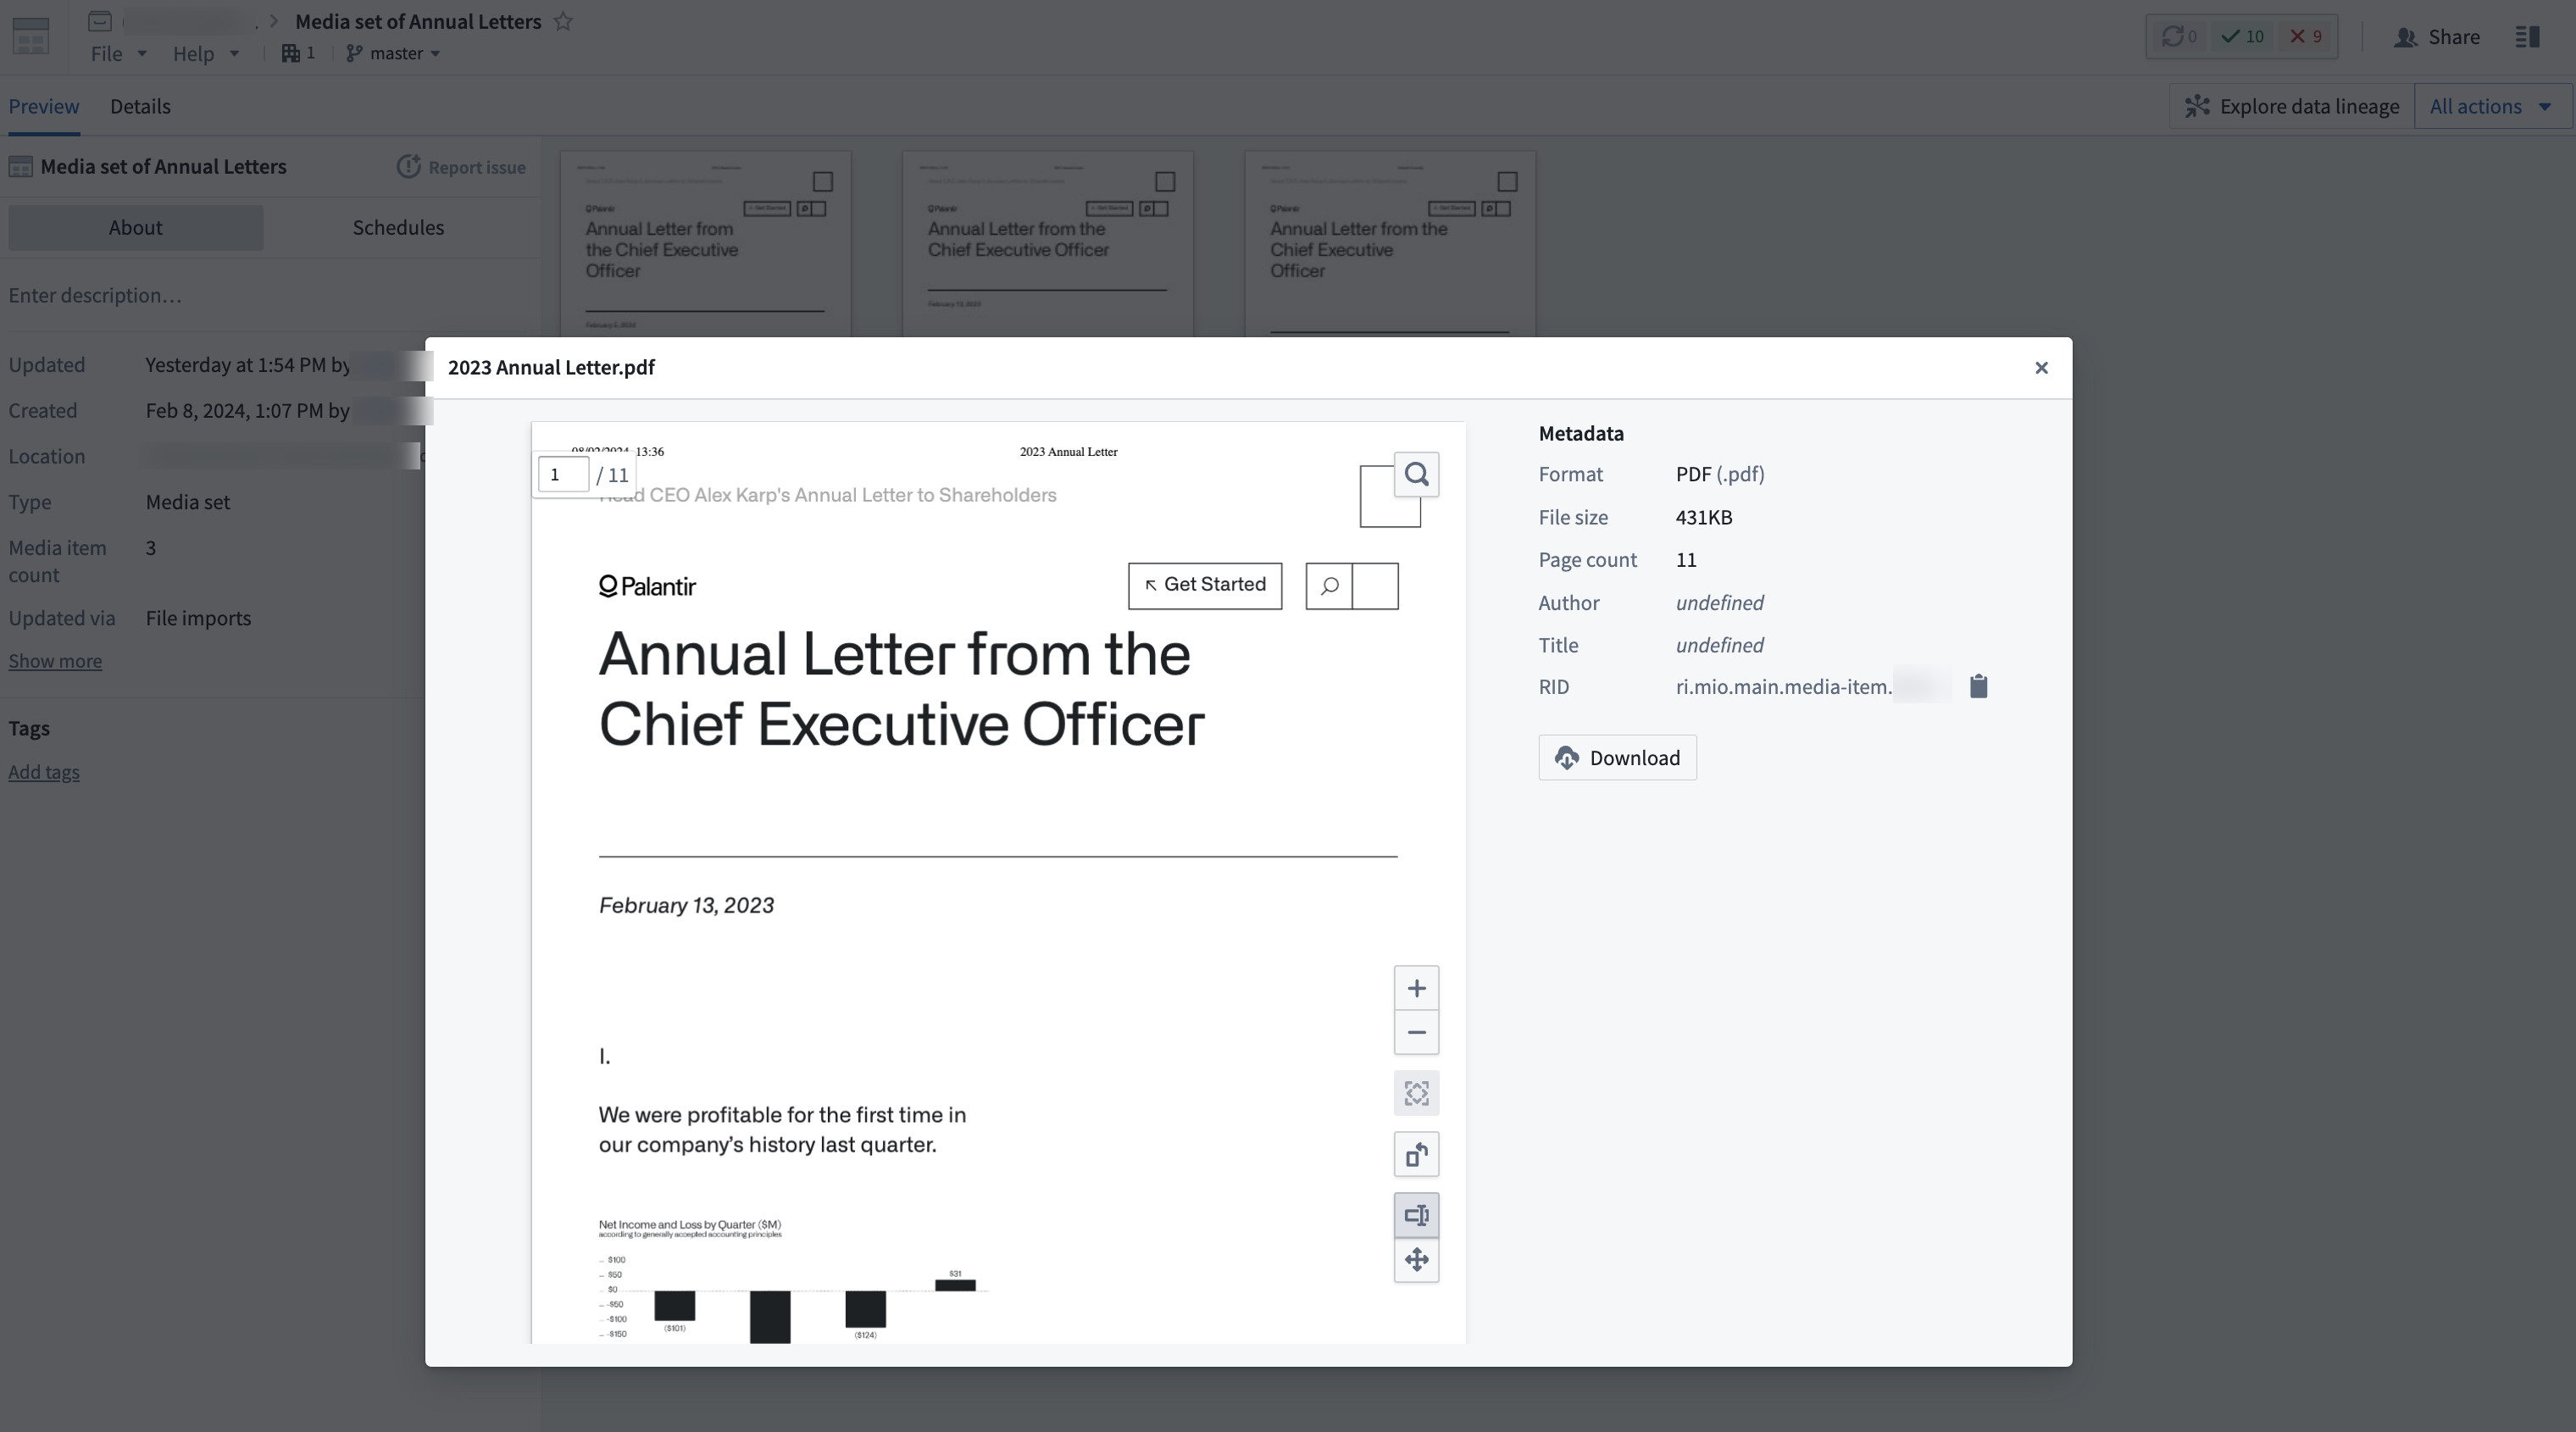
For this example, we will loop through all the media items in our PDF media set and save them as PNG images.
Input example:
Notice that list_media_items_by_path_with_media_reference() returns a dataframe, which allows you to perform PySpark functions on the output. For this example, we are collecting the mediaItemRid column values to loop through as an array:
from transforms.api import transform
from transforms.mediasets import MediaSetInput, MediaSetOutput


@transform(
    pdfs=MediaSetInput('INPUT_MEDIA_SET_PATH'),
    output_pngs=MediaSetOutput('OUTPUT_MEDIA_SET_PATH')
)
def upload_images(ctx, pdfs, output_images):
    media_items_listing = pdfs.list_media_items_by_path_with_media_reference(ctx)
    rid_list = media_items_listing.rdd.map(lambda x: x.mediaItemRid).collect()

    for rid in rid_list:
        output_png = pdfs.transform_document_to_png(rid, 0)
        output_images.put_media_item(output_png, "PNG_"+rid)
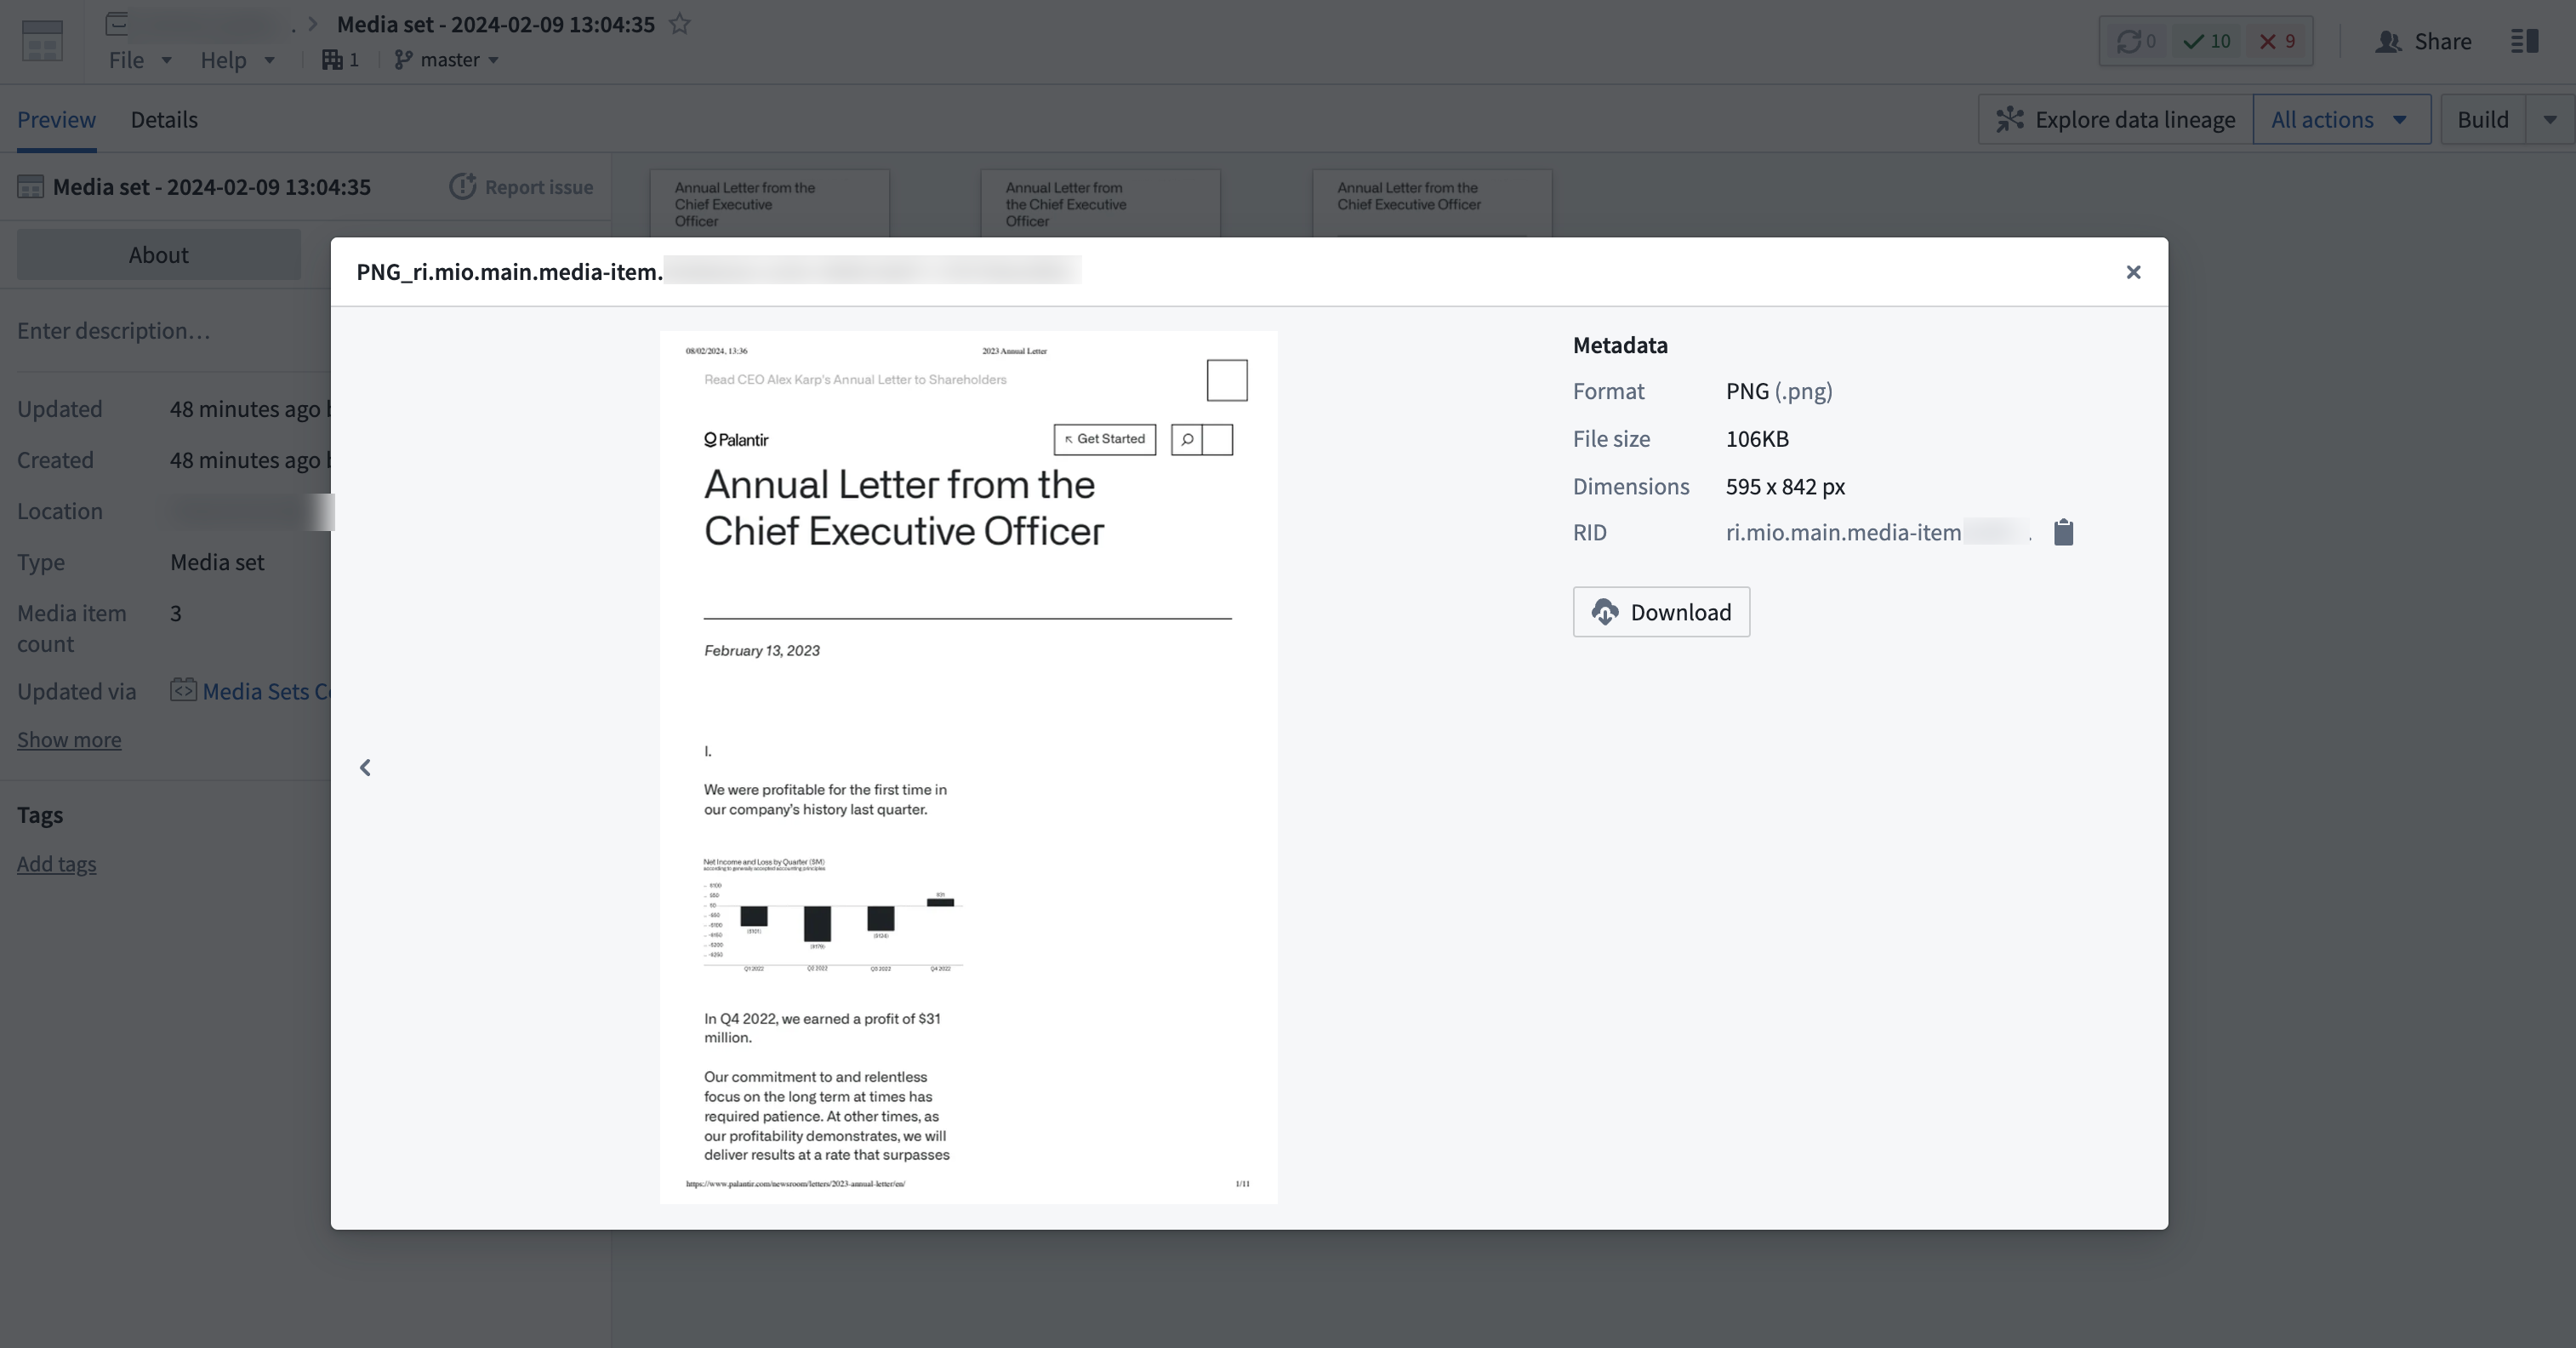
This will produce an output media set with PNG files (as noted from the metadata property):
Review a list of available out-of-the-box transformations in our documentation.
4. Test your changes
:::callout{theme="neutral"} In Foundry, media sets can be branched similarly to code repositories. Branching is useful for testing the design of multi-step data pipelines. For instance, you can test changes to parts of data pipelines in isolation without breaking downstream dependencies for users who do not rely on your branch. :::
After writing your data transformation code, you should test the changes you made. Testing ensures your code is working as expected before merging changes.
5. Commit your changes
Now, you can commit your changes in Code Repositories to label the work you performed. Before you make a commit, your work is auto-saved by default. A commit specifically labels your set of changes when you reach a stopping point.
:::callout{theme="success"} Select the Commit button to commit your changes and run automatic checks on your code. Choosing the Build button also commits your changes, runs automatic code checks, and starts building your output dataset. To quickly test your changes without building your dataset to ensure your code passes the code checks, select Commit. Otherwise, you can skip ahead to merge and build your changes. :::
6. Merge and build your changes
Once you are satisfied with the new media set output, work with any collaborators to merge, build, and view the changes.
中文翻译
使用代码仓库创建媒体集批次管道
本指南将通过一个简单的转换示例,带您了解如何使用代码仓库(Code Repositories)应用。您将学习如何编写和编辑使用媒体集(Media Sets)的Python代码。
1. 创建仓库
首先创建一个新仓库。为此,请导航至Foundry中的项目(Project),选择右上角的+新建,然后选择代码仓库(Code repository)。
在本指南中,我们将编写一个Python转换。为您的仓库命名,并在语言模板(Language template)下的下拉菜单中选择Python。然后,选择初始化仓库(Initialize repository)。
2. 导入数据
如果您已经导入了要处理的原始媒体集,可以直接进入下一步。否则,请参考媒体集指南中关于如何将媒体导入Foundry的内容。
3. 导入transforms-media库
要使用媒体集转换,您必须导入transforms-media库。
从左侧边栏导航至库(Libraries)选项,然后搜索并选择transforms-media库。接着,选择添加并安装库(Add and install library)。
安装完成后,状态应显示为库已安装(Library installed)。
4. 编辑代码
创建新文件
创建Python转换仓库时,系统会自动生成一个examples.py文件,您可以将其作为基础文件。您可以通过选择省略号图标,选择重命名(Rename),然后为文件命名来重命名该文件。
如果您想创建新文件,请选择省略号图标,然后在数据集(Datasets)目录下选择新建文件(New file)。请确保为此工作流程创建的是Python文件。
在文件中导入正确的库
使用媒体集时,必须使用@transform装饰器。媒体集输入和输出必须通过transforms.mediasets.MediaSetInput和transforms.mediasets.MediaSetOutput规范传入:
from transforms.api import transform
from transforms.mediasets import MediaSetInput, MediaSetOutput
@transform(
    images=MediaSetInput('/examples/images'),
    ...
)
确保输出文件存在
如果您要创建媒体集输出文件,请确保在转换装饰器中引用它之前先创建该文件。
您可以通过导航至项目文件夹(即您最初创建Python转换代码仓库的位置),然后从下拉菜单中选择新建 > 媒体集(New > Media set)来创建此文件。
使用get_media_item()、get_media_item_by_path()或list_media_items_by_path_with_media_reference()
要转换媒体集中的每个媒体项,您必须在转换中使用get_media_item()或get_media_item_by_path()来引用这些媒体项。
请注意,调用get_media_item()和get_media_item_by_path()会返回一个类似Python文件的对象流。io.open() ↗接受的所有选项也都被支持。项目以流的形式读取,这意味着不支持随机访问。
您可以按如下方式引用单个媒体项:
from transforms.api import transform
from transforms.mediasets import MediaSetInput, MediaSetOutput
@transform(
    images=MediaSetInput('/examples/images'),
    output_images=MediaSetOutput('/examples/output_images')
)
def translate_images(images, output_images):
    image1 = images.get_media_item_by_path("image1") # 使用路径
    image2 = images.get_media_item("ri.mio.main.media-item.123") # 使用RID
然而,您可能更希望将媒体集中的所有媒体项列出来放入数据框(DataFrame)中。您必须使用list_media_items_by_path_with_media_reference()来列出媒体项:
from transforms.api import transform, Output
from transforms.mediasets import MediaSetInput
@transform(
    images=MediaSetInput('/examples/images'),
    listing_output=Output('/examples/listed_images')
)
def translate_images(ctx, images, listing_output):
    media_items_listing = images.list_media_items_by_path_with_media_reference(ctx)

    # 您可以对列出的输出执行任何PySpark函数
列出的结果将具有以下模式:
+--------------------------+-----------+-------------------+
|        mediaItemRid      |    path   |  mediaReference  |
+--------------------------+-----------+-------------------+
| ri.mio.main.media-item.1 | item1.jpg |  {{reference1}}   |
| ri.mio.main.media-item.2 | item2.jpg |  {{reference2}}   |
| ri.mio.main.media-item.3 | item3.jpg |  {{reference3}}   |
+--------------------------+-----------+-------------------+
示例:将PDF媒体集转换为新的PNG媒体集
在此示例中,我们将遍历PDF媒体集中的所有媒体项,并将其保存为PNG图像。
输入示例:
请注意,list_media_items_by_path_with_media_reference()返回一个数据框(DataFrame),这使您可以在输出上执行PySpark函数。在此示例中,我们收集mediaItemRid列的值,以便作为数组进行遍历:
from transforms.api import transform
from transforms.mediasets import MediaSetInput, MediaSetOutput


@transform(
    pdfs=MediaSetInput('INPUT_MEDIA_SET_PATH'),
    output_pngs=MediaSetOutput('OUTPUT_MEDIA_SET_PATH')
)
def upload_images(ctx, pdfs, output_images):
    media_items_listing = pdfs.list_media_items_by_path_with_media_reference(ctx)
    rid_list = media_items_listing.rdd.map(lambda x: x.mediaItemRid).collect()

    for rid in rid_list:
        output_png = pdfs.transform_document_to_png(rid, 0)
        output_images.put_media_item(output_png, "PNG_"+rid)
这将生成一个包含PNG文件的输出媒体集(从元数据属性中可以看出):
在我们的文档中查看可用的开箱即用转换列表。
4. 测试您的更改
:::callout{theme="neutral"} 在Foundry中,媒体集可以像代码仓库一样进行分支。分支对于测试多步骤数据管道的设计非常有用。例如,您可以隔离地测试数据管道部分的更改,而不会破坏不依赖您分支的用户的下游依赖项。 :::
编写数据转换代码后,您应该测试所做的更改。测试可确保您的代码在合并更改之前按预期工作。
5. 提交更改
现在,您可以在代码仓库(Code Repositories)中提交更改,以标记您完成的工作。在提交之前,您的工作默认会自动保存。当您达到一个暂停点时,提交会专门标记您的更改集。
:::callout{theme="success"} 选择提交(Commit)按钮来提交您的更改并对代码运行自动检查。选择构建(Build)按钮也会提交您的更改,运行自动代码检查,并开始构建您的输出数据集。要快速测试您的更改而不构建数据集,以确保您的代码通过代码检查,请选择提交(Commit)。否则,您可以跳到合并并构建您的更改。 :::
6. 合并并构建更改
当您对新的媒体集输出感到满意后,与任何协作者一起合并、构建并查看更改。