Folders in Pipeline Builder(Pipeline Builder 中的文件夹)
To help manage large pipelines efficiently, organize nodes into different folders and sub-folders in Pipeline Builder. Show only the nodes in a folder or set of folders to focus on pipeline subsections for an improved navigation and editing experience.
Folder setup
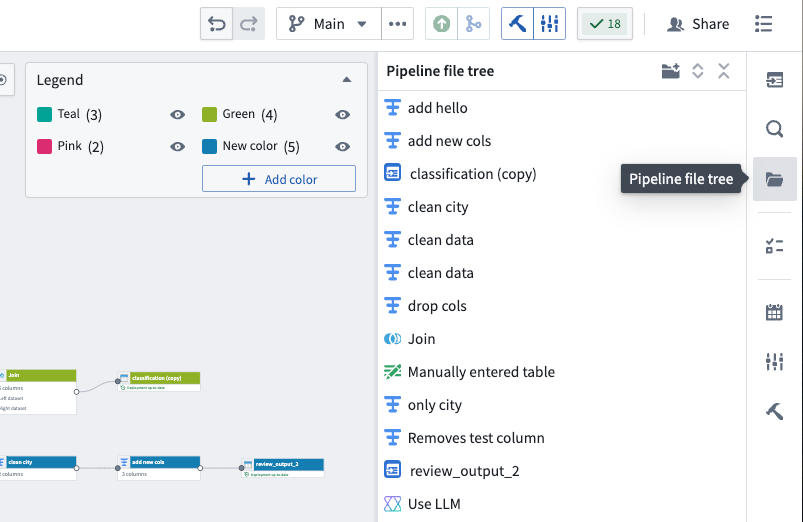
- To set up folders, select the Pipeline file tree folder icon on the left side of your pipeline workspace.
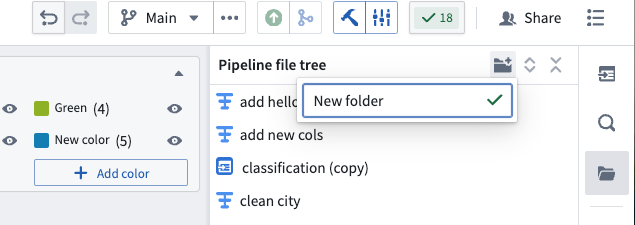
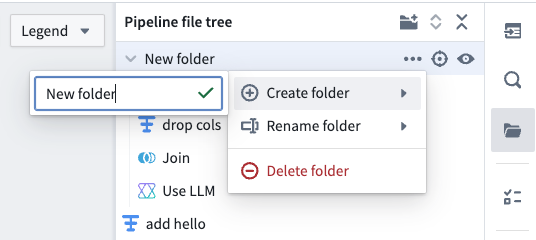
- At the top of the sidebar, select the folder icon with the plus sign to add a new folder. You can rename the folder in the provided text box.
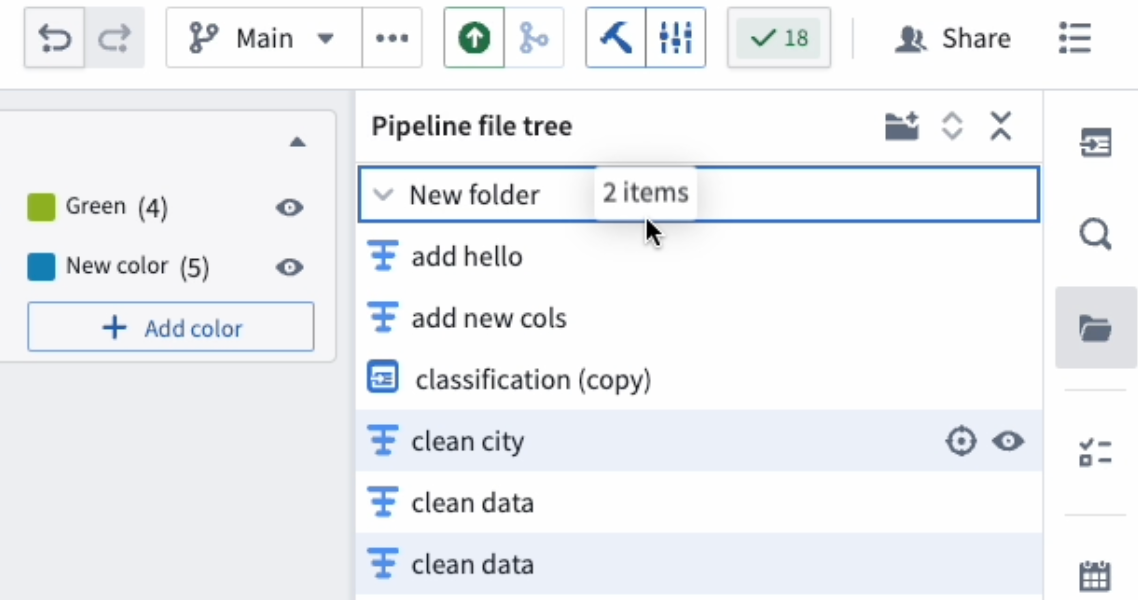
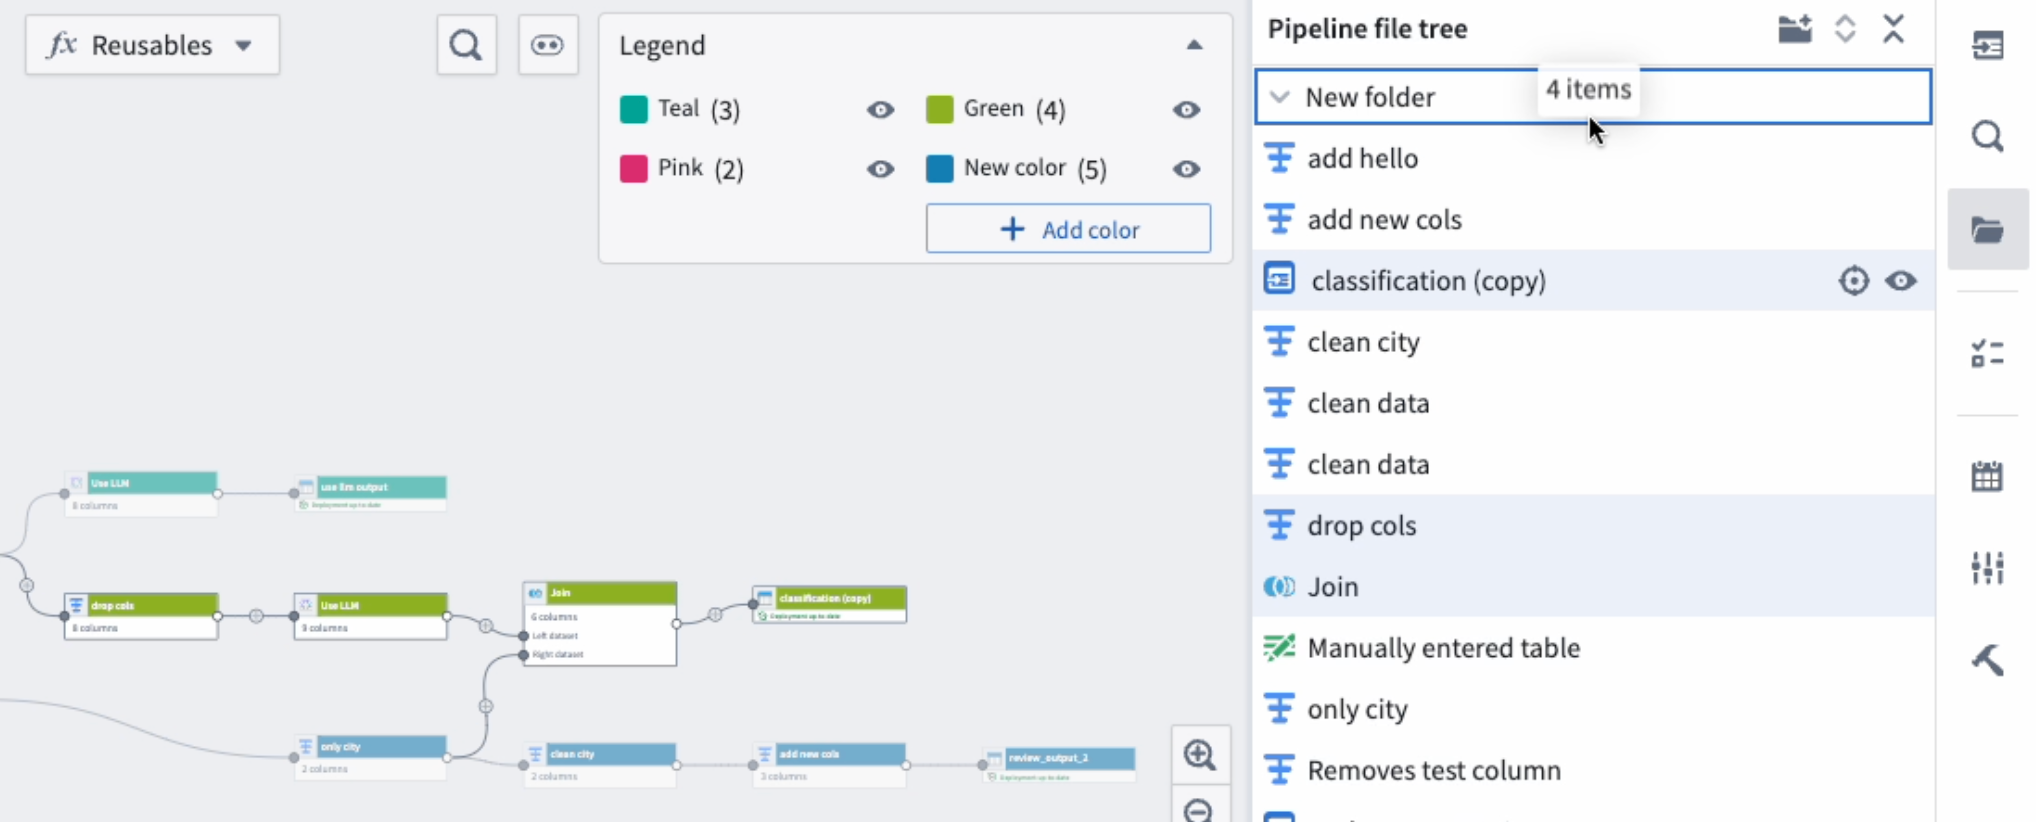
- To move nodes into folders, highlight them directly from the pipeline file tree sidebar or select them on the graph, which will automatically highlight the nodes in the sidebar. Select and drag the highlighted nodes into the desired folder.
- Optionally, you can create sub folders by dragging an existing folder into another folder, or by selecting the three dots next to the parent folder and hovering over Create folder. You can then rename your new sub-folder in the provided text box.
Delete folders
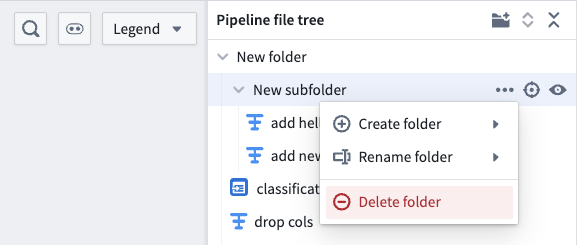
- Select the three dots on the right side of the specified folder.
- Select Delete folder.
:::callout{theme="danger"} Deleting folders will also delete the nodes inside those folders. :::
Show and hide folders
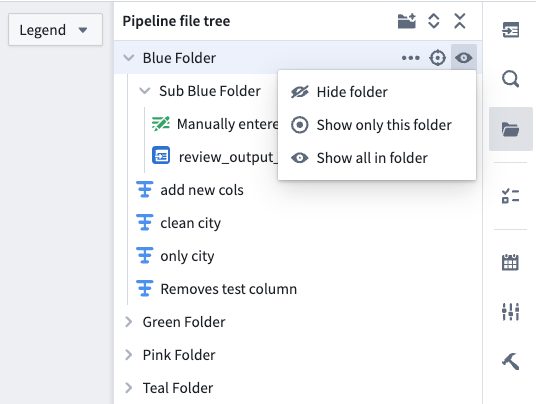
Once the folders are set up, you can easily show and hide node sections by selecting the eye icons on the specified folder.
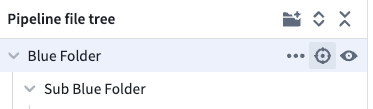
To center the nodes in a folder on your graph, select the target icon.
中文翻译
Pipeline Builder 中的文件夹
为了高效管理大型管道,您可以在 Pipeline Builder 中将节点组织到不同的文件夹和子文件夹中。通过仅显示特定文件夹或一组文件夹中的节点,您可以专注于管道的特定部分,从而提升导航和编辑体验。
文件夹设置
- 要设置文件夹,请在管道工作区左侧选择 Pipeline file tree 文件夹图标。
- 在侧边栏顶部,选择带有加号的文件夹图标以添加新文件夹。您可以在提供的文本框中重命名该文件夹。
- 要将节点移入文件夹,您可以直接在管道文件树侧边栏中选中它们,或者在图上选择它们,这将自动在侧边栏中高亮显示这些节点。选中高亮的节点并将其拖拽到目标文件夹中。
- 此外,您可以通过将现有文件夹拖拽到另一个文件夹中来创建子文件夹,或者选择父文件夹旁边的三个点并将鼠标悬停在 Create folder 上。随后,您可以在提供的文本框中重命名新的子文件夹。
删除文件夹
- 选择指定文件夹右侧的三个点。
- 选择 Delete folder。
:::callout{theme="danger"} 删除文件夹将同时删除这些文件夹内的所有节点。 :::
显示和隐藏文件夹
文件夹设置完成后,您可以通过选择指定文件夹上的眼睛图标,轻松显示和隐藏节点区域。
要将文件夹中的节点居中显示在图上,请选择目标图标。