Getting started with Python functions(Python 函数入门指南)
The following documentation will guide you through the initial steps to prepare Python functions for use in the Palantir platform. You will learn how to create a Python functions repository, commit and publish a function, test in live previews, and more.
Create a Python functions repository
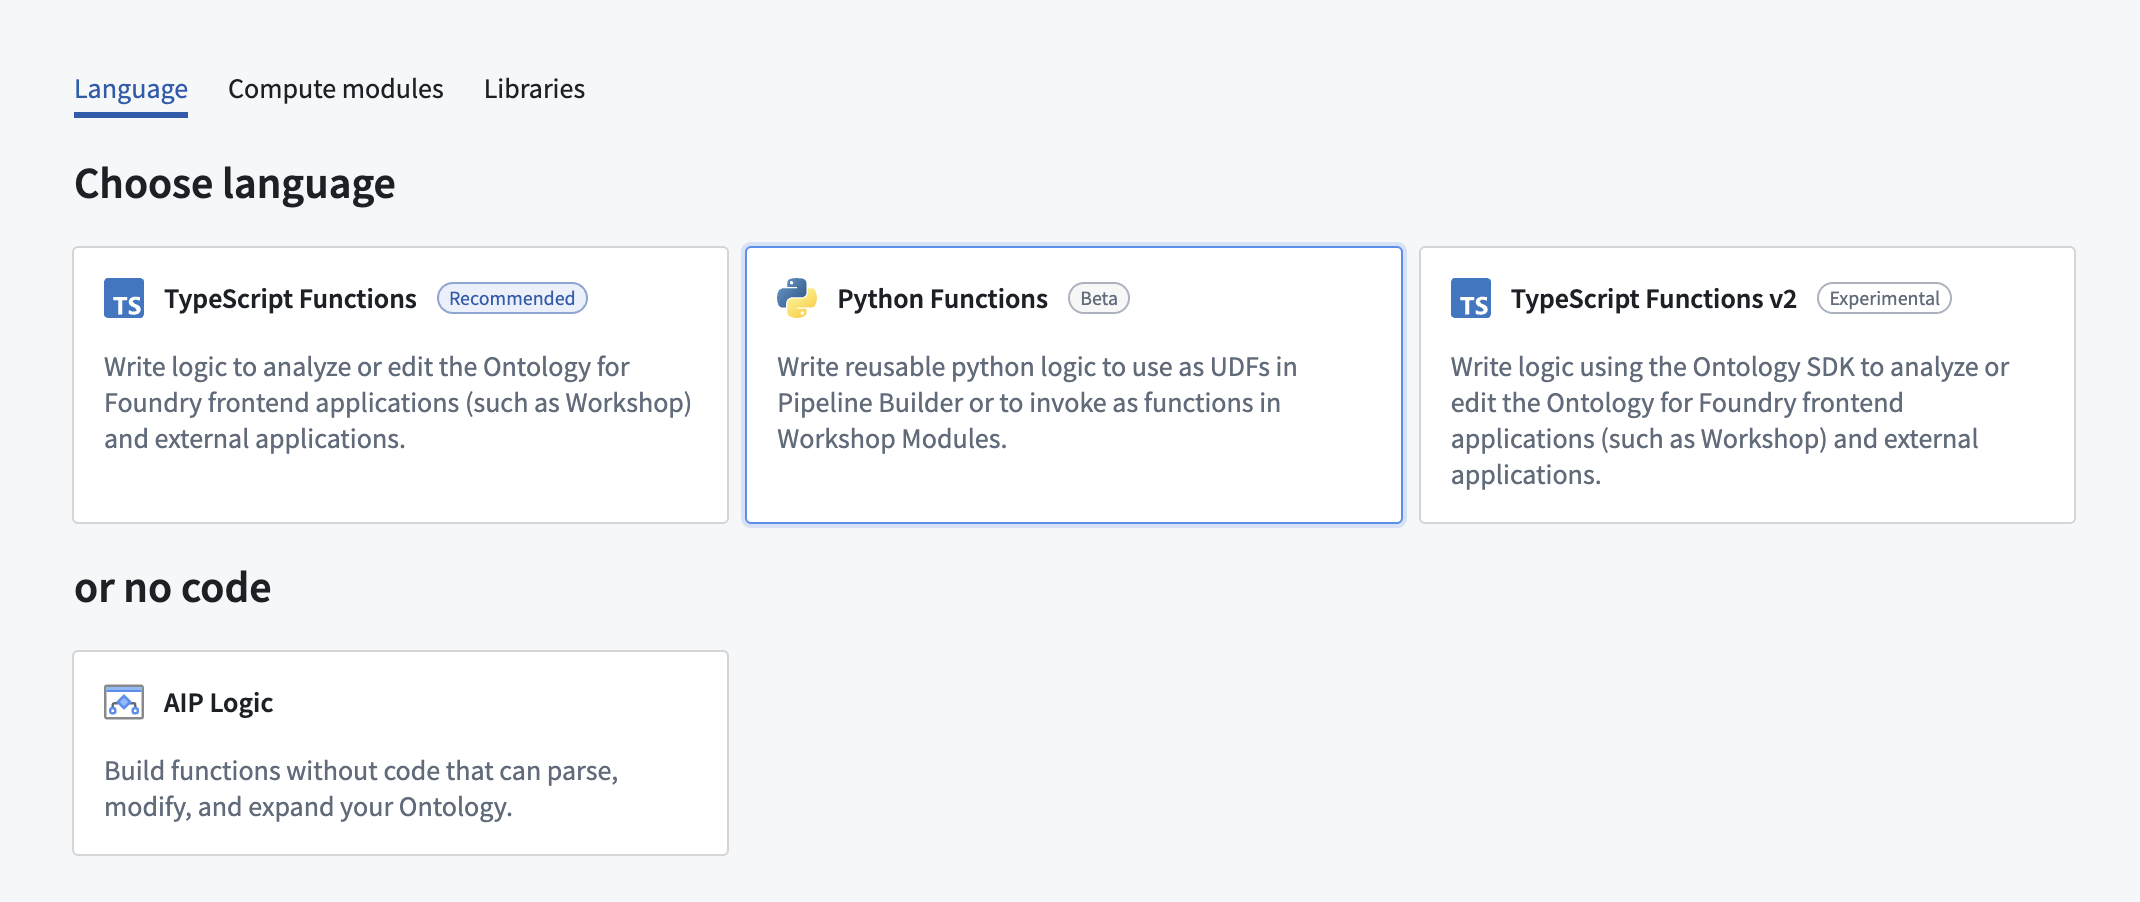
Navigate to a project of your choice and create a new code repository by selecting + New > Repository. Select the Pythons functions template to initialize your repository. We recommend grouping all functions for use in Workshop or Ontology-based applications in a single repository to minimize costs.
Once the repository is created, navigate to the python-functions/python/python-functions/my_function.py file.
Explore the repository
Your repository will be initialized with a my_function.py file containing some example functions, including the following:
```python tab="Python" from functions.api import function, String
@function def my_function() -> String: return "Hello World!"
Notice that the function adheres to the following constraints:
* The function must be decorated with `@function` from the `functions.api` package to be recognized as a Python function. You may have multiple Python files with multiple functions in each file, but *only the functions with this decorator* will be registered as Python functions.
* The function must declare the types of all of its inputs along with the type of its output, either using the type from the functions API package or its corresponding Python type. For example, the above example’s output type is declared as `String` from the functions API, but it may also be declared as the corresponding Python type `str`.
:::callout{theme="neutral"}
Even if you declare the type of an argument with the API type (for example, `String`), your function will be passed the corresponding Python type at runtime (in this example, `str`).
:::
For a full overview of types in Python functions see our [type reference documentation](https://palantir.com/docs/foundry/functions/types-reference/).
## Test in live preview
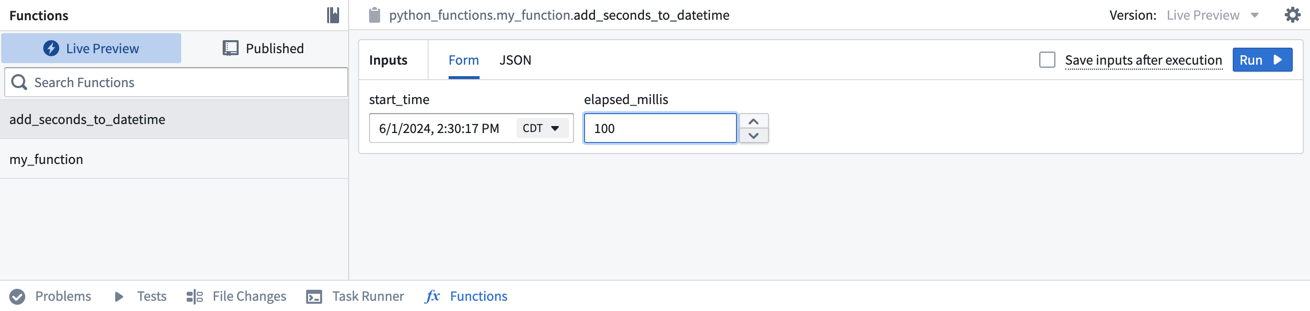
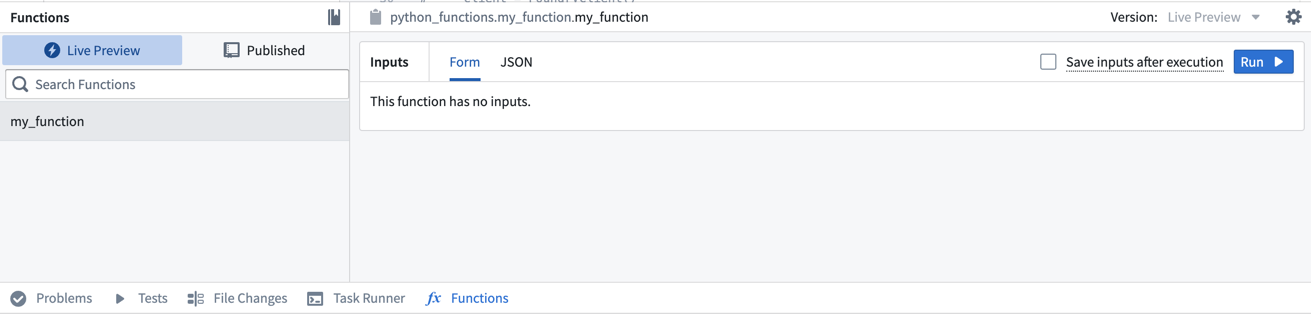
After you add the new function, you can run it immediately in the **Functions** helper. Open the **Functions** helper from the bottom left of the screen and select **Live Preview**. Choose the `add_seconds_to_datetime` function, enter input values, and select **Run** to run the code.
Select **Commit** in the upper right to commit your changes onto the `master` branch of your repository.
### Commit and publish a function
Once you write a function (or uncomment one of the example functions provided), follow the steps below to commit and publish it.
1. Commit your changes by selecting **Commit** in the **Source control** tab and adding a commit message.
2. Select the **Branches** tab from the top center of the screen, then select **Tags and releases**.
3. Choose **New tag** and provide a version for the release.
<img src="./media/new-functions-tag.png" alt="Select an appropriate version" width=500>
4. Select **Tag and release** and wait for the release step to complete.
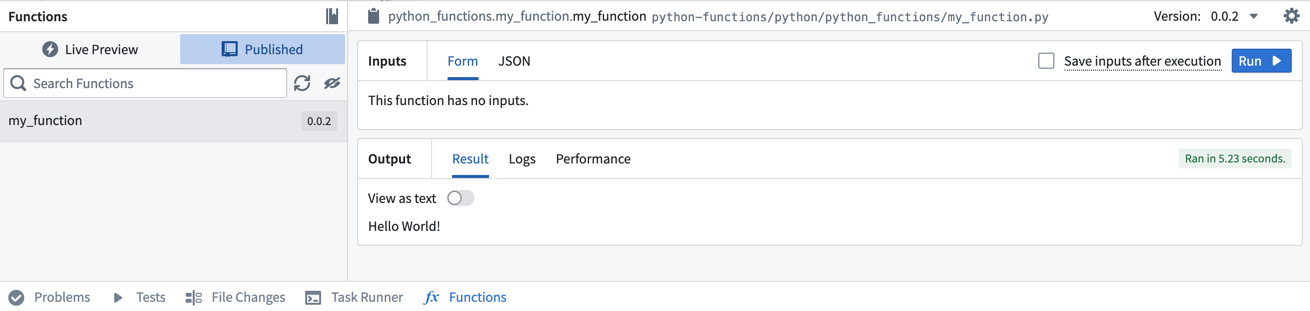
5. Once the check is successful, select the **Code** tab, then open the **Functions** tab on the bottom of the page. You will see `my_function` in the results.
6. Select the function, then choose **Run** to execute the function that you just published.
## Add another function
Now, we will add a more complex function to this repository to test and publish. Copy and paste the code below to the bottom of the `my_function` file.
```python tab="Python"
from functions.api import function, String
from datetime import datetime, timedelta
@function
def add_seconds_to_datetime(start_time: datetime, elapsed_millis: int) -> str:
dt = start_time + timedelta(milliseconds=elapsed_millis)
return dt.isoformat()
For more examples of how to use your Python functions in the platform, review our documentation on using Python functions in Pipeline Builder and on using Python functions in Workshop.
中文翻译
Python 函数入门指南
以下文档将引导您完成在 Palantir 平台中使用 Python 函数(Python functions)的初始步骤。您将学习如何创建 Python 函数代码仓库(repository)、提交并发布函数、在实时预览(live preview)中进行测试等操作。
创建 Python 函数代码仓库
导航至您选择的项目,通过选择 + New > Repository 创建新的代码仓库。选择 Python functions 模板来初始化您的仓库。我们建议将所有用于 Workshop 或基于 Ontology 的应用程序的函数集中存放在一个仓库中,以降低成本。
仓库创建完成后,导航至 python-functions/python/python-functions/my_function.py 文件。
探索仓库
您的仓库将使用一个包含示例函数的 my_function.py 文件进行初始化,示例如下:
```python tab="Python" from functions.api import function, String
@function def my_function() -> String: return "Hello World!"
请注意,该函数需满足以下约束条件:
* 函数必须使用 `functions.api` 包中的 `@function` 装饰器(decorator),才能被识别为 Python 函数。您可以在多个 Python 文件中定义多个函数,但*只有带有此装饰器的函数*才会被注册为 Python 函数。
* 函数必须声明所有输入参数的类型以及输出类型,既可以使用 functions API 包中的类型,也可以使用对应的 Python 类型。例如,上述示例的输出类型声明为 functions API 中的 `String`,但也可以声明为对应的 Python 类型 `str`。
:::callout{theme="neutral"}
即使您使用 API 类型(例如 `String`)声明参数类型,运行时传递给函数的将是对应的 Python 类型(在此示例中为 `str`)。
:::
有关 Python 函数类型的完整概述,请参阅我们的[类型参考文档](https://palantir.com/docs/foundry/functions/types-reference/)。
## 在实时预览中测试
添加新函数后,您可以立即在 **Functions** 辅助工具中运行它。从屏幕左下角打开 **Functions** 辅助工具,选择 **Live Preview**。选择 `add_seconds_to_datetime` 函数,输入参数值,然后选择 **Run** 来运行代码。

选择右上角的 **Commit**,将更改提交到仓库的 `master` 分支。
### 提交并发布函数
编写函数(或取消注释提供的示例函数之一)后,请按照以下步骤提交并发布:
1. 在 **Source control** 选项卡中选择 **Commit**,添加提交信息,提交更改。
2. 从屏幕顶部中央选择 **Branches** 选项卡,然后选择 **Tags and releases**。
3. 选择 **New tag**,为发布提供版本号。
<img src="./media/new-functions-tag.png" alt="选择适当的版本" width=500>
4. 选择 **Tag and release**,等待发布步骤完成。
5. 检查成功后,选择 **Code** 选项卡,然后打开页面底部的 **Functions** 选项卡。您将在结果中看到 `my_function`。

6. 选择该函数,然后选择 **Run** 来执行刚刚发布的函数。

## 添加另一个函数
现在,我们将向此仓库添加一个更复杂的函数进行测试和发布。将以下代码复制并粘贴到 `my_function` 文件的末尾。
```python tab="Python"
from functions.api import function, String
from datetime import datetime, timedelta
@function
def add_seconds_to_datetime(start_time: datetime, elapsed_millis: int) -> str:
dt = start_time + timedelta(milliseconds=elapsed_millis)
return dt.isoformat()
有关如何在平台中使用 Python 函数的更多示例,请查阅我们的文档:在 Pipeline Builder 中使用 Python 函数 和 在 Workshop 中使用 Python 函数。