Publish a widget set(发布微件集 (widget set))
A widget set may be published through one of the following methods:
- Manual upload of a .zip archive file in the user interface
- CLI command from
@osdk/cli - Foundry CI/CD for widget sets using Foundry Code Repositories
Publishing a new version of a widget set does not affect existing usages of widgets in the widget set. Host applications such as Workshop will not automatically display new changes until the applications have been configured to use the new published widget set version.
Build a project
The instructions below to build a project are typically automated for CI/CD pipelines but must be followed when manually publishing a widget set.
Before starting, ensure you have followed the instructions in set up a project to set up your FOUNDRY_TOKEN token environment variable. Run the following commands to install dependencies, lint your project for errors and create a production build of your widget set.
```bash tab="bash" npm install npm run lint npm run build
An example production build of a widget set in an output `dist/` folder looks like the following:
A special `.palantir/widgets.config.json` manifest file describes the widgets contained in the build which is typically produced automatically from the project code using [`@osdk/widget.vite-plugin` ↗](https://www.npmjs.com/package/@osdk/widget.vite-plugin) when starting from project templates.

The version of the widget set to publish is included in this manifest file. When using `@osdk/widget.vite-plugin`, a `foundry.config.json` file in the project describes how the version is calculated in the `widgetSet.autoVersion` field. This may be `package-json` which reads the `version` field from `package.json`, or `git-describe` which calculates the version based on a git repository's tags and commits.

## Publish with a manual upload of a .zip archive file in the user interface

On your local machine, follow the instructions for [building a project](#build-a-project). Create a .zip archive file containing the production build of your widget set, ensuring that there are no additional folders (such as the output `dist/` or equivalent folder).

The following code snippet creates an `asset.zip` archive file in the project root with the production build in a `dist/` folder using a bash terminal. Any suitable zip tool can be used for your operating system.

```bash tab="bash"
cd dist/
zip -r ../asset.zip .
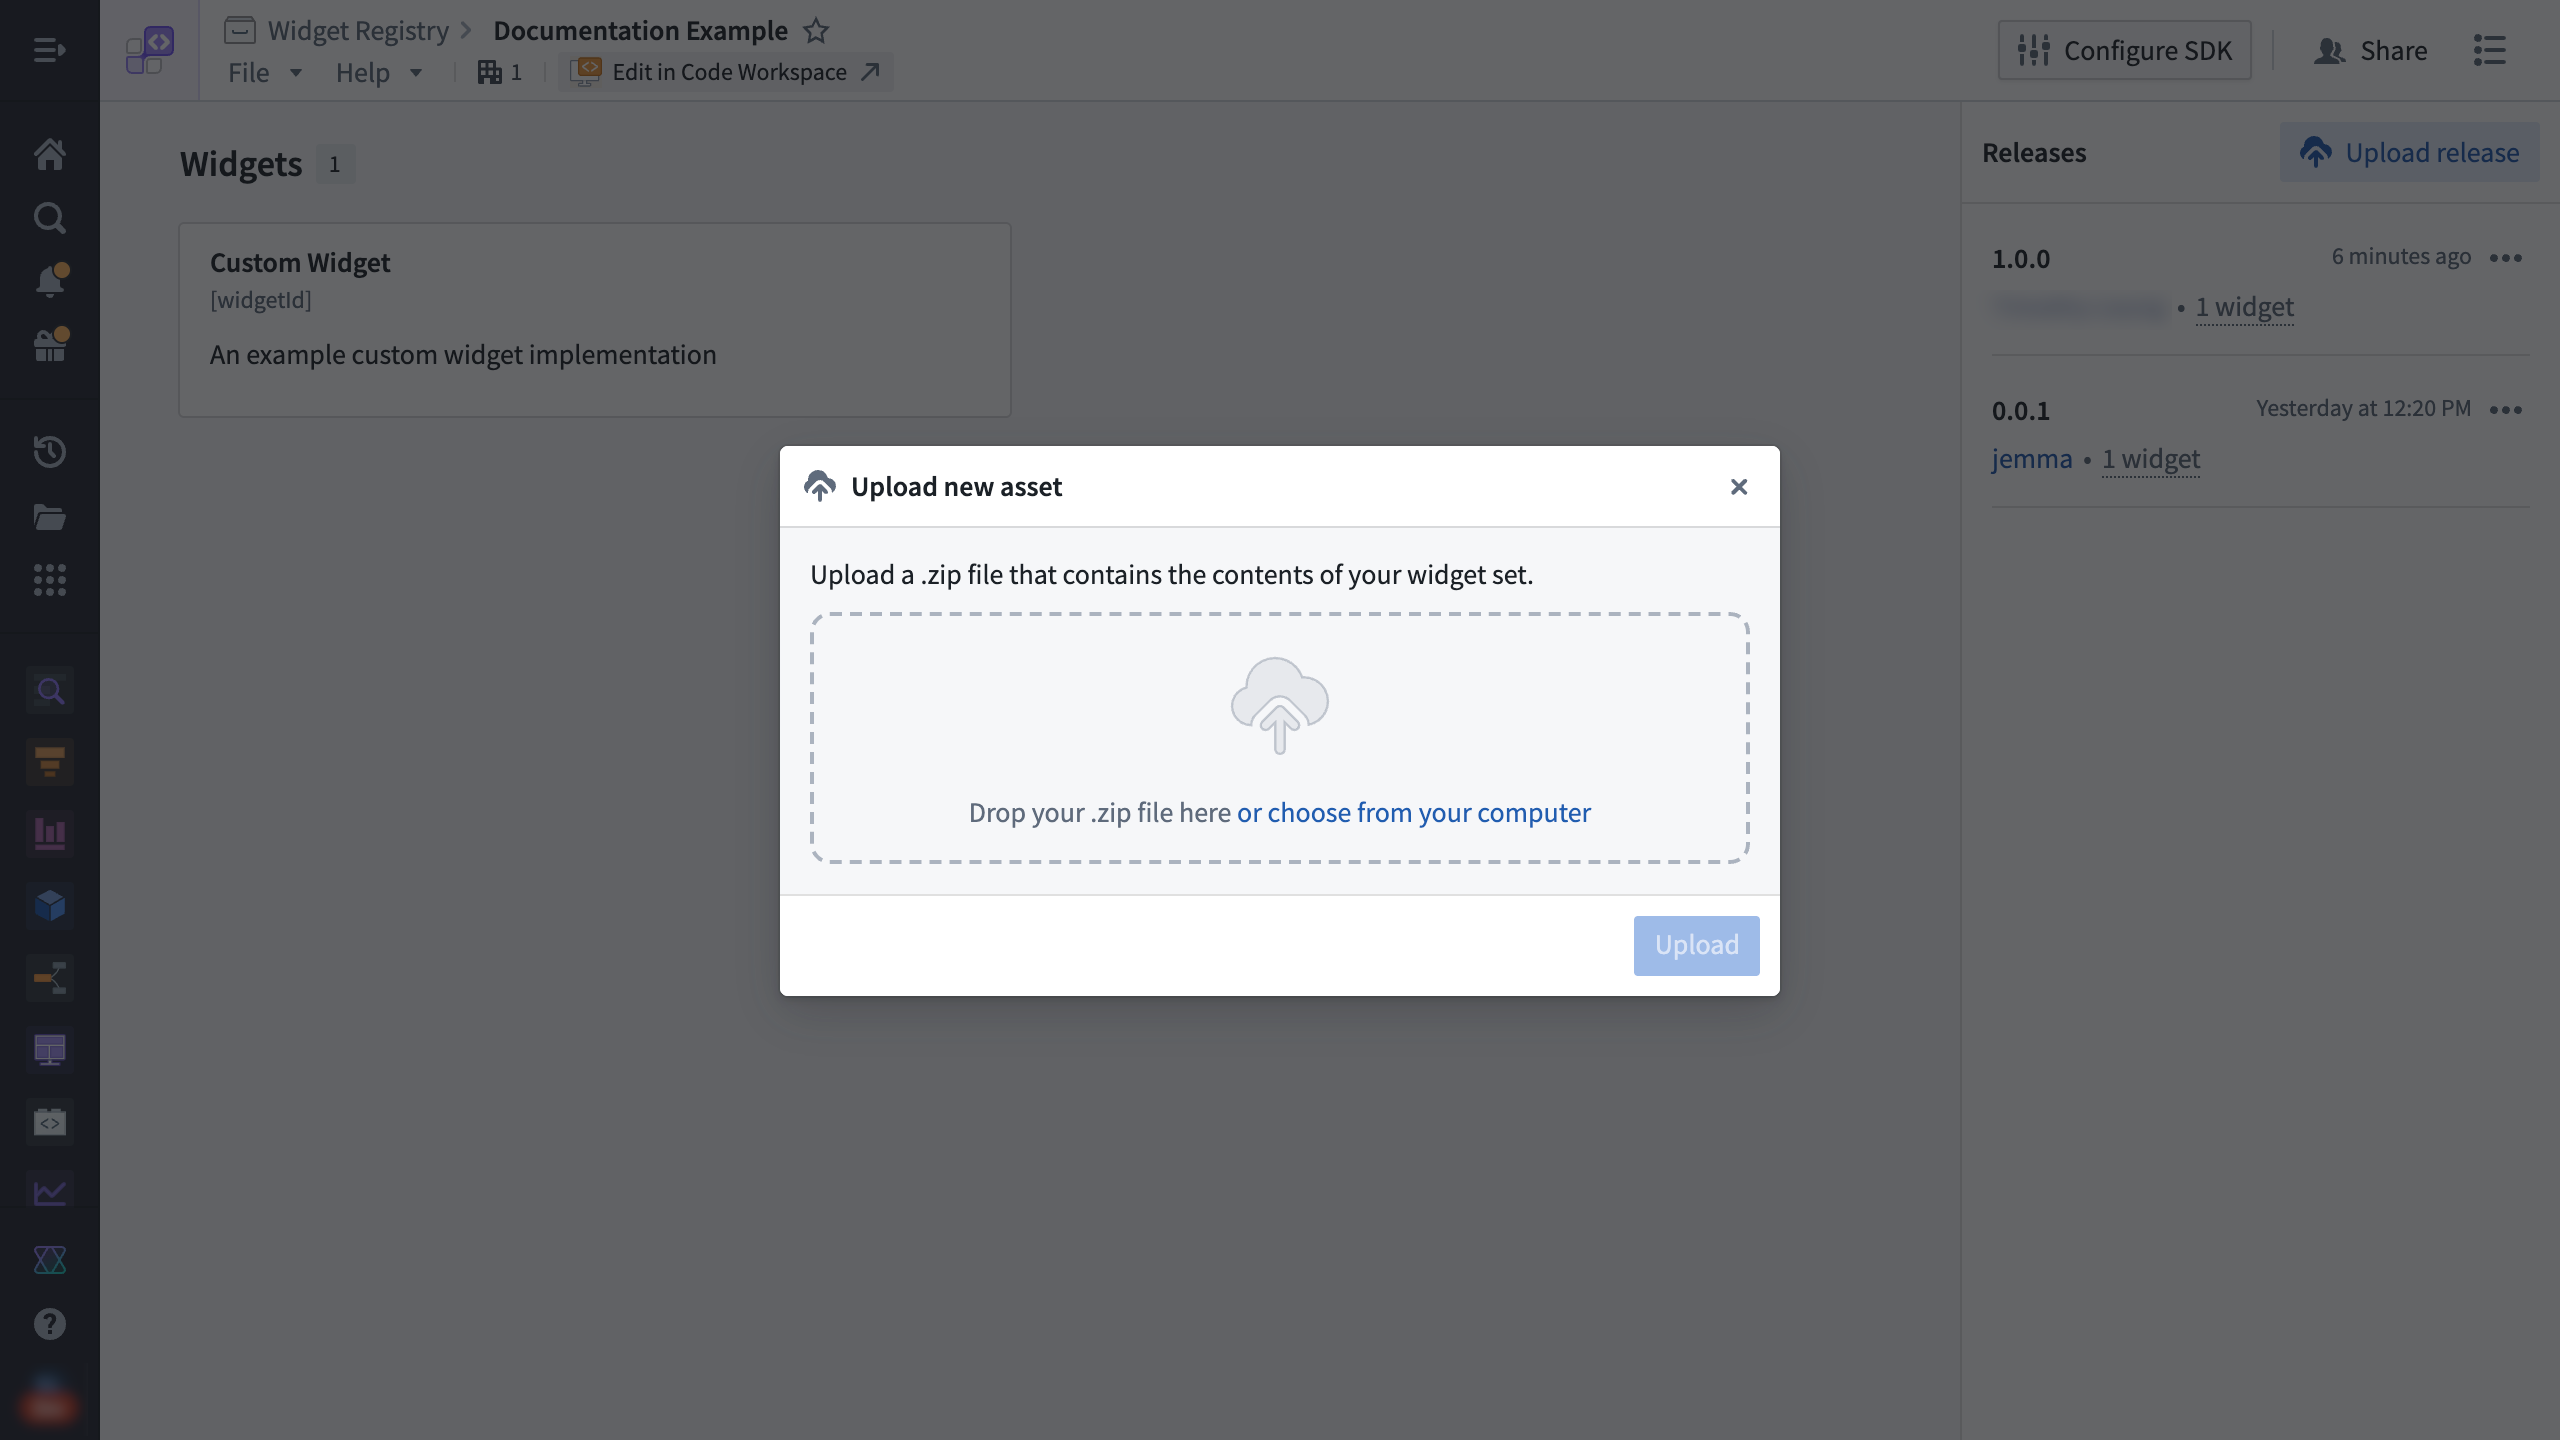
Use the Upload release option on the custom widgets page for a widget set. Drag and drop the .zip archive file into the dialog and then select Upload.
Publish with a CLI command from @osdk/cli
The NPM package @osdk/cli ↗ helps automate the .zip archive file creation and publish step with a single command and can be configured in an external CI/CD pipeline such as GitHub Actions or CircleCI.
To publish from a terminal on your local machine, follow the instructions for building a project.
Run the following CLI command from your terminal:
```bash tab="bash" npx @osdk/cli@latest widgetset deploy
An example output for publishing a production build with the version 1.0.0 in the manifest will look like the following:

```bash tab="bash"
ℹ Palantir OSDK CLI 0.26.3

ℹ Found version from manifest: 1.0.0
◐ Zipping widget set files
◐ Publishing widget set files
ℹ Zipped 1.04 MiB total over 11 files
✔ Publish complete
To publish from an external CI/CD pipeline, follow the provider's documentation to set up the workflow steps to build the project and run the @osdk/cli deploy command.
Publish with Foundry CI/CD
For widget sets using Foundry Code Repositories, Foundry CI/CD is automatically set up to build and publish the widget set on tag builds.
To create a new tag, you can use the platform user interface, or use standard git commands such as the following example:
```bash tab="Bash"
git tag View the status of the tag build through the **Tags** tab in VS Code Workspaces or Code Repositories.

---
# 中文翻译
---
# 发布微件集 (widget set)
微件集可通过以下任一方式发布:
* 在用户界面中手动上传 .zip 归档文件
* 使用 `@osdk/cli` 的 CLI 命令
* 使用 Foundry 代码仓库 (Code Repositories) 进行微件集的 Foundry CI/CD
发布微件集的新版本不会影响该微件集中微件 (widget) 的现有使用。Workshop 等宿主应用程序 (host application) 不会自动显示新变更,除非已将应用程序配置为使用新发布的微件集版本。
## 构建项目
以下构建项目的说明通常为 CI/CD 流水线自动化执行,但在手动发布微件集时必须遵循。
开始前,请确保已按照[设置项目](https://palantir.com/docs/foundry/custom-widgets/development/#set-up-a-project)中的说明设置了 `FOUNDRY_TOKEN` 令牌环境变量。运行以下命令安装依赖项、检查项目错误并创建微件集的生产构建 (production build)。
```bash tab="bash"
npm install
npm run lint
npm run build
输出 dist/ 文件夹中微件集的生产构建示例如下:
dist/
├── .palantir
│   └── widgets.config.json
├── assets
│   ├── allPaths-1o-wu5D1.js
│   ├── allPathsLoader-B5dDtRyf.js
│   ├── index-BKzgFDAn.js
│   ├── index-BvSuWPlB.js
│   ├── index-fzE76D9V.css
│   ├── index-JZHrjpfy.js
│   └── splitPathsBySizeLoader-BdSoFTZJ.js
└── index.html
一个特殊的 .palantir/widgets.config.json 清单文件描述了构建中包含的微件,该文件通常在使用项目模板时通过 @osdk/widget.vite-plugin ↗ 从项目代码自动生成。
要发布的微件集版本包含在此清单文件中。使用 @osdk/widget.vite-plugin 时,项目中的 foundry.config.json 文件描述了 widgetSet.autoVersion 字段中版本的计算方式。该字段可以是 package-json(读取 package.json 中的 version 字段),也可以是 git-describe(基于 git 仓库的标签和提交计算版本)。
通过用户界面手动上传 .zip 归档文件发布
在本地机器上,按照构建项目的说明操作。创建一个包含微件集生产构建的 .zip 归档文件,确保不包含任何额外文件夹(例如输出 dist/ 文件夹或类似文件夹)。
以下代码片段使用 bash 终端在项目根目录中创建一个包含 dist/ 文件夹中生产构建的 asset.zip 归档文件。您可以使用适合操作系统的任何压缩工具。
```bash tab="bash" cd dist/ zip -r ../asset.zip .
在微件集的自定义微件页面上使用 **上传版本 (Upload release)** 选项。将 .zip 归档文件拖放到对话框中,然后选择 **上传 (Upload)**。

## 使用 `@osdk/cli` 的 CLI 命令发布
NPM 包 [`@osdk/cli` ↗](https://www.npmjs.com/package/@osdk/cli) 可通过单个命令自动完成 .zip 归档文件的创建和发布步骤,并可在外部 CI/CD 流水线(如 GitHub Actions 或 CircleCI)中进行配置。
要从本地机器的终端发布,请按照[构建项目](#构建项目)的说明操作。
在终端中运行以下 CLI 命令:
```bash tab="bash"
npx @osdk/cli@latest widgetset deploy
发布清单中版本为 1.0.0 的生产构建的输出示例如下:
```bash tab="bash" ℹ Palantir OSDK CLI 0.26.3
ℹ 从清单中找到版本:1.0.0 ◐ 正在压缩微件集文件 ◐ 正在发布微件集文件 ℹ 已压缩 11 个文件,总计 1.04 MiB ✔ 发布完成
要从外部 CI/CD 流水线发布,请按照提供商的文档设置工作流步骤,以构建项目并运行 `@osdk/cli` 部署命令。

## 使用 Foundry CI/CD 发布

对于使用 Foundry 代码仓库的微件集,Foundry CI/CD 会自动设置为在标签构建 (tag build) 时构建和发布微件集。

要创建新标签,您可以使用平台用户界面,或使用标准 `git` 命令,例如以下示例:

```bash tab="Bash"
git tag <x.y.z>
git push origin tag
通过 VS Code Workspaces 或代码仓库中的 标签 (Tags) 选项卡查看标签构建的状态。
