Configure SAML 2.0 integration for Okta(为 Okta 配置 SAML 2.0 集成)
This section contains Okta-specific steps for configuring the SAML 2.0 integration as part of the broader end-to-end authentication via SAML 2.0 tutorial.
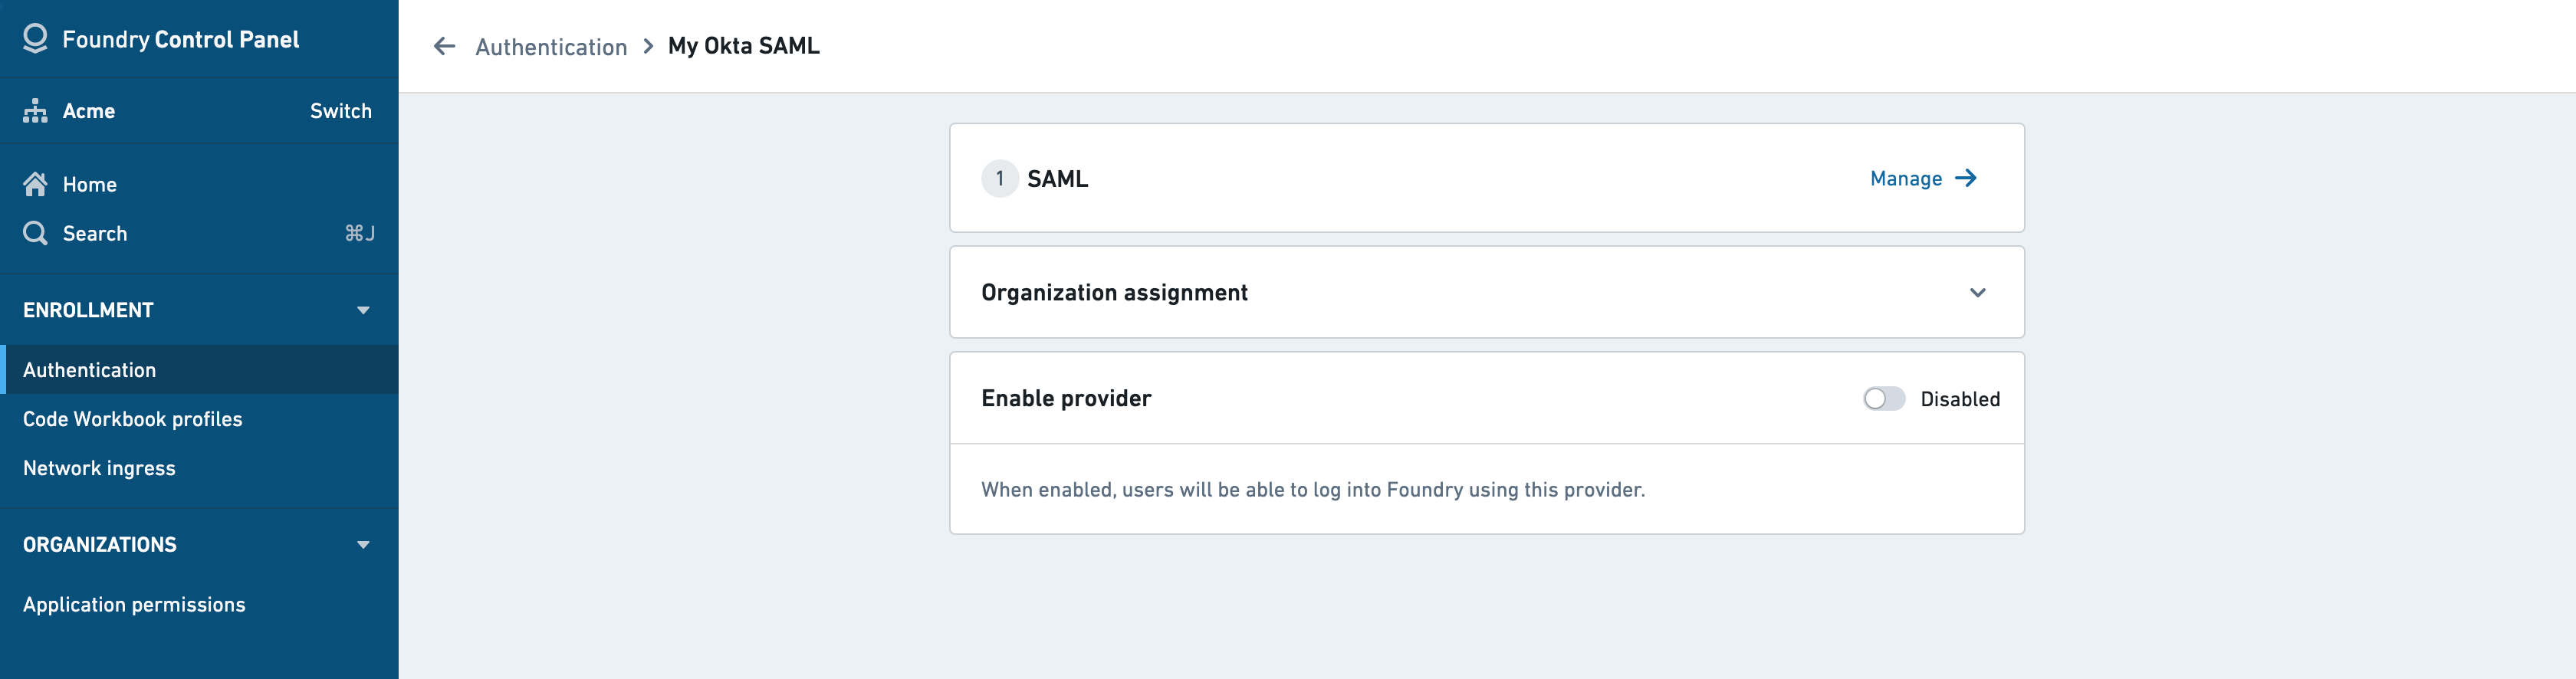
If you received a Foundry setup link to configure your initial SAML integration, skip to the next step. Otherwise, you can add a new SAML provider by going to the Authentication tab in Control Panel and selecting Manage in the SAML section.
In Okta, create a SAML app integration by following these instructions ↗.
SAML integration metadata
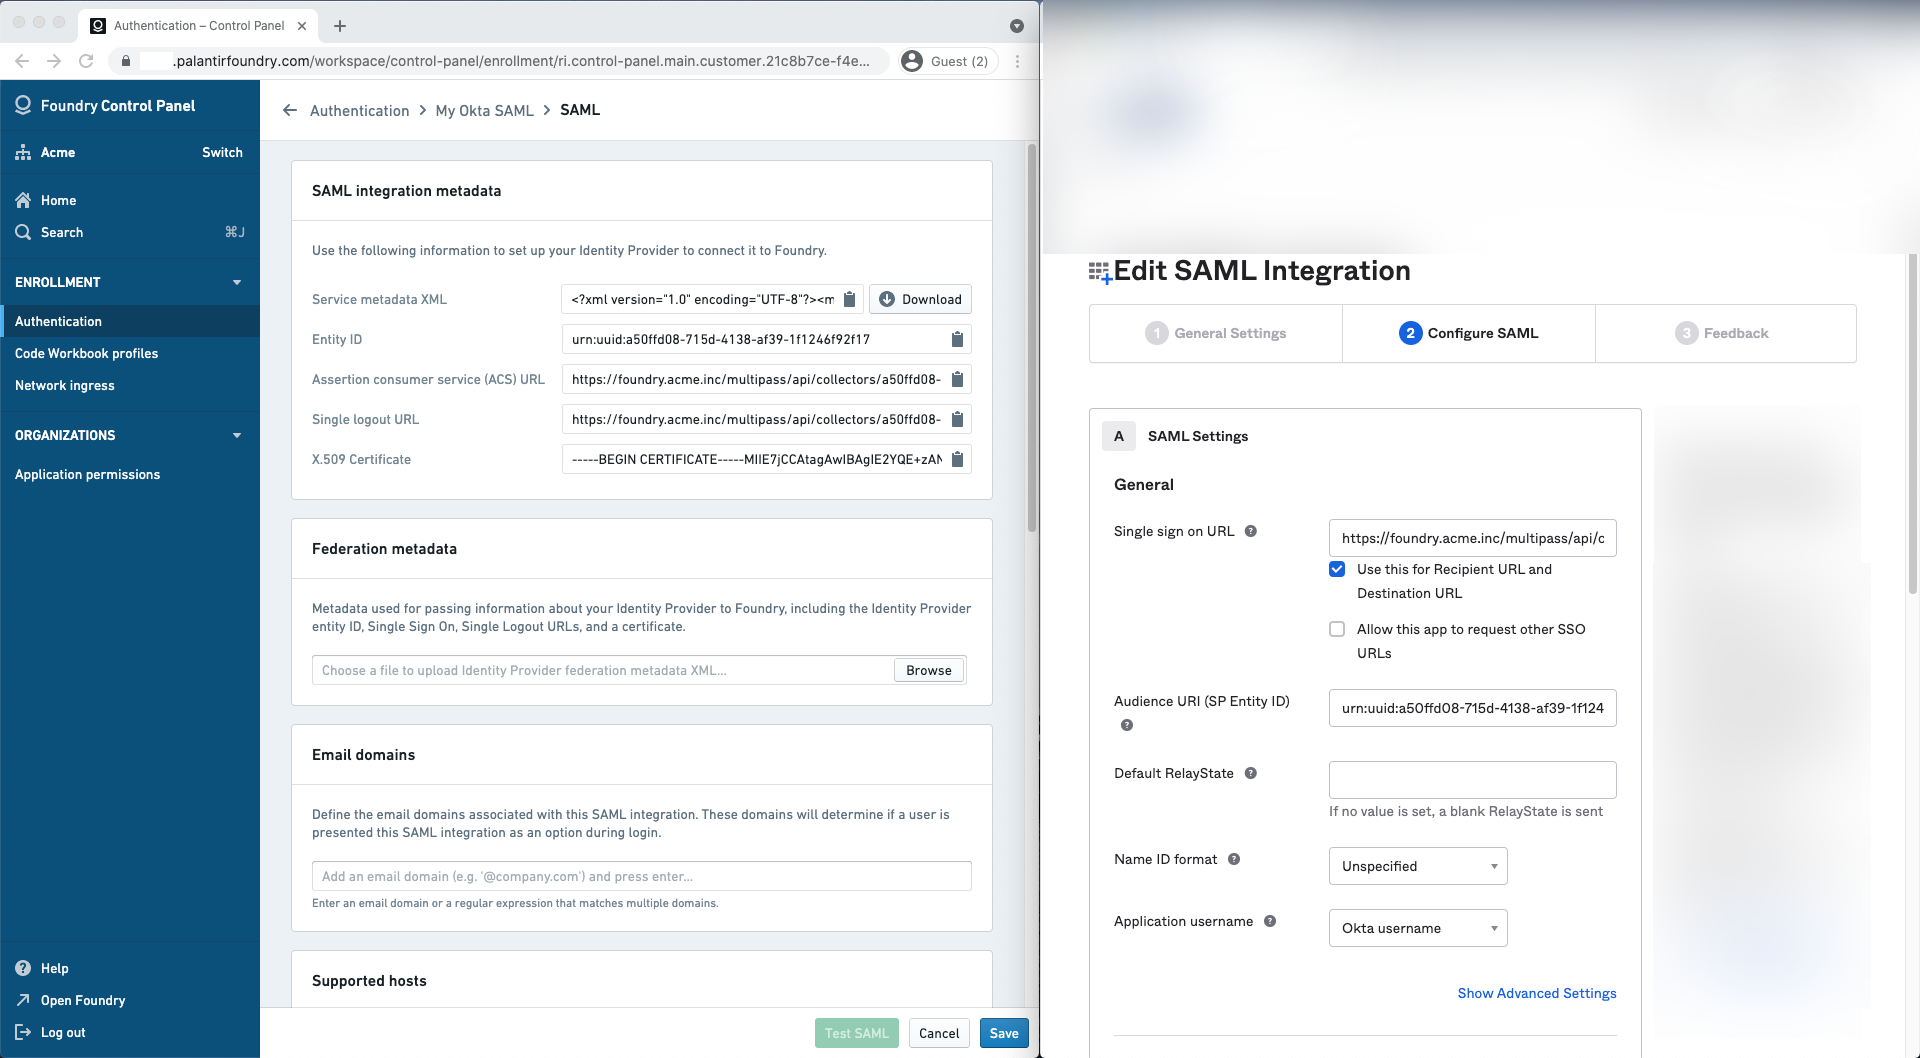
Copy the following from the Foundry Control Panel (as shown on the left) to use in the Edit SAML Integration page for Okta (as shown on the right):
| Foundry | Okta |
|---|---|
| Assertion consumer service (ACS) URL | Single sign on URL |
| Entity ID | Audience URI (SP Entity ID) |
Attribute mapping
Okta does not define standard SAML attributes that can be used without further configuration beyond NameID. Attributes need to be defined in Okta first before they can be mapped in Foundry.
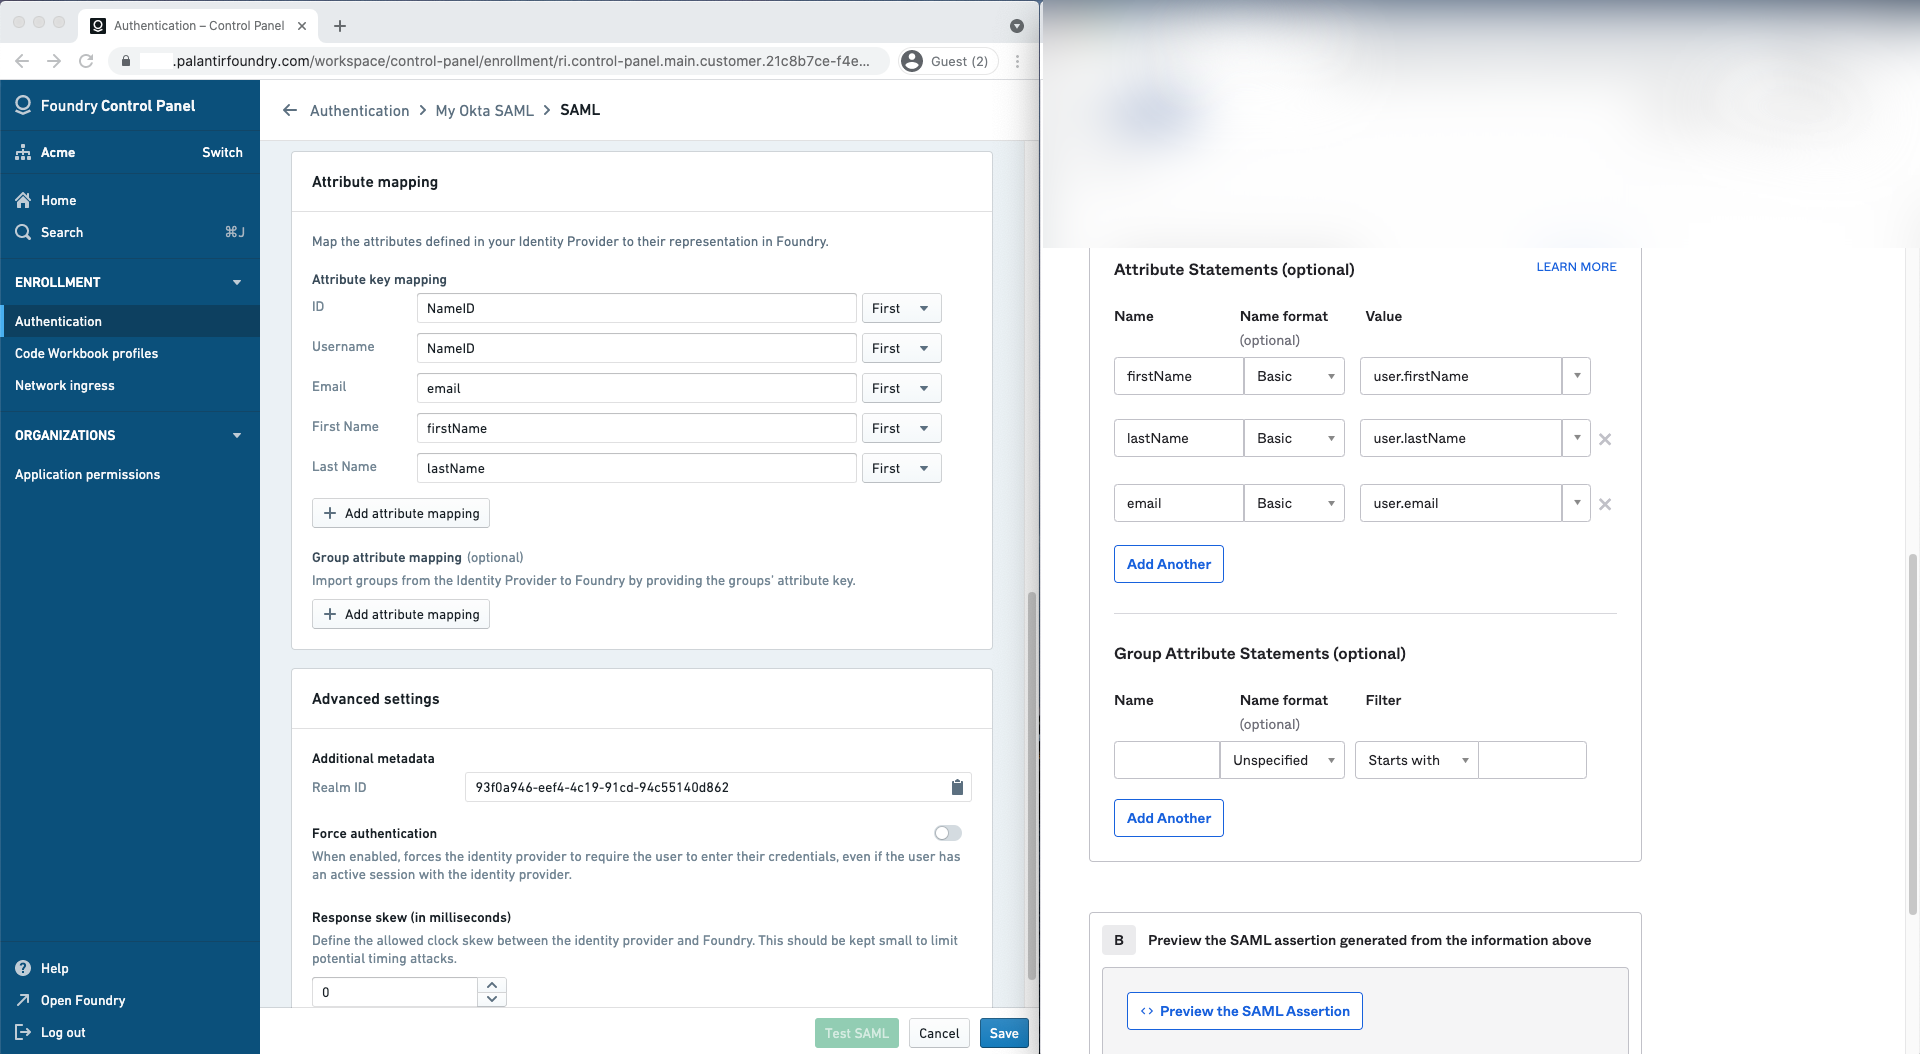
In Okta, declare the following attribute statements:
| Name | Name format | Value |
|---|---|---|
| firstName | Basic | user.firstName |
| lastName | Basic | user.lastName |
| Basic | user.email |
You can define the following mappings for user attributes in Attribute mapping. If using a Foundry setup link, Okta attribute mappings will be pre-filled.
- ID:
NameID - Username:
NameID(alternatively,email) - Email:
email - First name:
firstName - Last name:
lastName
You can also define attribute mappings to mirror your existing Okta groups in Foundry. Define one or more group attribute statements in Okta and map them in Group attribute mapping.
Identity provider metadata
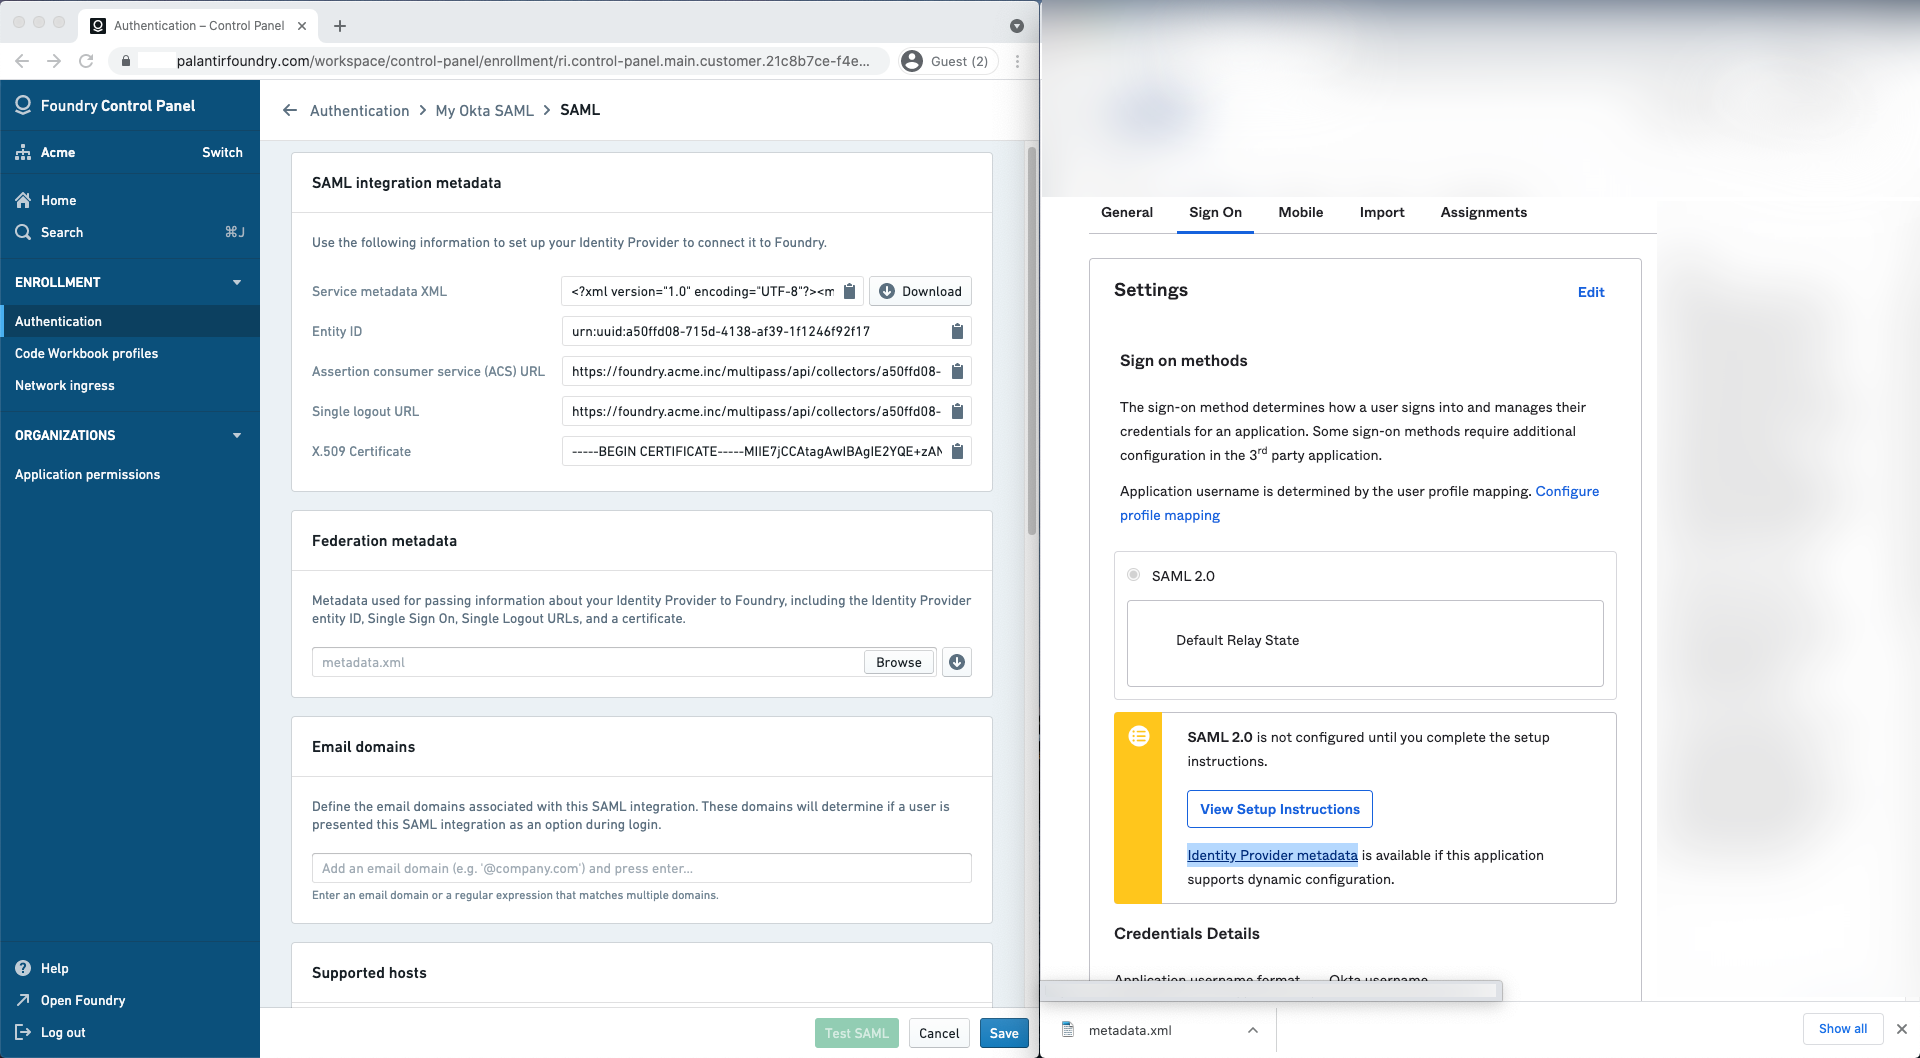
In Okta, finish the creation of the SAML app integration then navigate to the Sign on tab to retrieve your identity provider’s metadata in an XML file under Identity provider metadata. Upload this to Foundry in the Identity provider metadata section.
Finish and save
In Foundry, add email domains associated with this SAML 2.0 integration under Email domains.
Finish by saving your SAML 2.0 integration and move on to multi-factor authentication.
中文翻译
为 Okta 配置 SAML 2.0 集成
本节包含在 通过 SAML 2.0 实现端到端身份验证教程 中,针对 Okta 配置 SAML 2.0 集成的具体步骤。
如果您已收到用于配置初始 SAML 集成的 Foundry 设置链接,请跳至下一步。否则,您可以通过进入控制面板的 身份验证 选项卡,并在 SAML 部分选择 管理 来添加新的 SAML 提供程序。
在 Okta 中,按照 这些说明 ↗ 创建 SAML 应用集成。
SAML 集成元数据
从 Foundry 控制面板(如左图所示)复制以下内容,用于 Okta 的 编辑 SAML 集成 页面(如右图所示):
| Foundry | Okta |
|---|---|
| 断言消费者服务 (ACS) URL | 单一登录 URL |
| 实体 ID | 受众 URI(SP 实体 ID) |
属性映射
Okta 未定义除 NameID 之外无需进一步配置即可使用的标准 SAML 属性。属性需要先在 Okta 中定义,然后才能在 Foundry 中进行映射。
在 Okta 中,声明以下属性语句:
| 名称 | 名称格式 | 值 |
|---|---|---|
| firstName | Basic | user.firstName |
| lastName | Basic | user.lastName |
| Basic | user.email |
您可以在 属性映射 中为用户属性定义以下映射。如果使用 Foundry 设置链接,Okta 属性映射将预先填充。
- ID:
NameID - 用户名:
NameID(或email) - 电子邮件:
email - 名字:
firstName - 姓氏:
lastName
您还可以定义属性映射,以在 Foundry 中镜像您现有的 Okta 组。在 Okta 中定义一个或多个组属性语句,并在 组属性映射 中进行映射。
身份提供程序元数据
在 Okta 中,完成 SAML 应用集成的创建,然后导航到 登录 选项卡,在 身份提供程序元数据 下以 XML 文件形式检索您的身份提供程序元数据。将此文件上传到 Foundry 的 身份提供程序元数据 部分。
完成并保存
在 Foundry 中,在 电子邮件域名 下添加与此 SAML 2.0 集成关联的电子邮件域名。
最后,保存您的 SAML 2.0 集成,然后 继续配置多因素身份验证。