Create a new Developer Console application(创建新的 Developer Console 应用程序)
On this page, we will walk through the following processes of creating a new Developer Console application:
- Adding object types, Action types, and other Ontology resources to the SDK application.
- Adding operations and resources for Platform API access.
- Generating packages in any of the supported languages.
- Using custom documentation generated for your application-specific SDK.
Create an application using Developer Console
Navigate to Developer Console in your Foundry instance, then select + New application.
:::callout{theme="neutral"} If you do not see the + New application button, you may require additional permissions. See the permissions documentation for more details. :::
Next, follow the steps in the creation wizard that appears and add the following details:
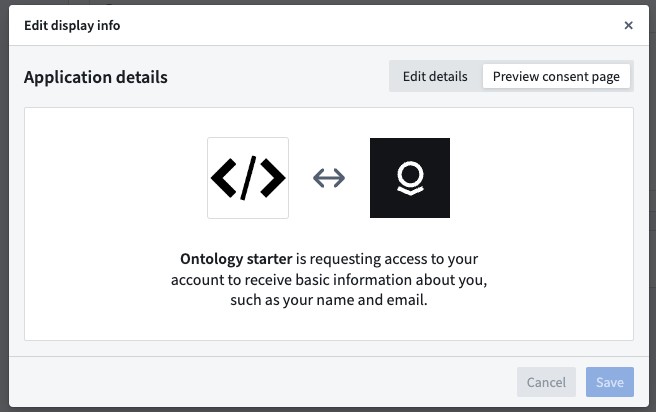
- On the Basic information page, add an icon to your application; the icon will be used to identify the application when the user is presented with a consent screen.
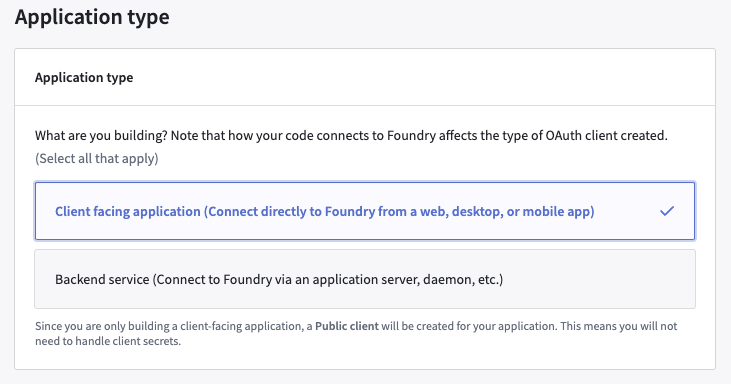
- On the Application type page, choose Client-facing application.
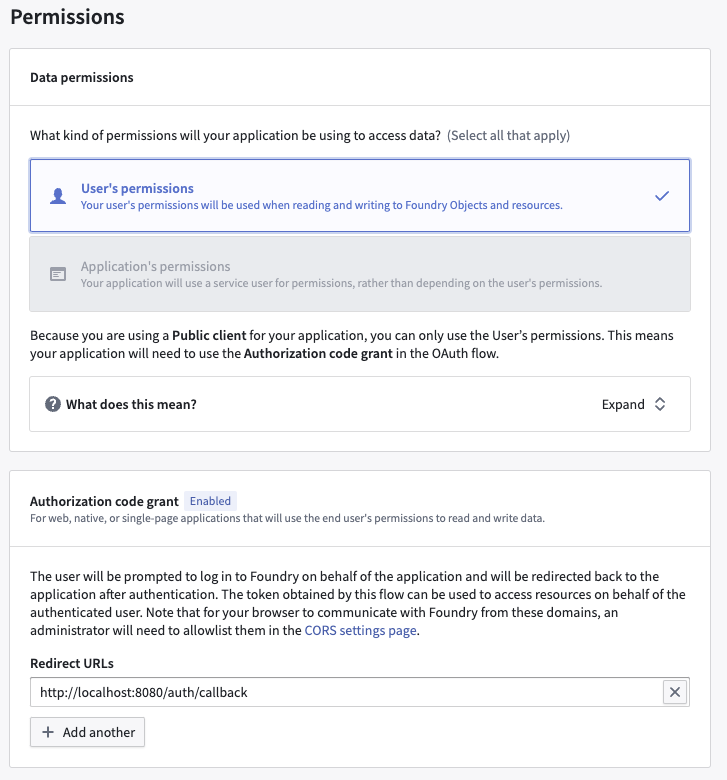
- On the Authorization code grant section of the Permissions page, set the redirect URL to
http://localhost:8080/auth/callback.
:::callout{theme="neutral"}
Follow the instructions in Configure CORS to add http://localhost:8080 to your CORS policy in Control Panel.
If you do not have permission to configure CORS and your Foundry administrator is unable to configure CORS for you, set the redirect URL to https://localhost:8080/auth/callback.
:::
Resources
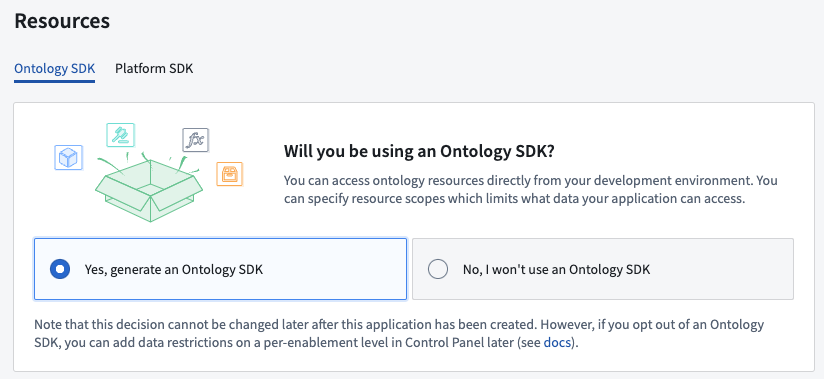
- On the Resources page, select Yes, generate an Ontology SDK.
- Select an Ontology to use.
:::callout{theme="warning"} Note that once the Ontology SDK has been generated, the Ontology associated with it cannot be changed. :::
- Select the object types and action types that you want the OSDK package to include. For this exercise, pick any object type available to you.
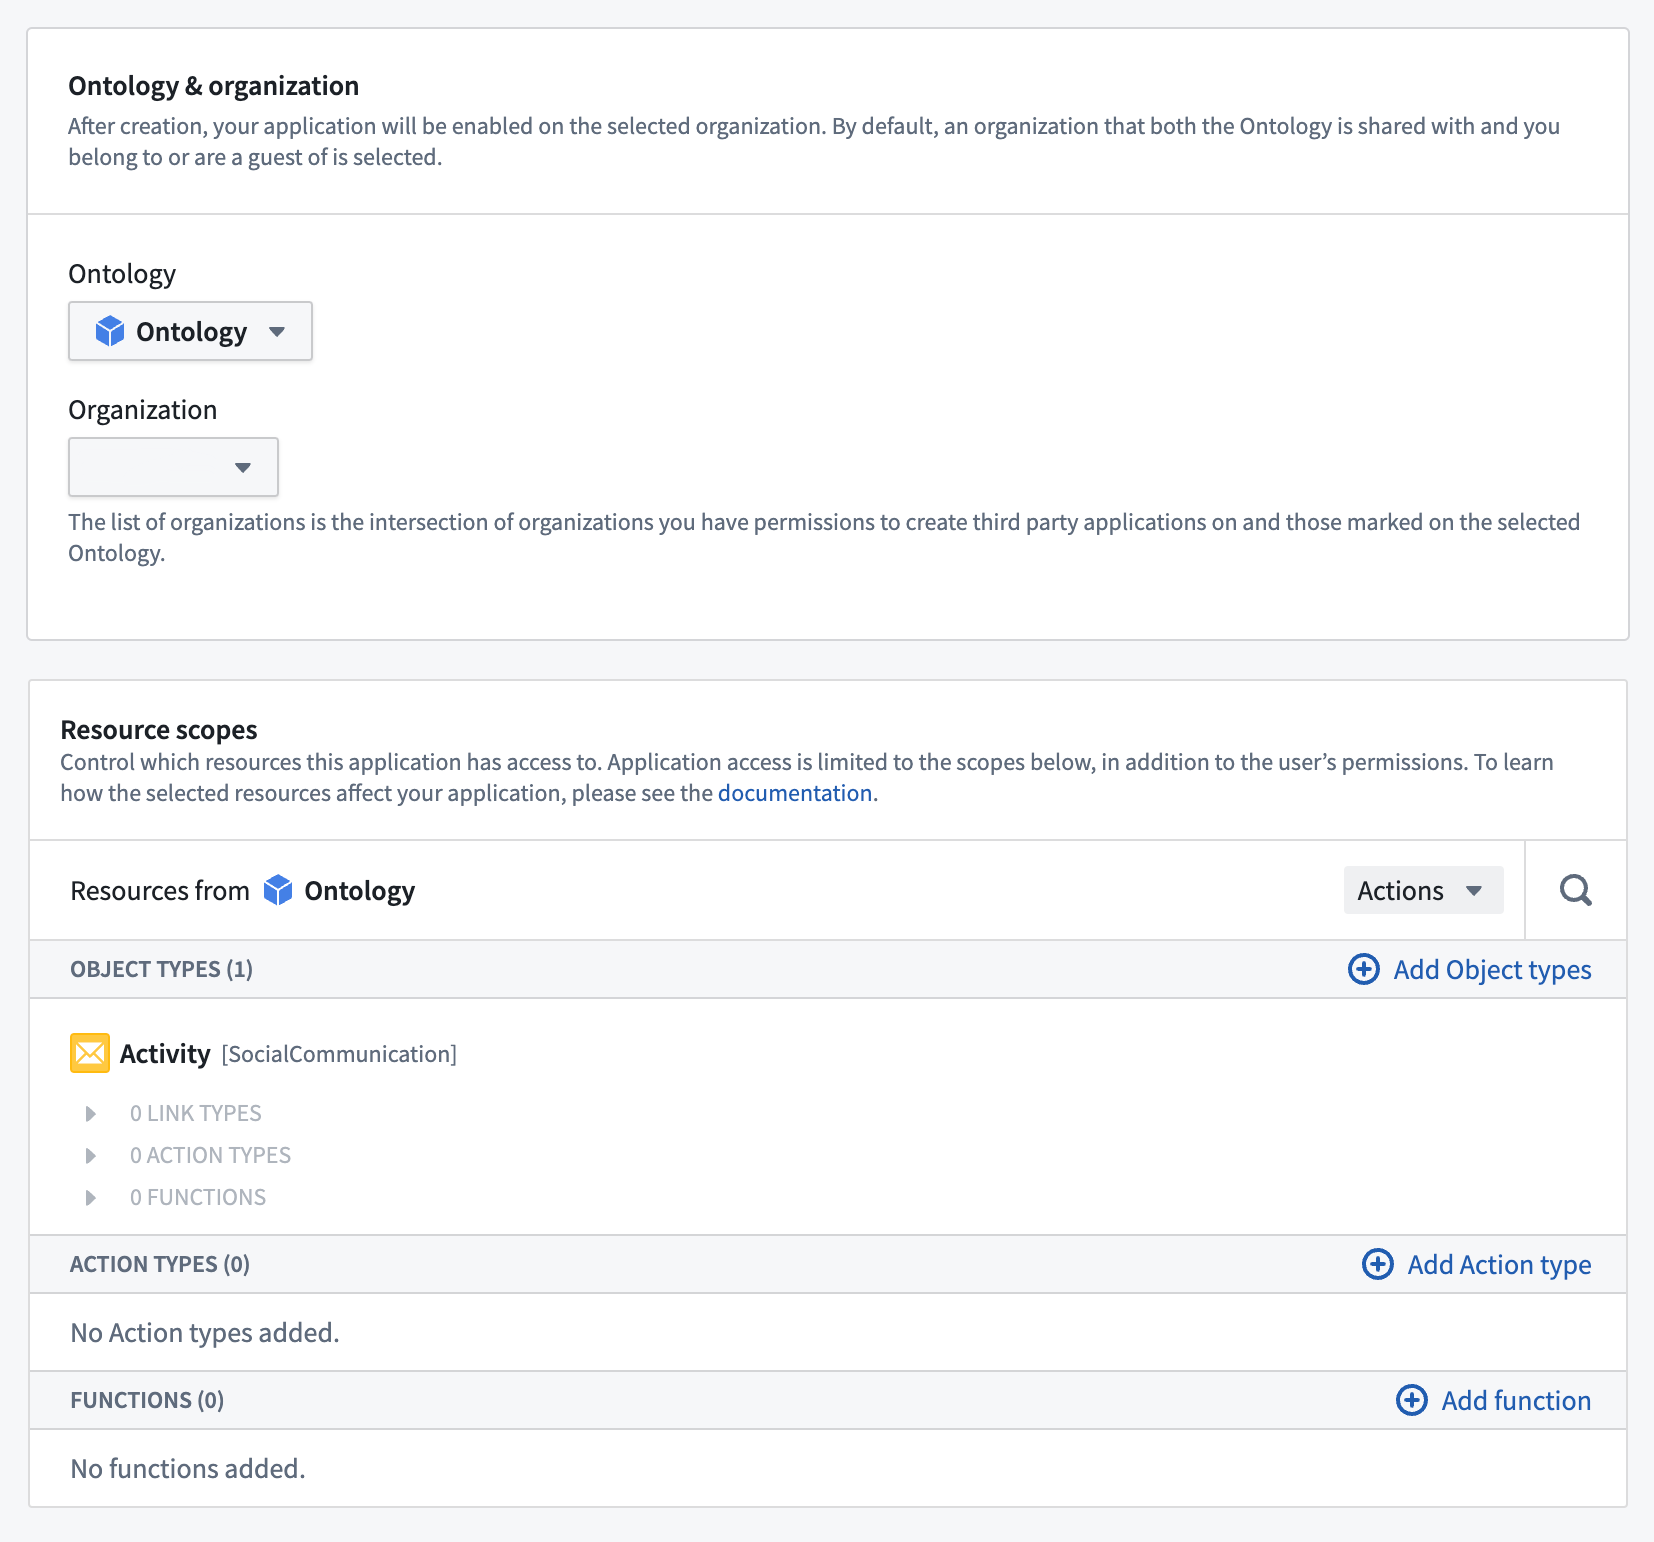
:::callout{theme="neutral"} The data entities that you choose control two aspects of your application:
- Generated types: Language-specific bindings are created based on the selected entities. Additionally, the integrated API docs will be generated based on your selections.
-
Application token: The token received as a result of going through the OAuth 2.0 flow is by default restricted to the set of entities selected. For more details, see Resource access restrictions. :::
-
If you need to make Platform API requests using your application, be sure to add the appropriate resources and operations through the Platform SDK tab.
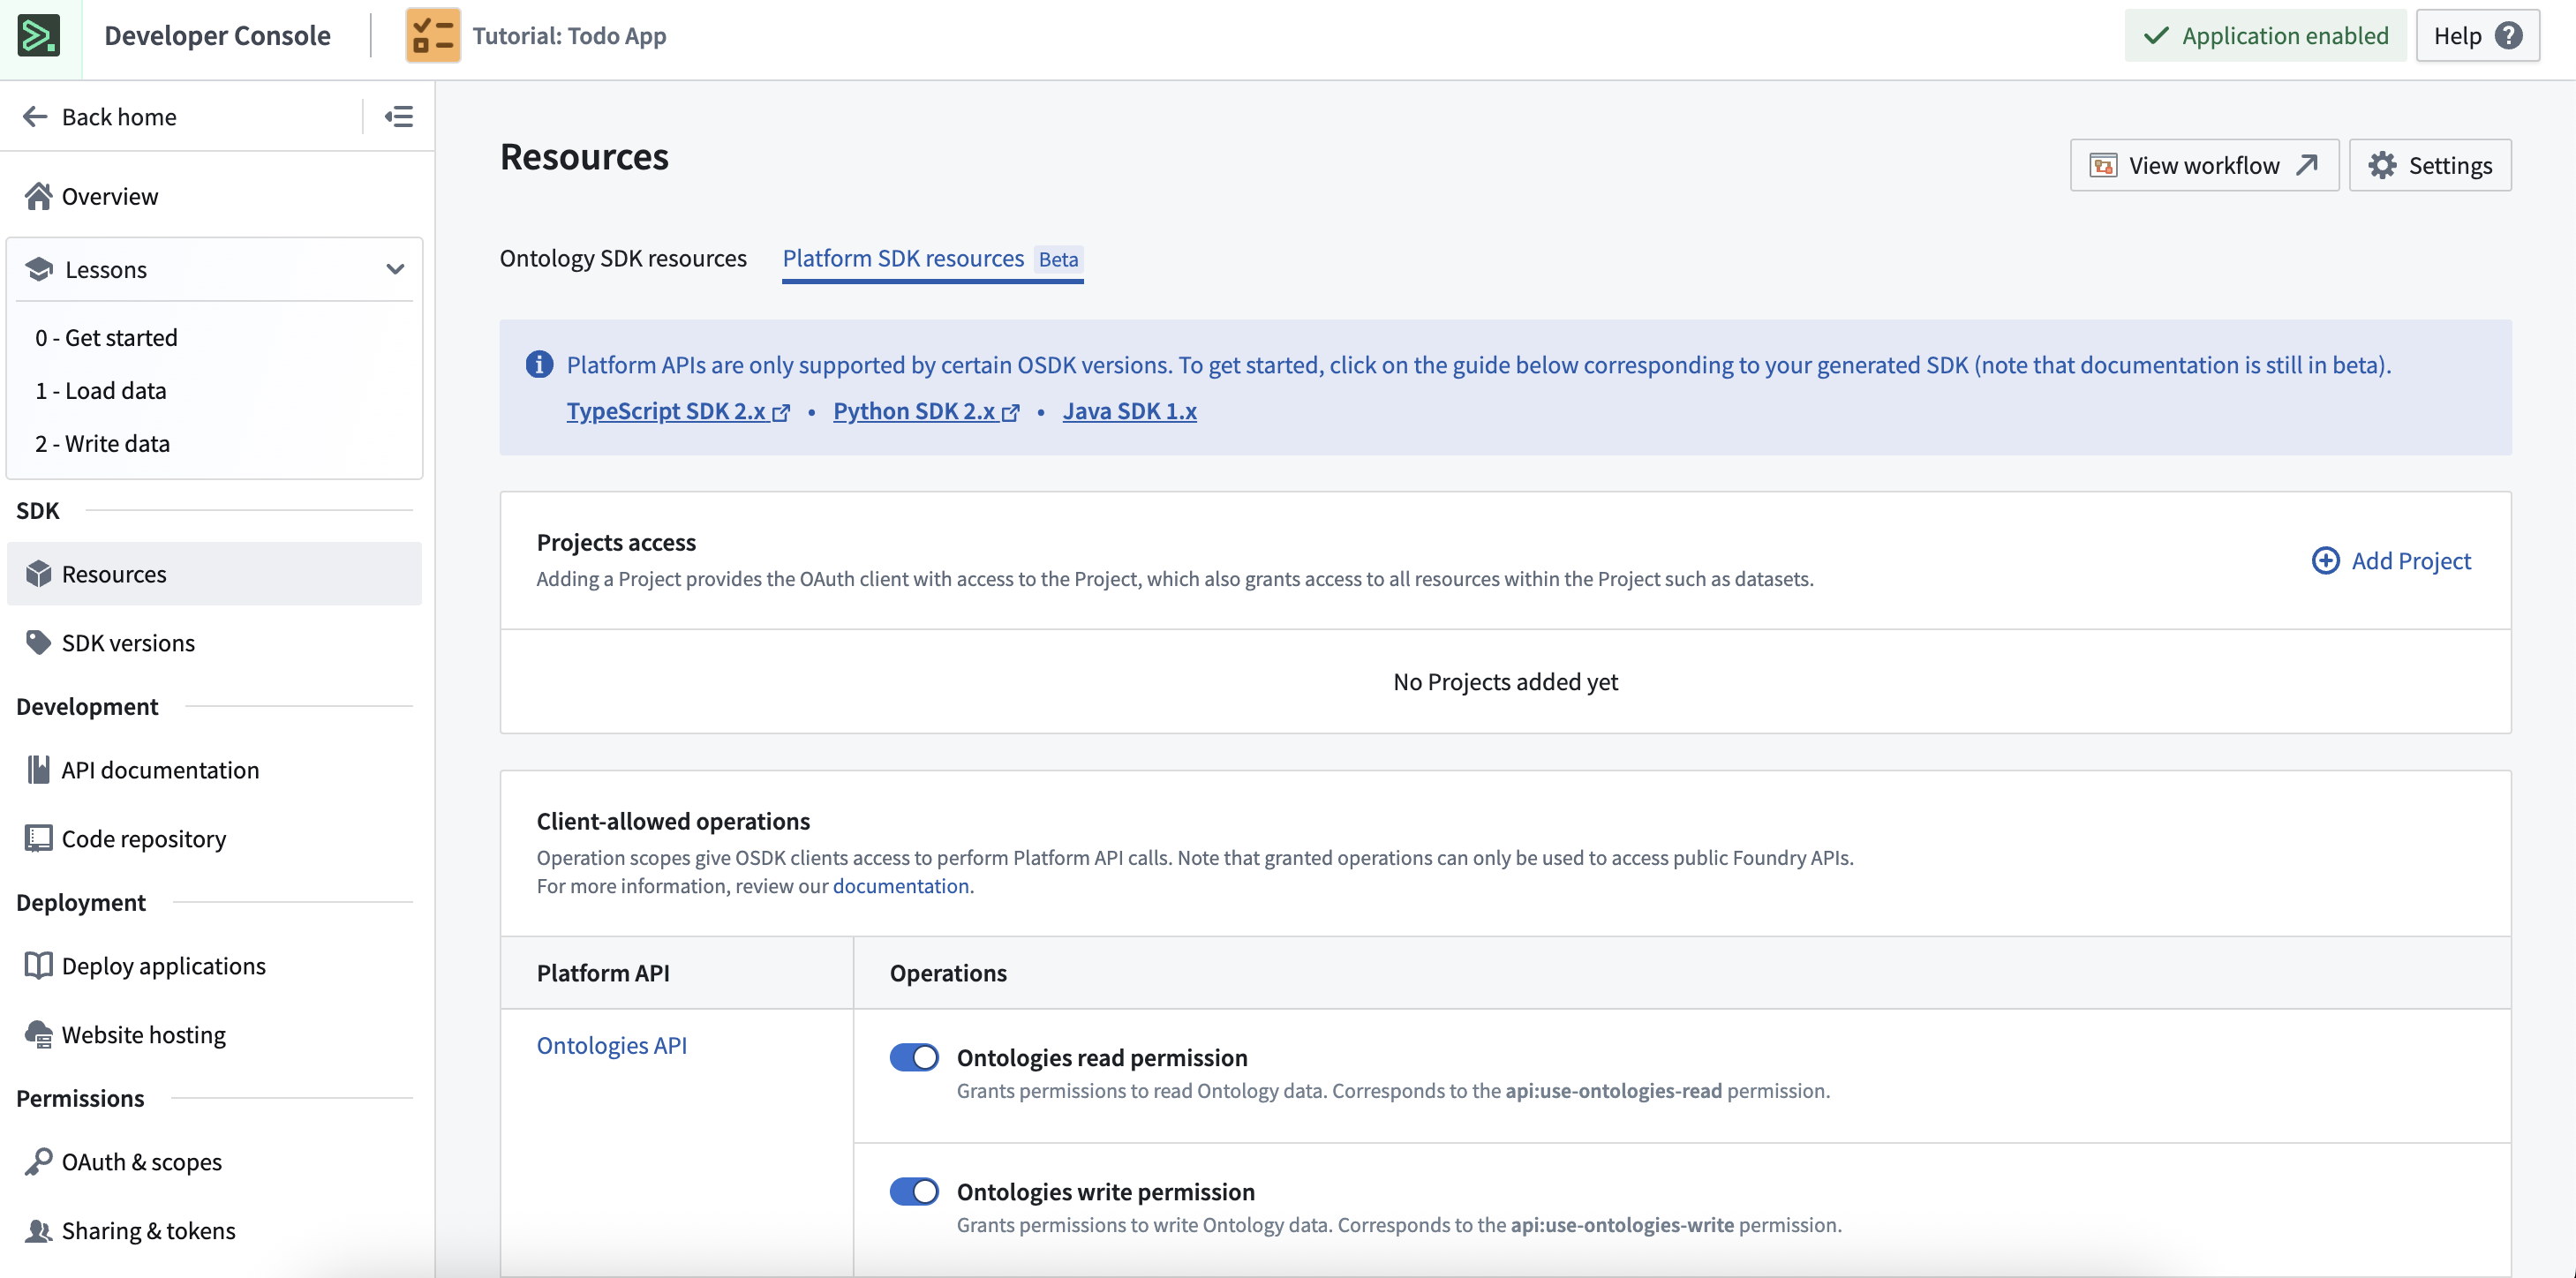
:::callout{theme="warning"} The operations granted in the Client allowed operations table may allow applications to access underlying service endpoints. :::
- Review and confirm the information you entered, then select Create application to create the application.
- Finally, you must select Generate first version to get the first version of the created package.

Ontology-specific documentation
The Developer Console generates documentation based on the Ontology entities you selected. This documentation is available for TypeScript, Python, and cURL; you can switch between the different languages using the dropdown menu in the upper right corner of the Console.
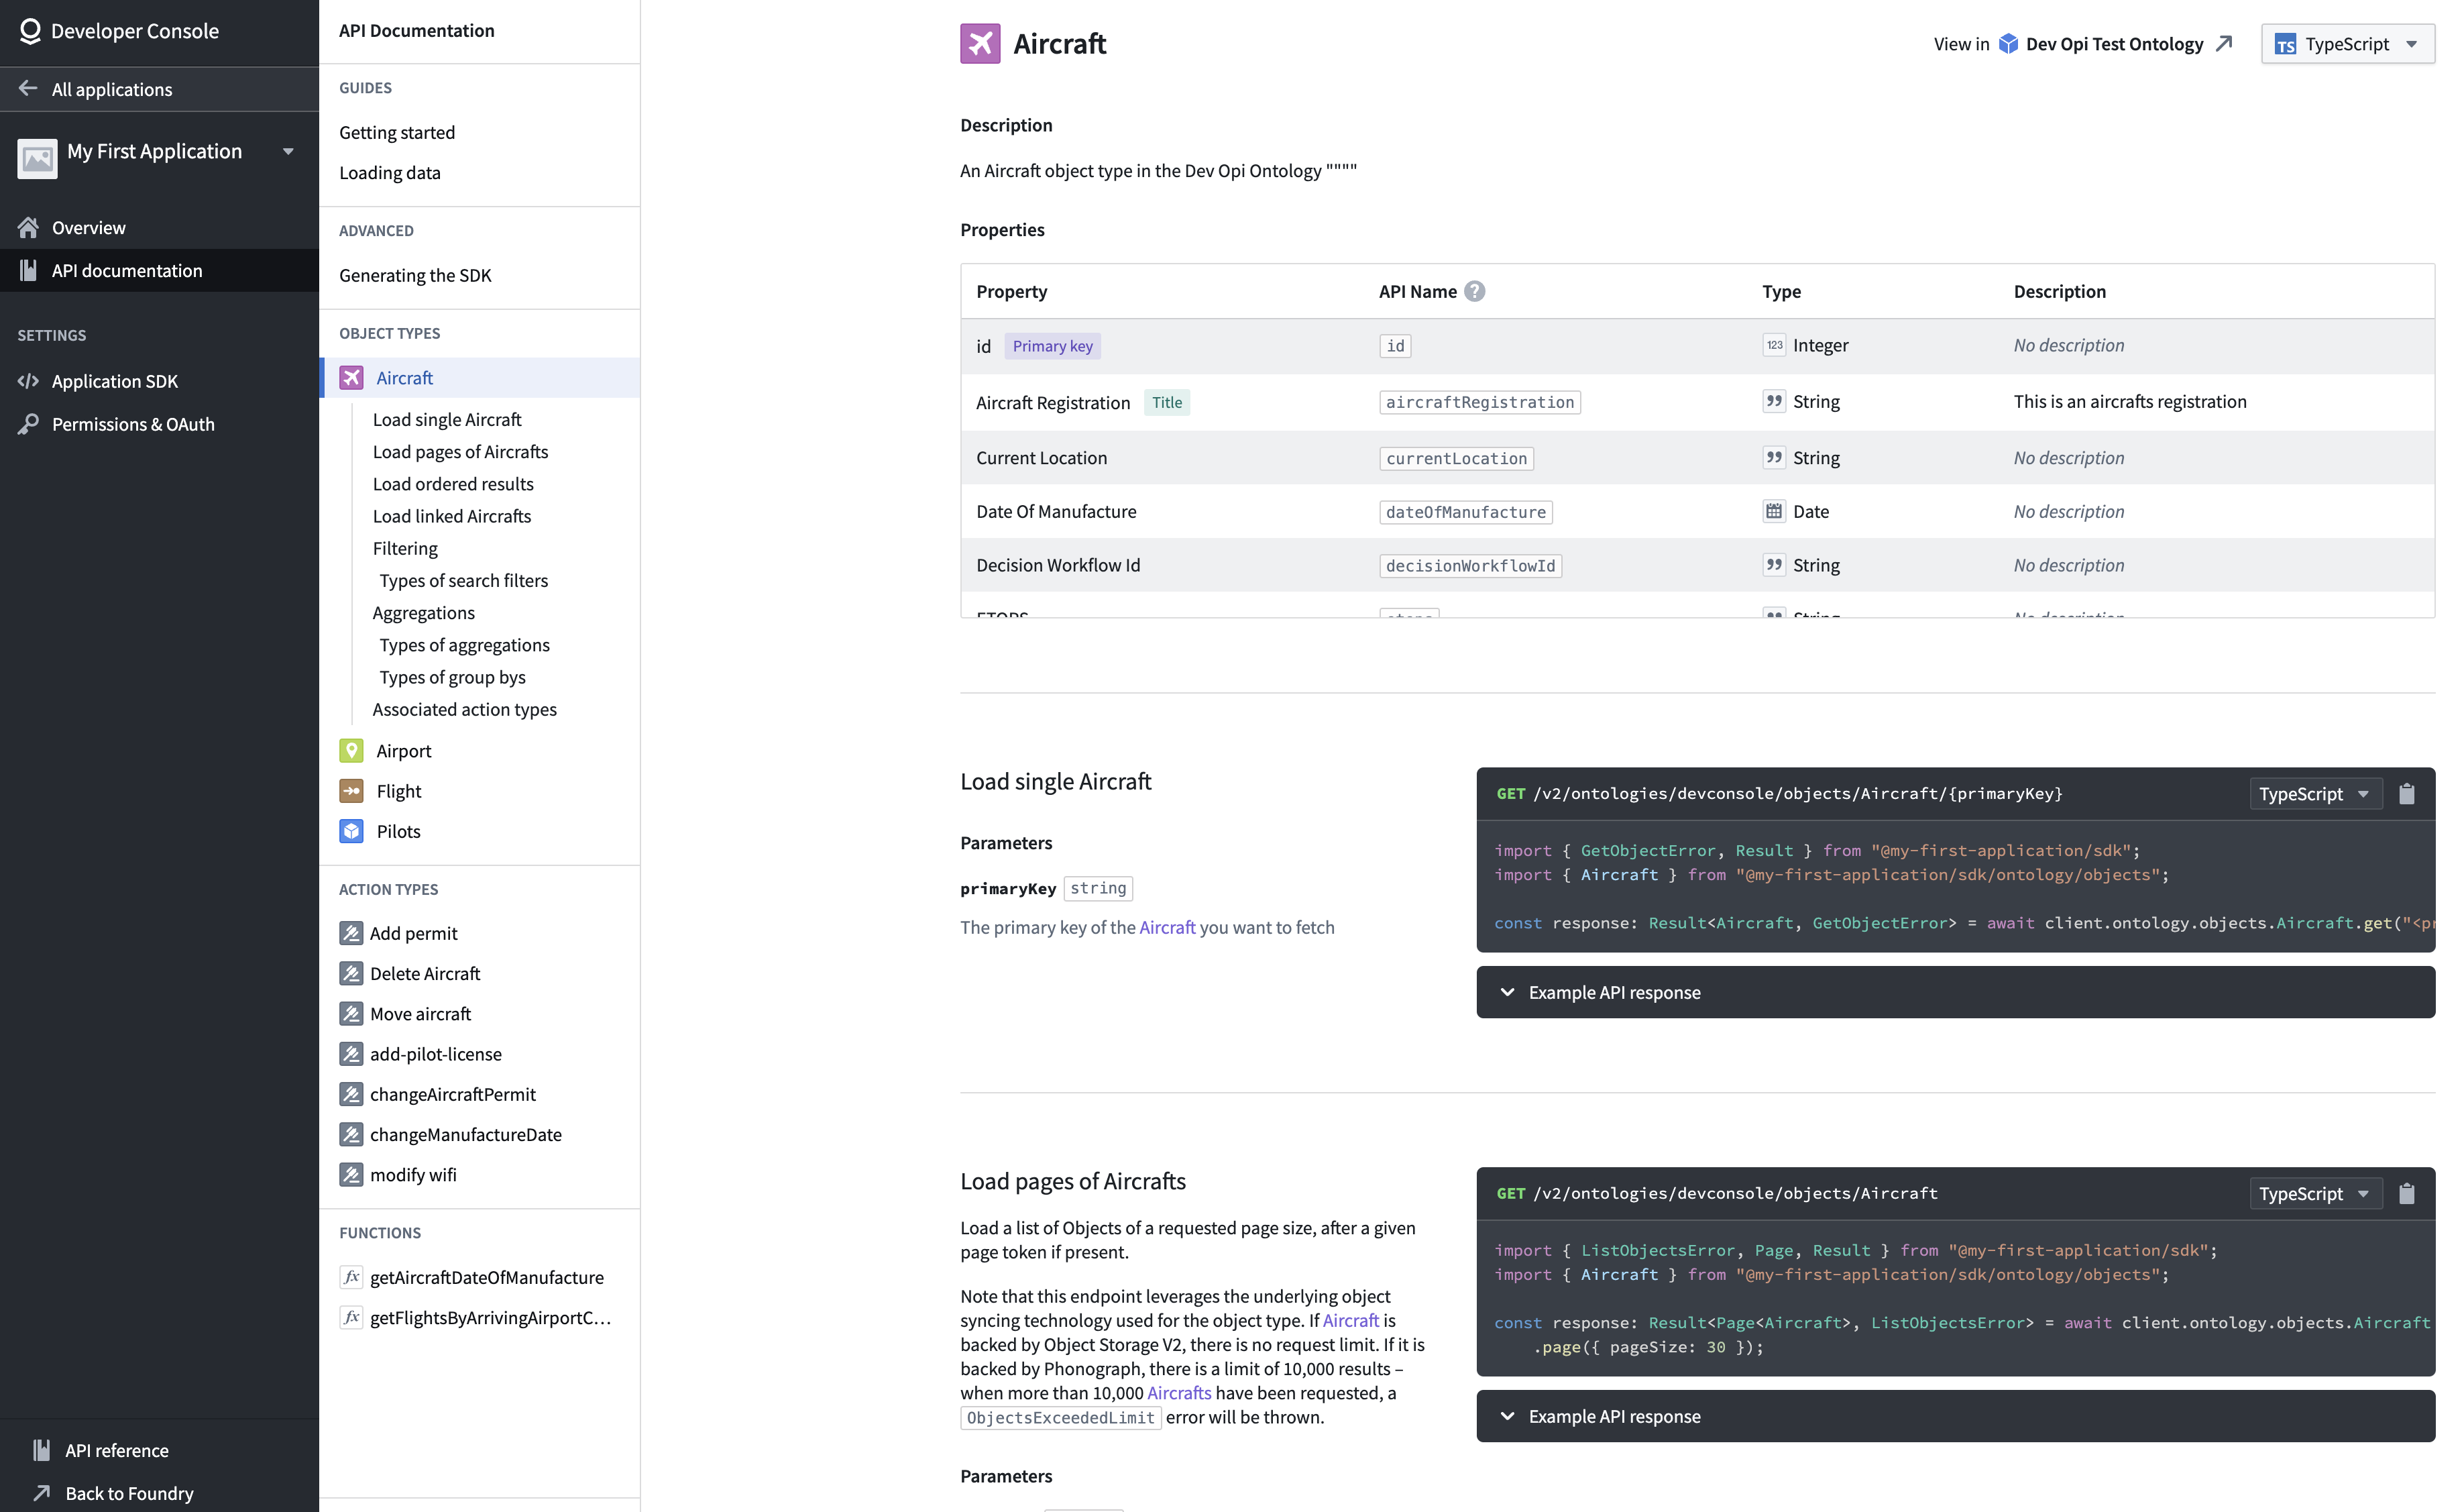
In the example above, each object type, action type, and function is documented. The documentation includes code examples of how specific properties are returned or how parameters can be used; you can copy and paste these examples directly into your code.
中文翻译
创建新的 Developer Console 应用程序
在本页面中,我们将逐步介绍创建新 Developer Console 应用程序的以下流程:
- 向 SDK 应用程序添加对象类型(object types)、操作类型(action types)及其他 Ontology 资源。
- 添加用于 Platform API 访问的操作和资源。
- 以任何支持的语言生成包。
- 使用为您的应用程序特定 SDK 生成的自定义文档。
使用 Developer Console 创建应用程序
在您的 Foundry 实例中导航至 Developer Console,然后选择 + New application。
:::callout{theme="neutral"} 如果您没有看到 + New application 按钮,您可能需要额外的权限。详情请参阅权限文档。 :::
接下来,按照出现的创建向导中的步骤操作,并添加以下详细信息:
- 在 Basic information 页面上,为您的应用程序添加一个图标;当用户看到同意屏幕时,该图标将用于标识应用程序。
- 在 Application type 页面上,选择Client-facing application。
- 在 Permissions 页面的 Authorization code grant 部分,将重定向 URL 设置为
http://localhost:8080/auth/callback。
:::callout{theme="neutral"}
按照配置 CORS 中的说明,将 http://localhost:8080 添加到控制面板中的 CORS 策略中。
如果您没有配置 CORS 的权限,且您的 Foundry 管理员无法为您配置 CORS,请将重定向 URL 设置为 https://localhost:8080/auth/callback。
:::
资源
- 在 Resources 页面上,选择 Yes, generate an Ontology SDK。
- 选择一个要使用的 Ontology。
:::callout{theme="warning"} 请注意,一旦生成了 Ontology SDK,与之关联的 Ontology 将无法更改。 :::
- 选择您希望 OSDK 包包含的对象类型和操作类型。在本练习中,请选择您可用的任何对象类型。
:::callout{theme="neutral"} 您选择的数据实体控制着应用程序的两个方面:
- 生成的类型: 基于所选实体创建特定语言的绑定。此外,还将根据您的选择生成集成的 API 文档。
-
应用程序令牌: 通过 OAuth 2.0 流程获得的令牌默认限制为所选实体集。更多详情,请参阅资源访问限制。 :::
-
如果您需要使用应用程序进行 Platform API 请求,请务必通过 Platform SDK 选项卡添加适当的资源和操作。
:::callout{theme="warning"} Client allowed operations 表中授予的操作可能允许应用程序访问底层服务端点。 :::
- 检查并确认您输入的信息,然后选择 Create application 以创建应用程序。
- 最后,您必须选择 Generate first version 以获取所创建包的第一个版本。
Ontology 特定文档
Developer Console 会根据您选择的 Ontology 实体生成文档。该文档适用于 TypeScript、Python 和 cURL;您可以使用控制台右上角的下拉菜单在不同语言之间切换。
在上面的示例中,每个对象类型、操作类型和函数都有文档说明。文档包括代码示例,展示如何返回特定属性或如何使用参数;您可以直接将这些示例复制粘贴到您的代码中。