Bootstrap a new OSDK TypeScript application with a service user(使用服务用户引导新的 OSDK TypeScript 应用程序)
As explained in the permission types section, the OSDK can be used to query data based on a service user's permissions rather than the end user's permissions. The following walkthrough shows how to use Next.js© ↗ (external) to fetch data using the OSDK and a service user.
:::callout{theme="neutral"} When developing on a service or application that uses a confidential client, a service user will be created along with your Developer Console application. If you plan to create the application using an Ontology that belongs to an Organization separate from your default Organization, you must complete the steps to share and enable the application. :::
1. Create an OSDK package using Developer Console
Navigate to Developer Console in your Foundry instance, then select + New application.
:::callout{theme="neutral"} If the + New application button does not appear, you likely do not have the right permissions. Review the permissions documentation for more information. :::
Follow the steps in the creation wizard and add the following details:
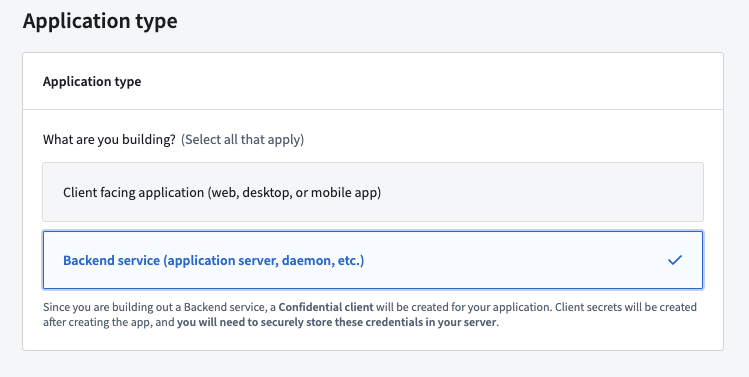
- On the Application type page, choose Backend service.
- On the Permission page, choose Application's permissions.
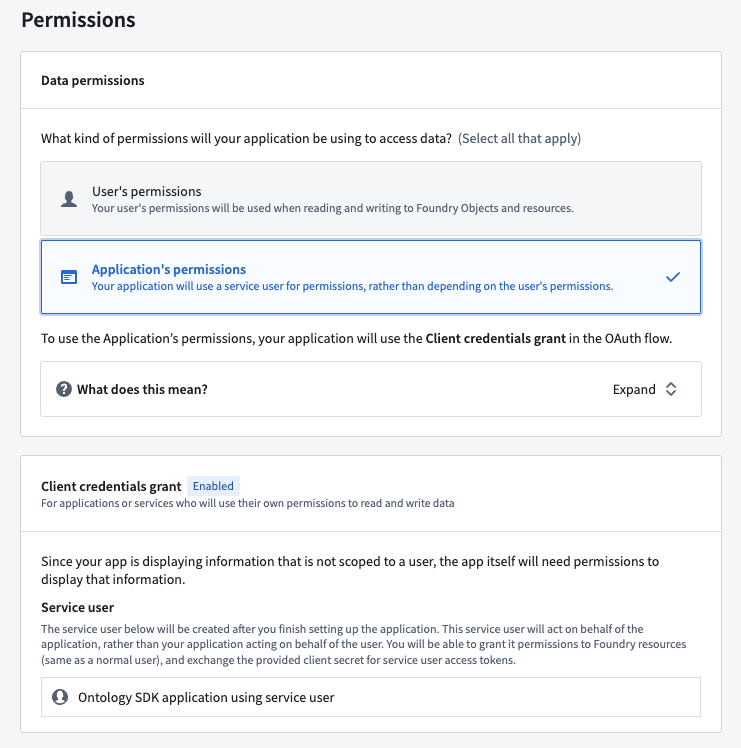
Developer Console will create a service user for this application based on the application name. In the example above, the name of the generated service user is Ontology SDK application using service user. In addition to the submission criteria for any action types, you must grant this service user the permissions required to read the data of the object types you will select in the next step.
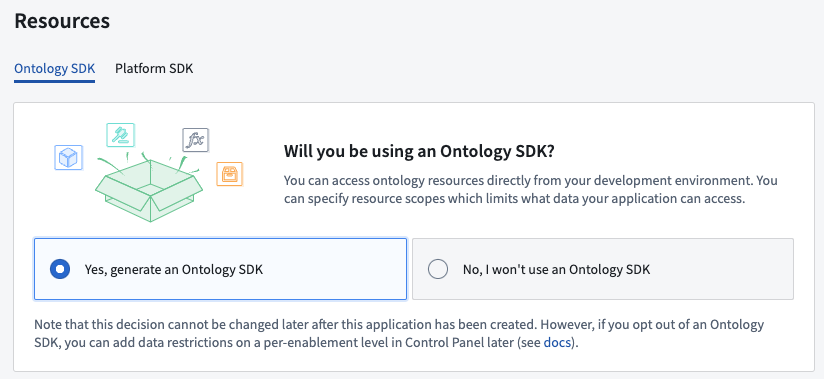
- On the Resources page, select Yes, generate an Ontology SDK.
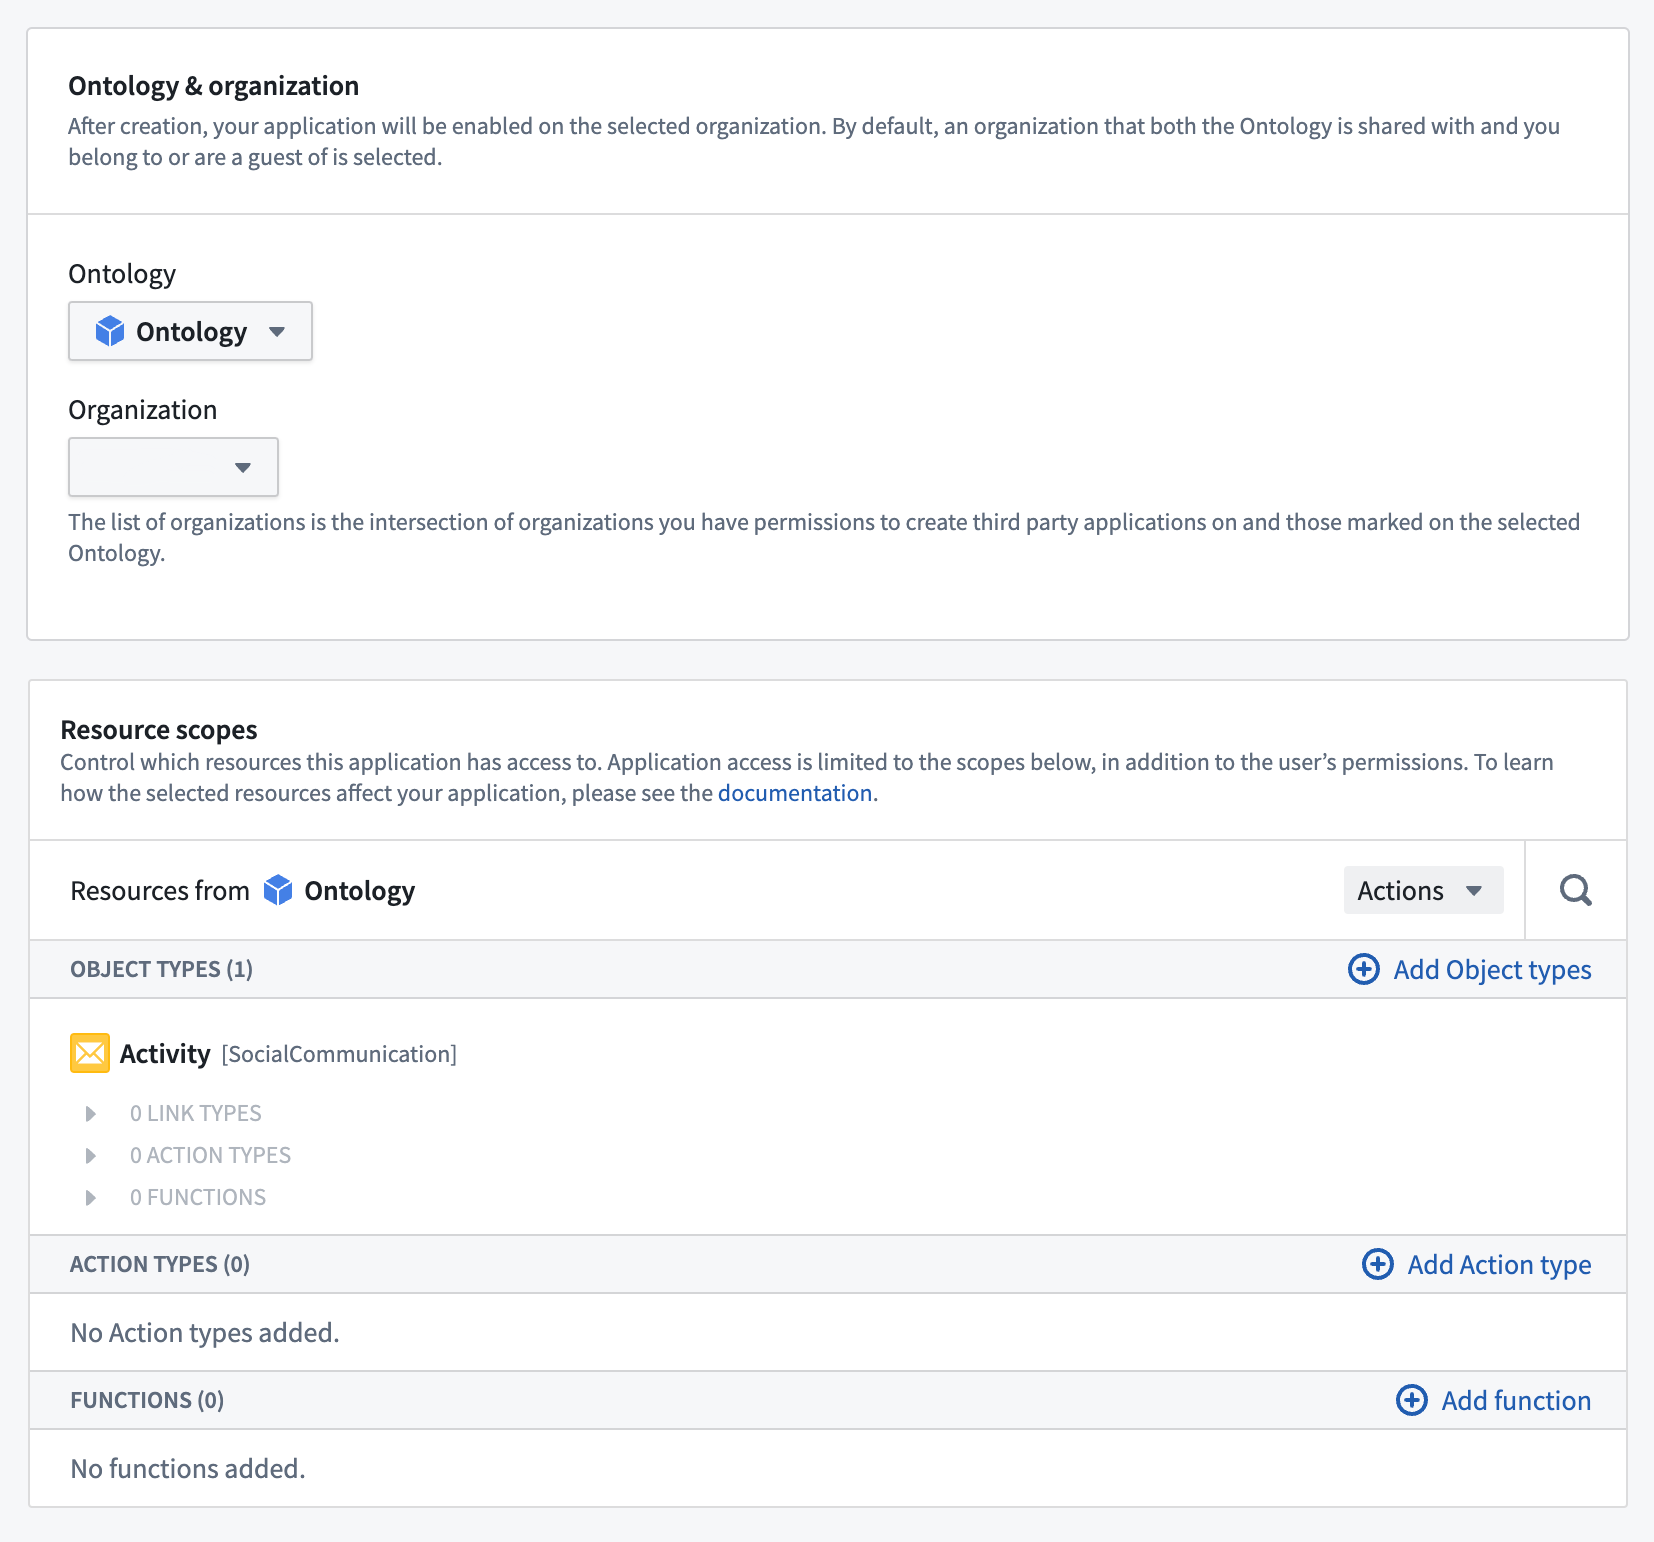
- Select an Ontology to use.
:::callout{theme="warning"} Note that once the Ontology SDK has been generated, the Ontology associated with it cannot be changed. :::
- Select the object types and action types that you want the OSDK package to include. For this exercise, pick any object type available to you.
Review and confirm the information you entered, then select Create application to see the client secret for the new application. Copy and store the secret securely as this is the only time it is visible.
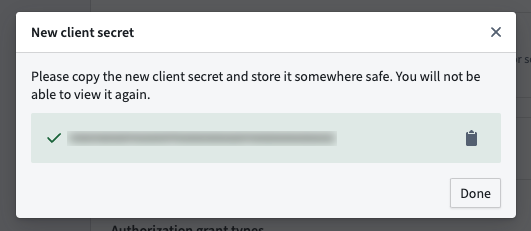
:::callout{theme="neutral"} If you lose your client secret, you can rotate and obtain a new secret on the Permissions & OAuth page. Keep in mind that this will break existing applications using this service user and secret. :::
Finally, select Generate first version to use your newly created OSDK.

2. Install the generated SDK package
Once the generation of the OSDK is complete, you will see a set of installation steps to guide you in installing the generated SDK in your code project.
3. Use the OSDK in your code project
In this walkthrough, we use Next.js© ↗. Next.js supports rendering code on the server side which is required for our service user example. To bootstrap a new Next.js project, follow the Next.js© documentation ↗ .
Client and OAuth creation
Service user authentication is done through a confidential OAuth client that allows you to access the Ontology with a client secret instead of requiring user authentication.
Create a file named client.ts and enter the following code:
import { createConfidentialOauthClient } from "@osdk/oauth";
import { createClient } from "@osdk/client";

export const auth = createConfidentialOauthClient(
    process.env.CLIENT_ID!,
    process.env.CLIENT_SECRET!,
    process.env.STACK_URL!,
);

export const client = createClient(
    process.env.STACK_URL!,
    <ONTOLOGY-RID>,
    auth
)
Create a .env file with the same variables. Do not check in this file to your code repository.
CLIENT_ID=<YOUR CLIENT ID>
CLIENT_SECRET=<YOUR CLIENT SECRET>
STACK_URL=<YOUR ONTOLOGY SERVER DOMAIN NAME> # for example, https://myfoundrystack.com
Access the Ontology
The following code uses a Country object type with a @serverside-osdk-example/sdk package name. Replace the example package name and object type with the package you created, and the object type you selected, respectively. Lastly, replace {country.countryName} with a property from your object type.
Replace the code in the page.tsx with the following:
import { Country } from "@serverside-osdk-example/sdk";
import { client, auth } from "./client";
import { Osdk } from "@osdk/client";

async function getCountries(): Promise<Osdk.Instance<Country>[]> {
    // Handle authentication
    await auth.signIn();
    // You need to give the service user read access to the ontology
    try {
        const resp = await client(Country).fetchPage();
        return resp.data;
    } catch (err) {
        console.log(err);
    }
    console.log("No countries found");
    return [];
}

export default async function Home() {
    const countries: Osdk.Instance<Country>[] = await getCountries();
    return (
        <main>
            <div>
                {countries.map((country: Osdk.Instance<Country>) => (
                    <span key={country.$primaryKey}>{country.countryName}</span>
                ))}
            </div>
        </main>
    );
}
To run a demo of your setup, first run the development server:
npm run dev
Then, navigate to http://localhost:3000 ↗ with your browser to view the result.
中文翻译
使用服务用户引导新的 OSDK TypeScript 应用程序
如权限类型部分所述,OSDK 可以基于服务用户(service user)的权限而非最终用户的权限来查询数据。以下操作指南展示了如何使用 Next.js© ↗(外部链接)结合 OSDK 和服务用户来获取数据。
:::callout{theme="neutral"} 在开发使用机密客户端(confidential client)的服务或应用程序时,系统会随您的 Developer Console 应用程序一起创建一个服务用户。如果您计划使用属于默认组织之外的其他组织的本体论(Ontology)来创建应用程序,则必须完成共享和启用应用程序的步骤。 :::
1. 使用 Developer Console 创建 OSDK 包
在您的 Foundry 实例中导航到 Developer Console,然后选择 + New application。
:::callout{theme="neutral"} 如果 + New application 按钮未出现,您可能没有相应的权限。请查阅权限文档了解更多信息。 :::
按照创建向导中的步骤操作,并添加以下详细信息:
- 在 Application type 页面上,选择 Backend service。
- 在 Permission 页面上,选择 Application's permissions。
Developer Console 将根据应用程序名称为此应用程序创建一个服务用户。在上述示例中,生成的服务用户的名称为 Ontology SDK application using service user。除了任何操作类型(action type)的提交标准外,您还必须授予此服务用户读取您将在下一步中选择的对象类型(object type)数据所需的权限。
- 在 Resources 页面上,选择 Yes, generate an Ontology SDK。
- 选择一个要使用的本体论(Ontology)。
:::callout{theme="warning"} 请注意,一旦生成了 Ontology SDK,与之关联的本体论将无法更改。 :::
- 选择您希望 OSDK 包包含的对象类型和操作类型。对于本练习,请选择任何可用的对象类型。
审核并确认您输入的信息,然后选择 Create application 以查看新应用程序的客户端密钥(client secret)。请安全地复制并存储该密钥,因为这是它唯一可见的时机。
:::callout{theme="neutral"} 如果您丢失了客户端密钥,可以在 Permissions & OAuth 页面上轮换并获取新密钥。请注意,这将中断使用此服务用户和密钥的现有应用程序。 :::
最后,选择 Generate first version 以使用您新创建的 OSDK。
2. 安装生成的 SDK 包
OSDK 生成完成后,您将看到一组安装步骤,指导您在代码项目中安装生成的 SDK。
3. 在代码项目中使用 OSDK
在本操作指南中,我们使用 Next.js© ↗。Next.js 支持在服务器端渲染代码,这对于我们的服务用户示例是必需的。要引导一个新的 Next.js 项目,请遵循 Next.js© 文档 ↗。
客户端和 OAuth 创建
服务用户身份验证通过一个机密 OAuth 客户端(confidential OAuth client)完成,该客户端允许您使用客户端密钥访问本体论,而无需用户身份验证。
创建一个名为 client.ts 的文件,并输入以下代码:
import { createConfidentialOauthClient } from "@osdk/oauth";
import { createClient } from "@osdk/client";

export const auth = createConfidentialOauthClient(
    process.env.CLIENT_ID!,
    process.env.CLIENT_SECRET!,
    process.env.STACK_URL!,
);

export const client = createClient(
    process.env.STACK_URL!,
    <ONTOLOGY-RID>,
    auth
)
创建一个包含相同变量的 .env 文件。请勿将此文件检入到您的代码仓库中。
CLIENT_ID=<YOUR CLIENT ID>
CLIENT_SECRET=<YOUR CLIENT SECRET>
STACK_URL=<YOUR ONTOLOGY SERVER DOMAIN NAME> # 例如,https://myfoundrystack.com
访问本体论
以下代码使用了一个 Country 对象类型,包名为 @serverside-osdk-example/sdk。请将示例包名和对象类型分别替换为您创建的包和您选择的对象类型。最后,将 {country.countryName} 替换为您对象类型中的某个属性。
将 page.tsx 中的代码替换为以下内容:
import { Country } from "@serverside-osdk-example/sdk";
import { client, auth } from "./client";
import { Osdk } from "@osdk/client";

async function getCountries(): Promise<Osdk.Instance<Country>[]> {
    // 处理身份验证
    await auth.signIn();
    // 您需要授予服务用户对本体论的读取权限
    try {
        const resp = await client(Country).fetchPage();
        return resp.data;
    } catch (err) {
        console.log(err);
    }
    console.log("No countries found");
    return [];
}

export default async function Home() {
    const countries: Osdk.Instance<Country>[] = await getCountries();
    return (
        <main>
            <div>
                {countries.map((country: Osdk.Instance<Country>) => (
                    <span key={country.$primaryKey}>{country.countryName}</span>
                ))}
            </div>
        </main>
    );
}
要运行您的设置演示,首先启动开发服务器:
npm run dev
然后,在浏览器中导航到 http://localhost:3000 ↗ 查看结果。